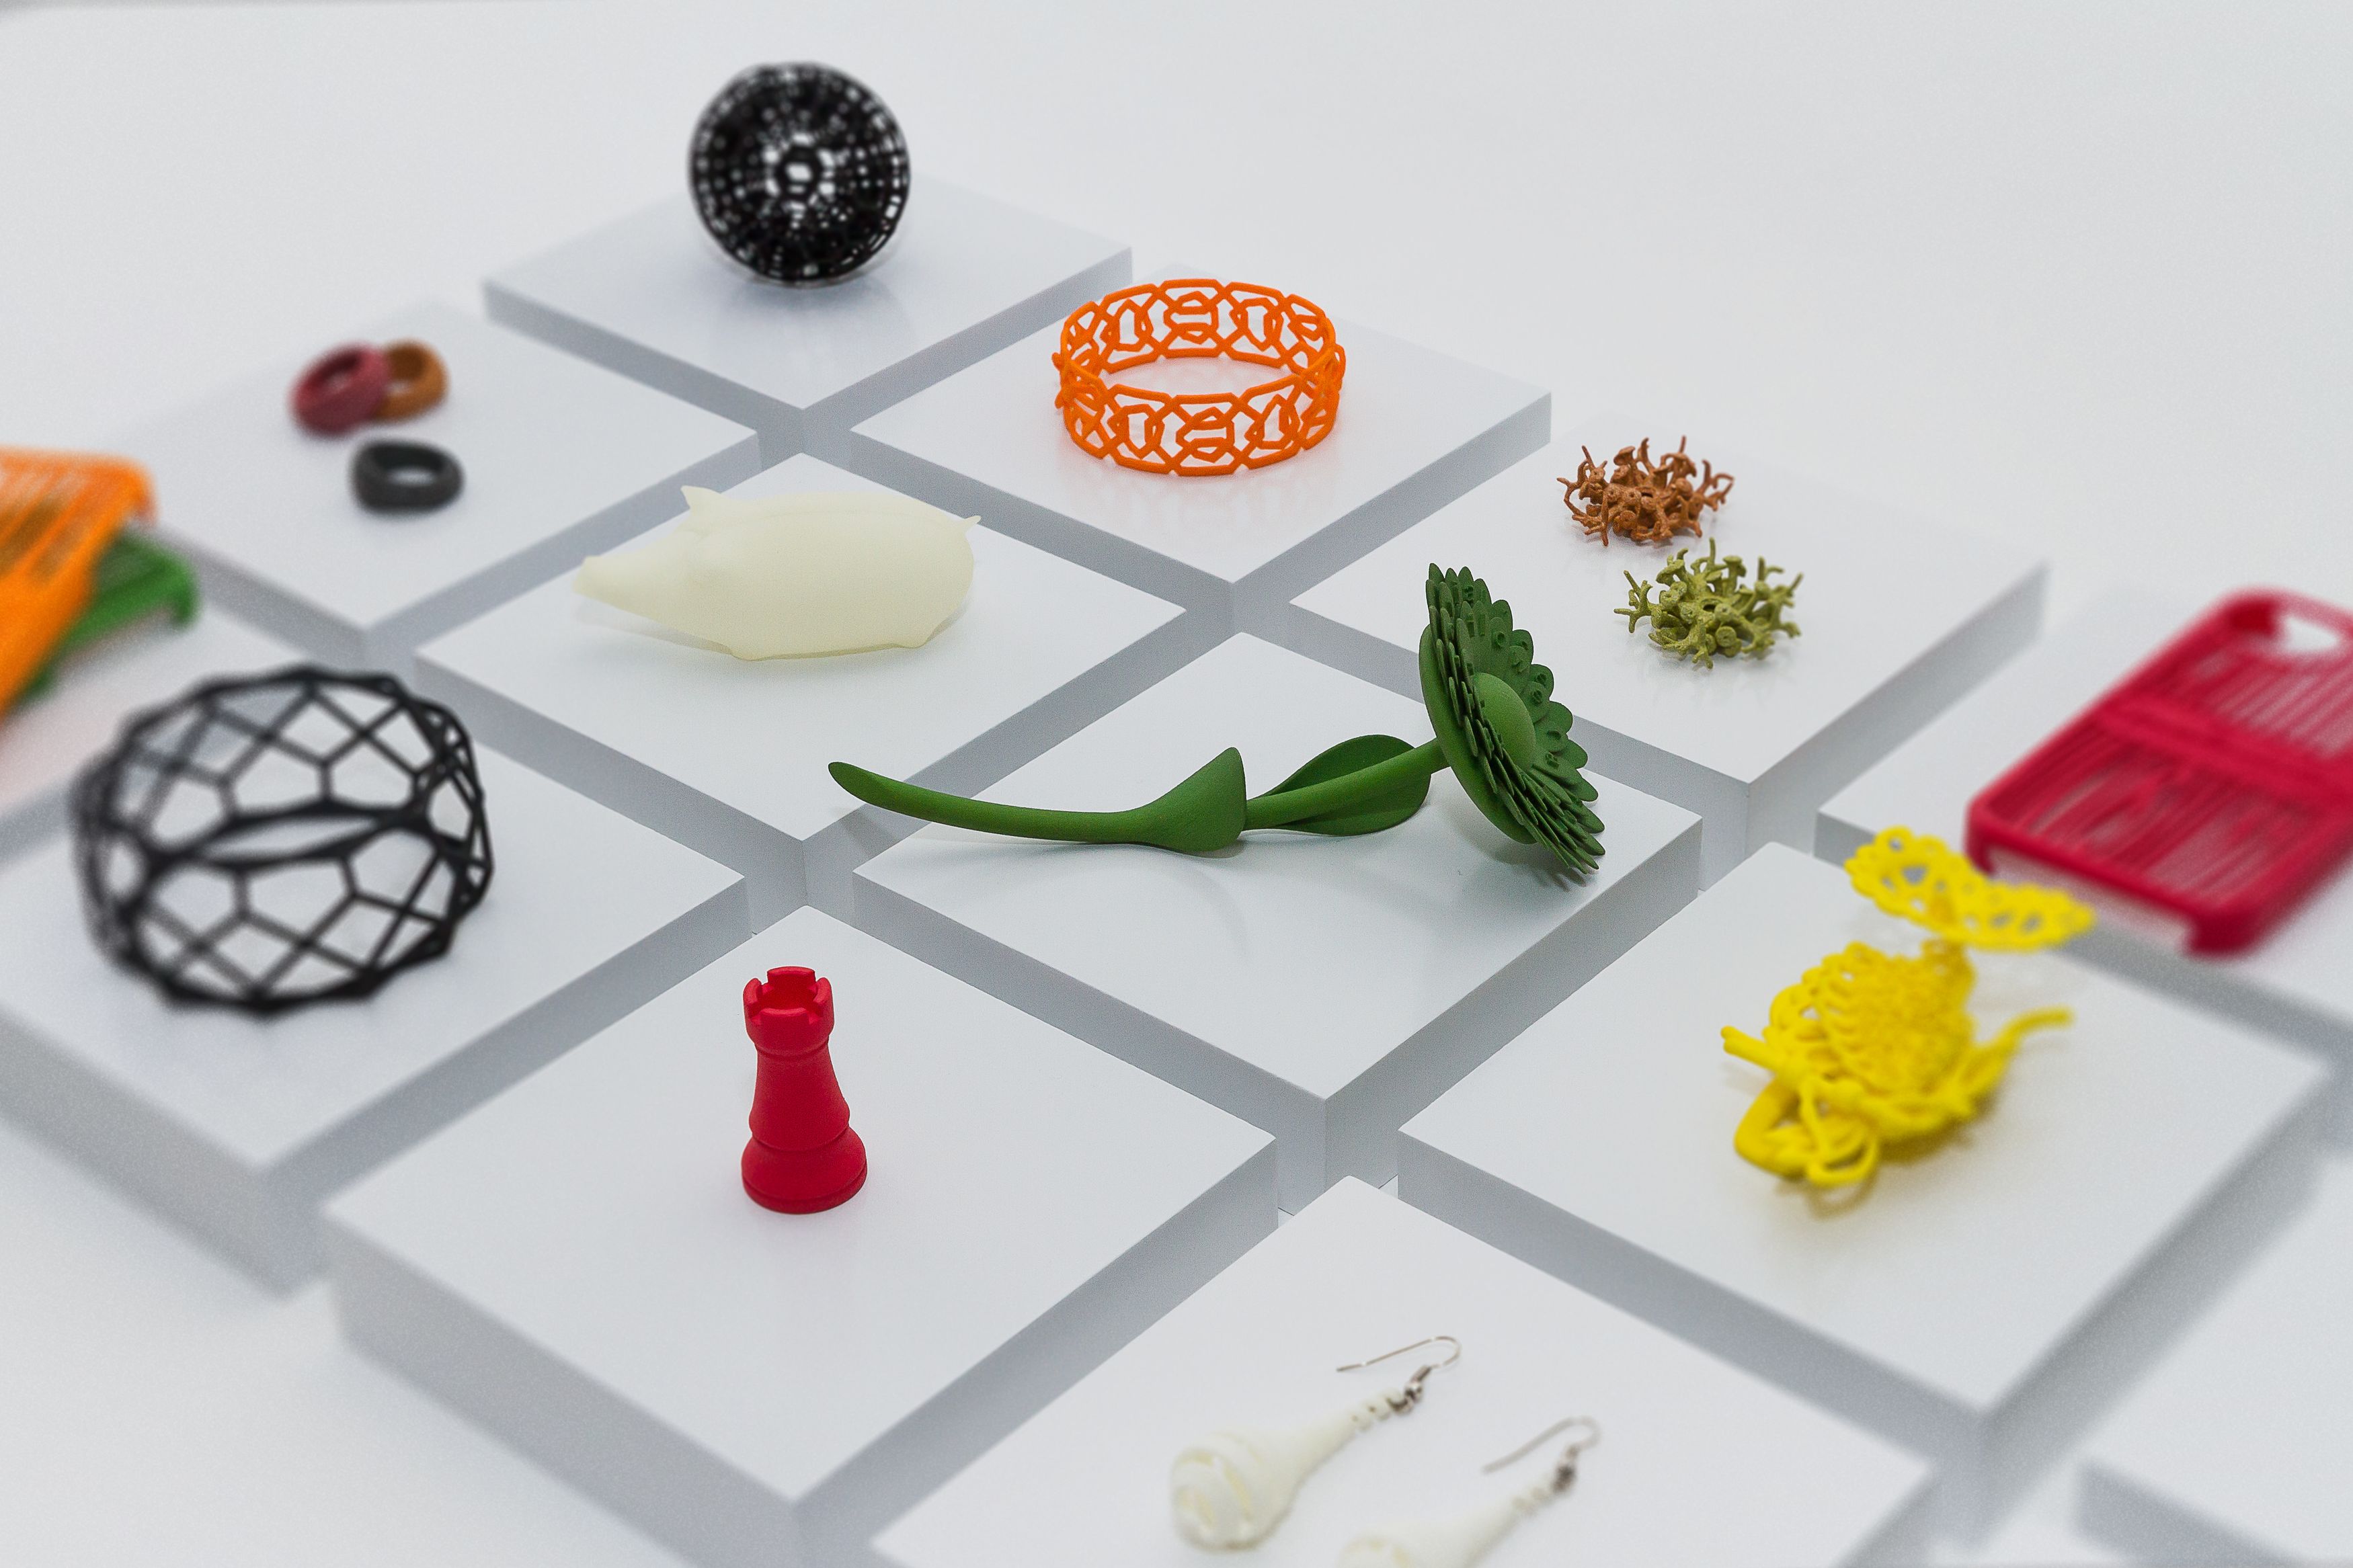
That’s why we wanted to offer you a compilation of the best design tips for 3D printing given by those who know it well: professional 3D designers. What does their 3D design process look like? Which 3D printing software do they use? Which tips would they give to new 3D designers? Read on to discover their thoughts!
-
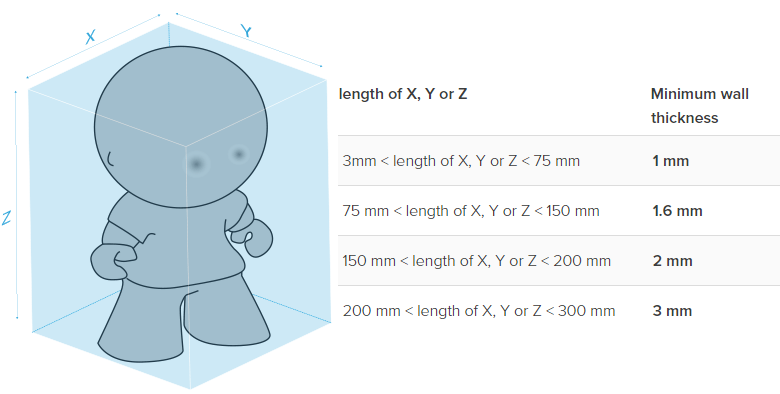
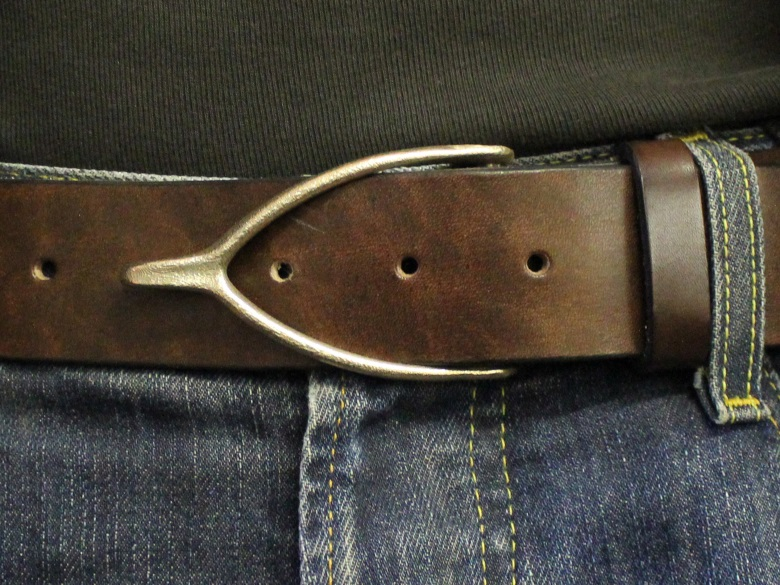
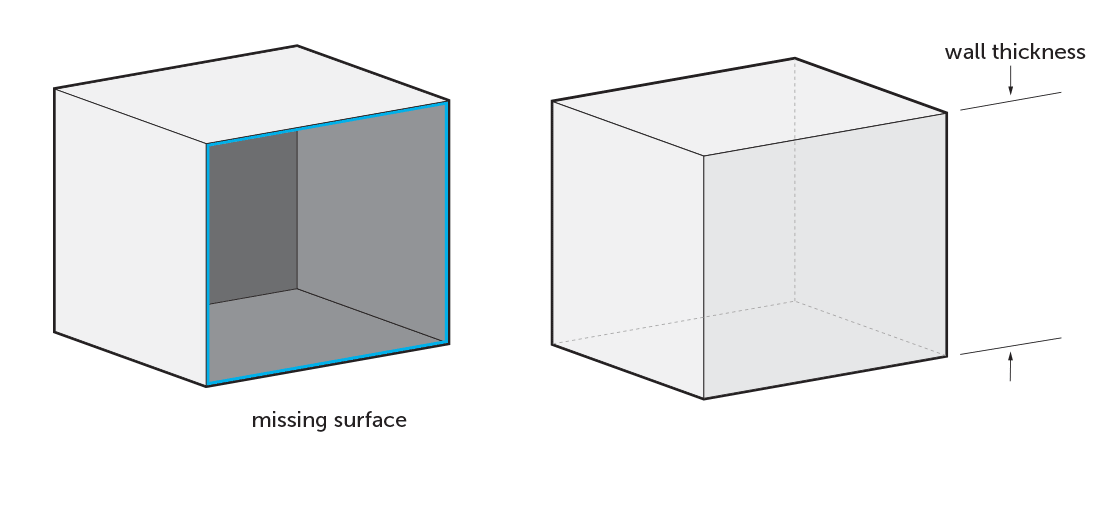
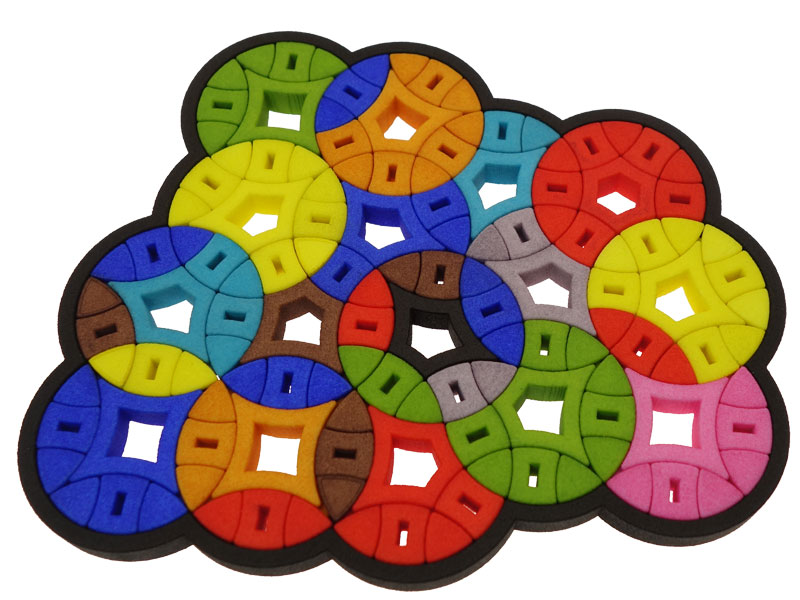
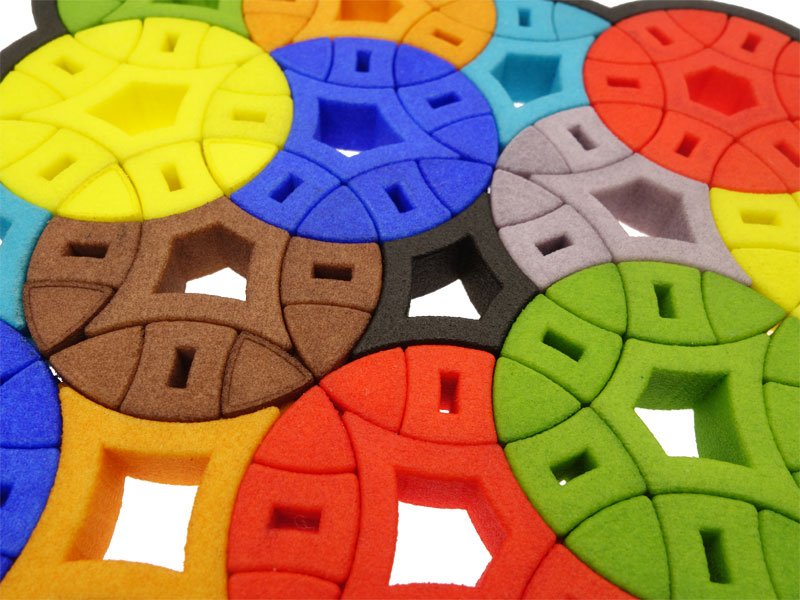
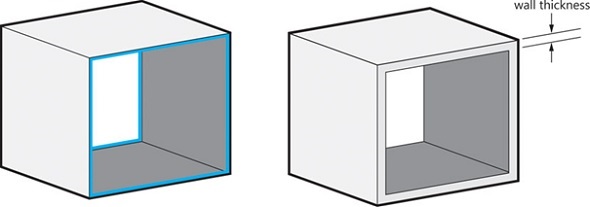
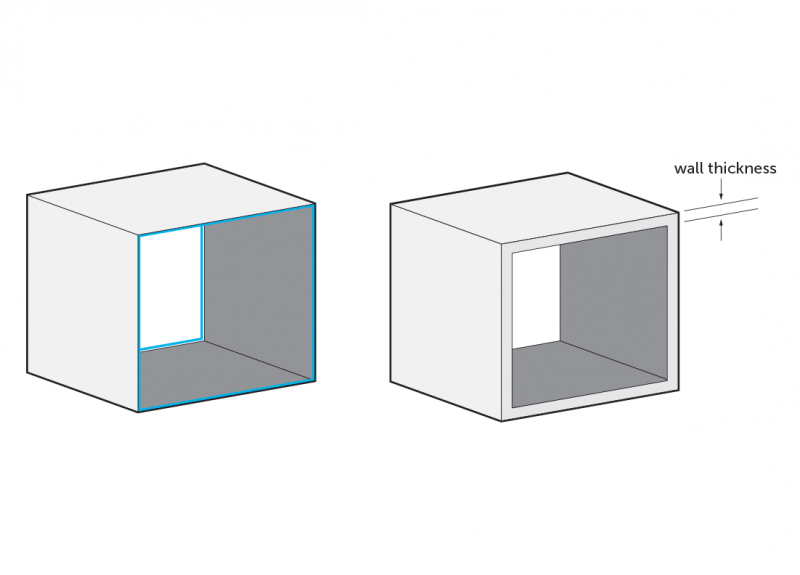
Choose the right wall thickness
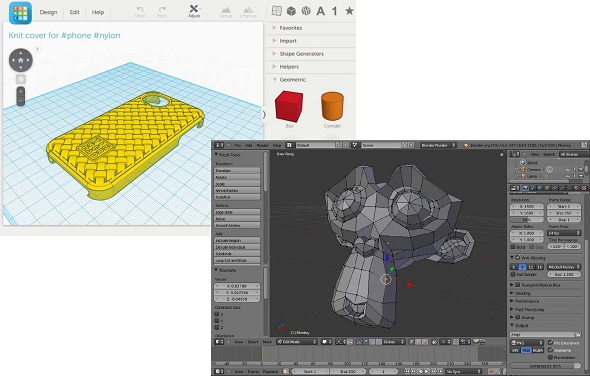
Kristoffer Rønn-Andersen, the jewelry designer behind Primal Crafts, explains that he starts new designs with a rough sketch drawn by hand or by jumping directly into his 3D modeling software, which is Rhinoceros for the most part. For some designs, the 3D file might take shape in SolidWorks or Blender as well.
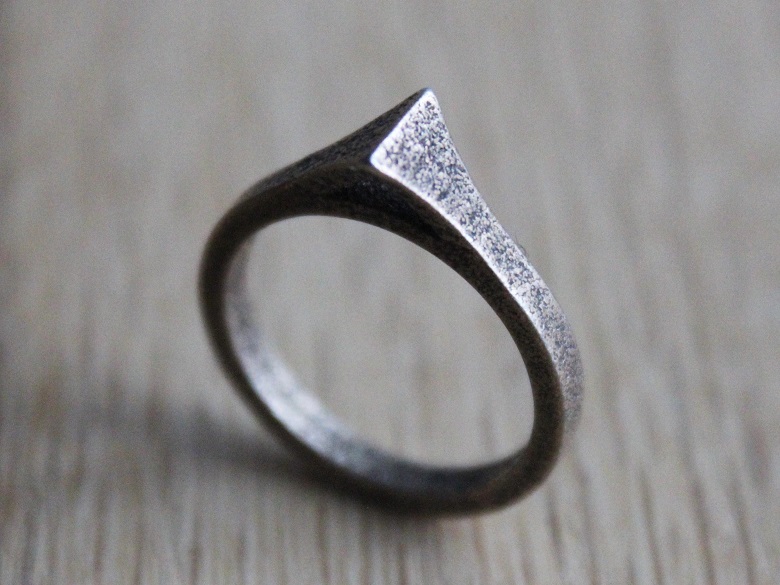
Photo by PrimalCrafts.com
Kristoffer thinks that the biggest challenge and most important step when designing for 3D printing is to optimize the 3D model for the printing material.
According to the designer, choosing the right wall thickness for 3D designs is essential: “To me it’s crucial that these aspects are integrated into the early design of the pieces, otherwise they might not turn out well, either because the piece is not printable or because you have to make last-minute changes to the dimensions, which ruin the design.”
-
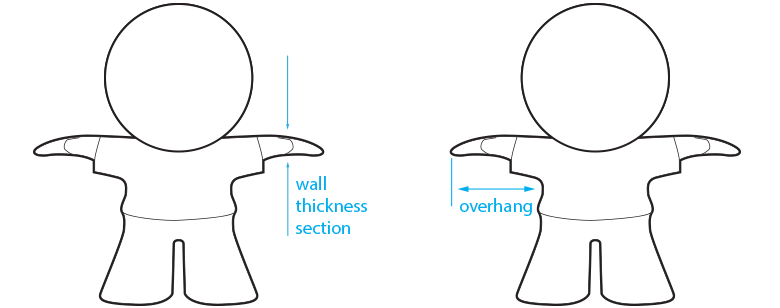
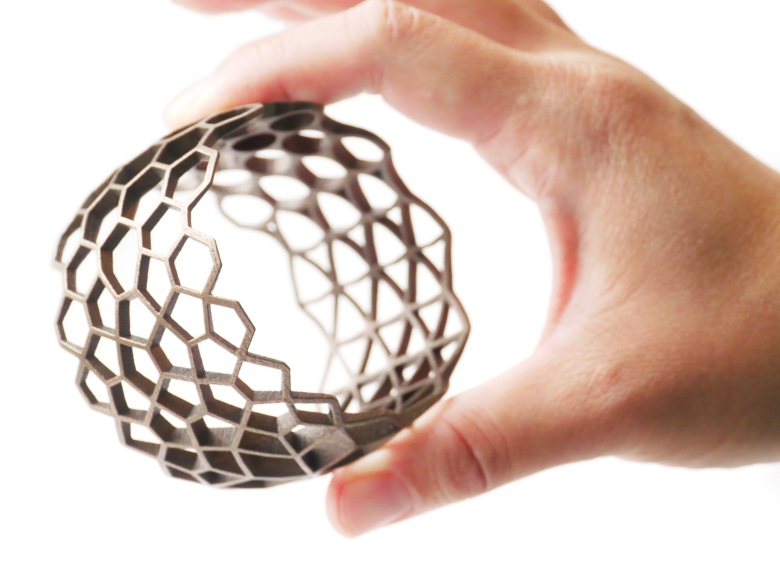
Keep the minimum detail sizes for each material in mind
Each 3D printing material has different design needs that are important to keep in mind when you design. Not just when making them printable, but also to adapt the design to your ideas.
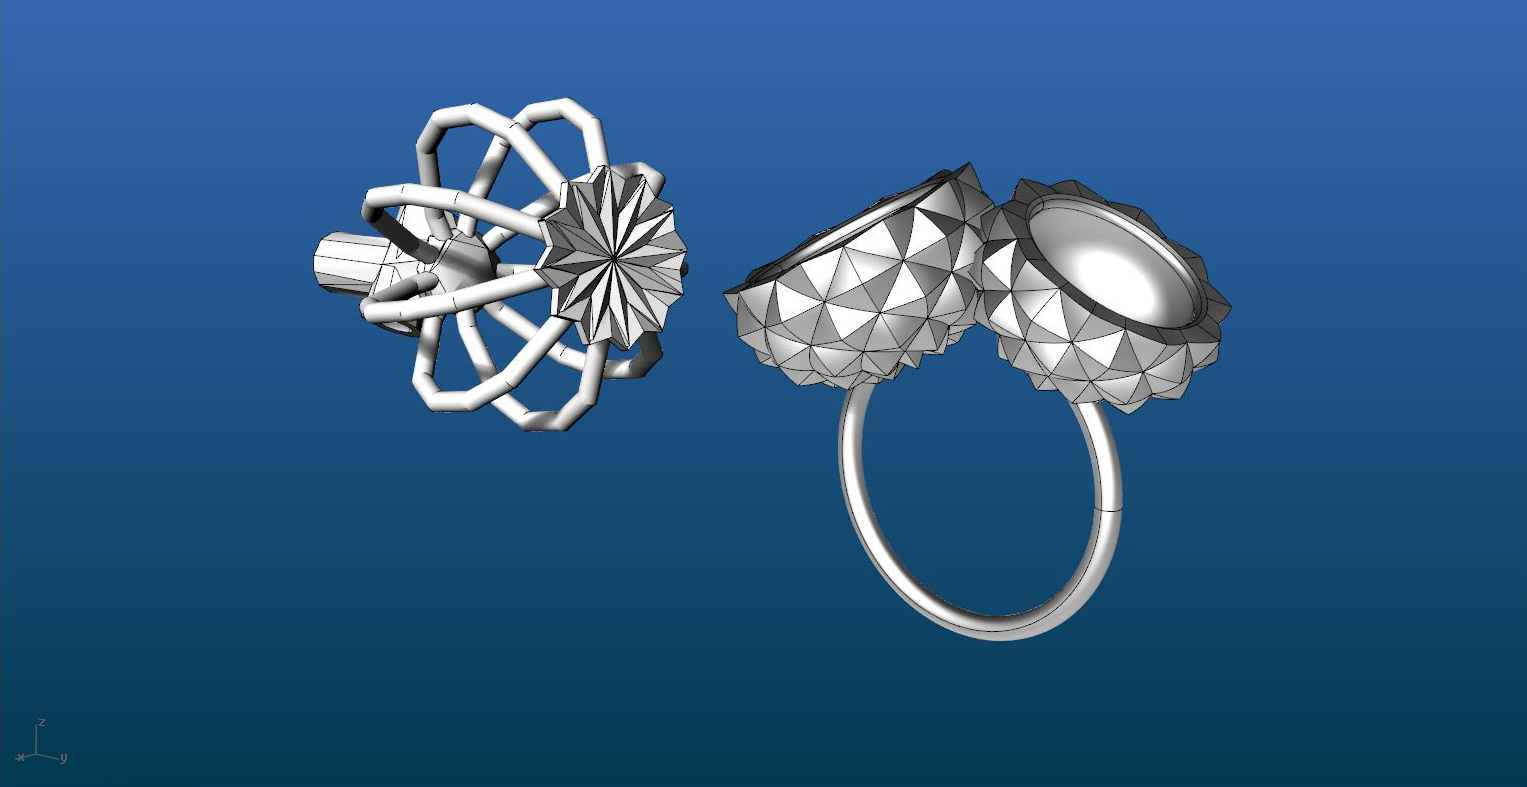
Jewelry designer Noah Händel explains it with the example of his ring: “With bronze, you can achieve everything from matte brown to shiny gold. That depends on how you design the highs and lows and how even the surface is. The vines of the ring are a great example. Even though the indentation between the vines is only around 0.8mm deep, it looks a lot deeper because it has a darker shade that you can’t polish. A rough surface always looks more detailed than a plain one.”
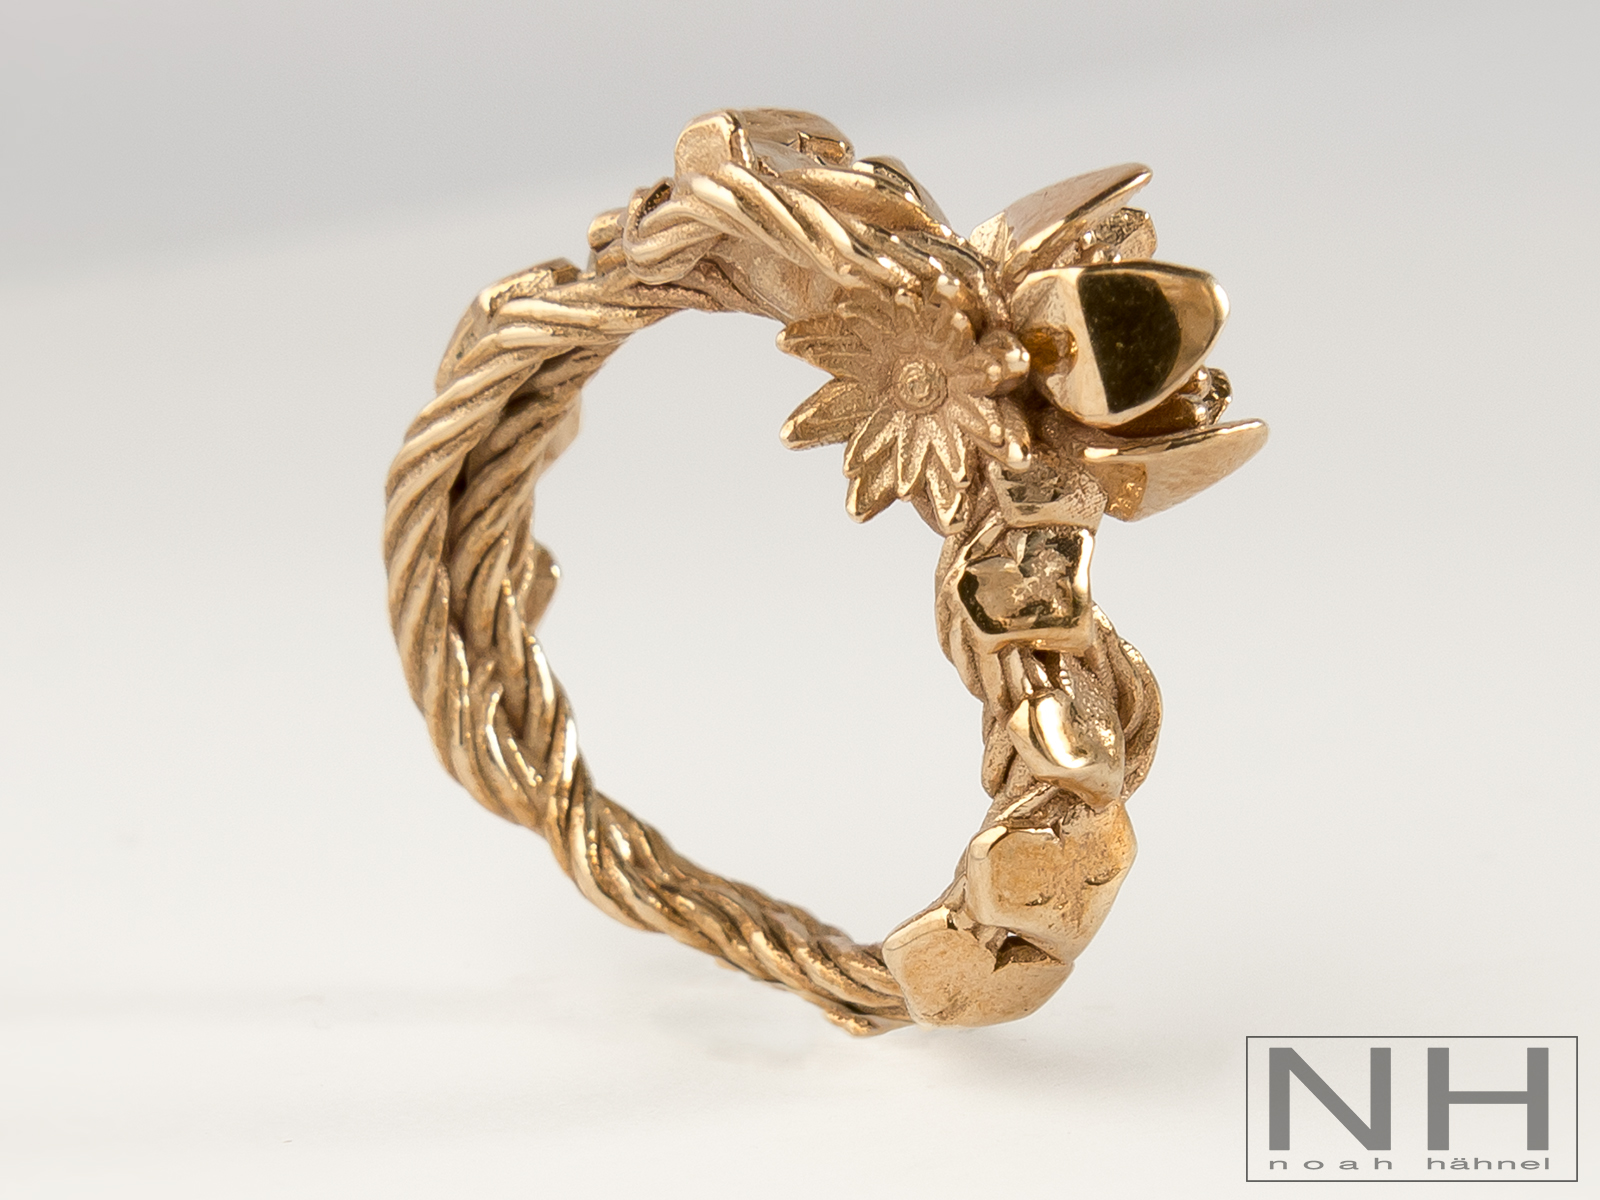
Garden Ring. Copyright Sören Schulz & Noah Hähnel
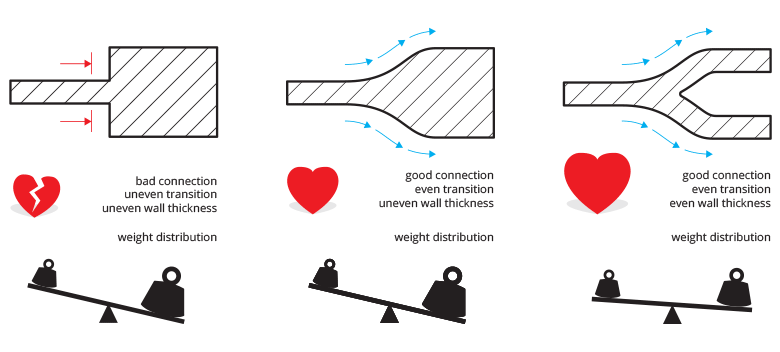
This young jewelry designer uses Cinema 4D for his designs and gives another simple but important tip for those looking to print unique pieces in different sizes or with small alterations: keep your files as easy to edit as possible.
“When I started out, I finished with one completely merged object, which was easier to export, but difficult to make alterations on after completion, like changing the wall thickness or the size of certain details.”

Gloss, High Gloss, Satin, and Sandblasted silver finishes
This technique will only allow you to change small details for each customer to make the object a little more unique. Furthermore, you will be able to increase the ring size without increasing the bounding box, which allows for cheaper prints.
-
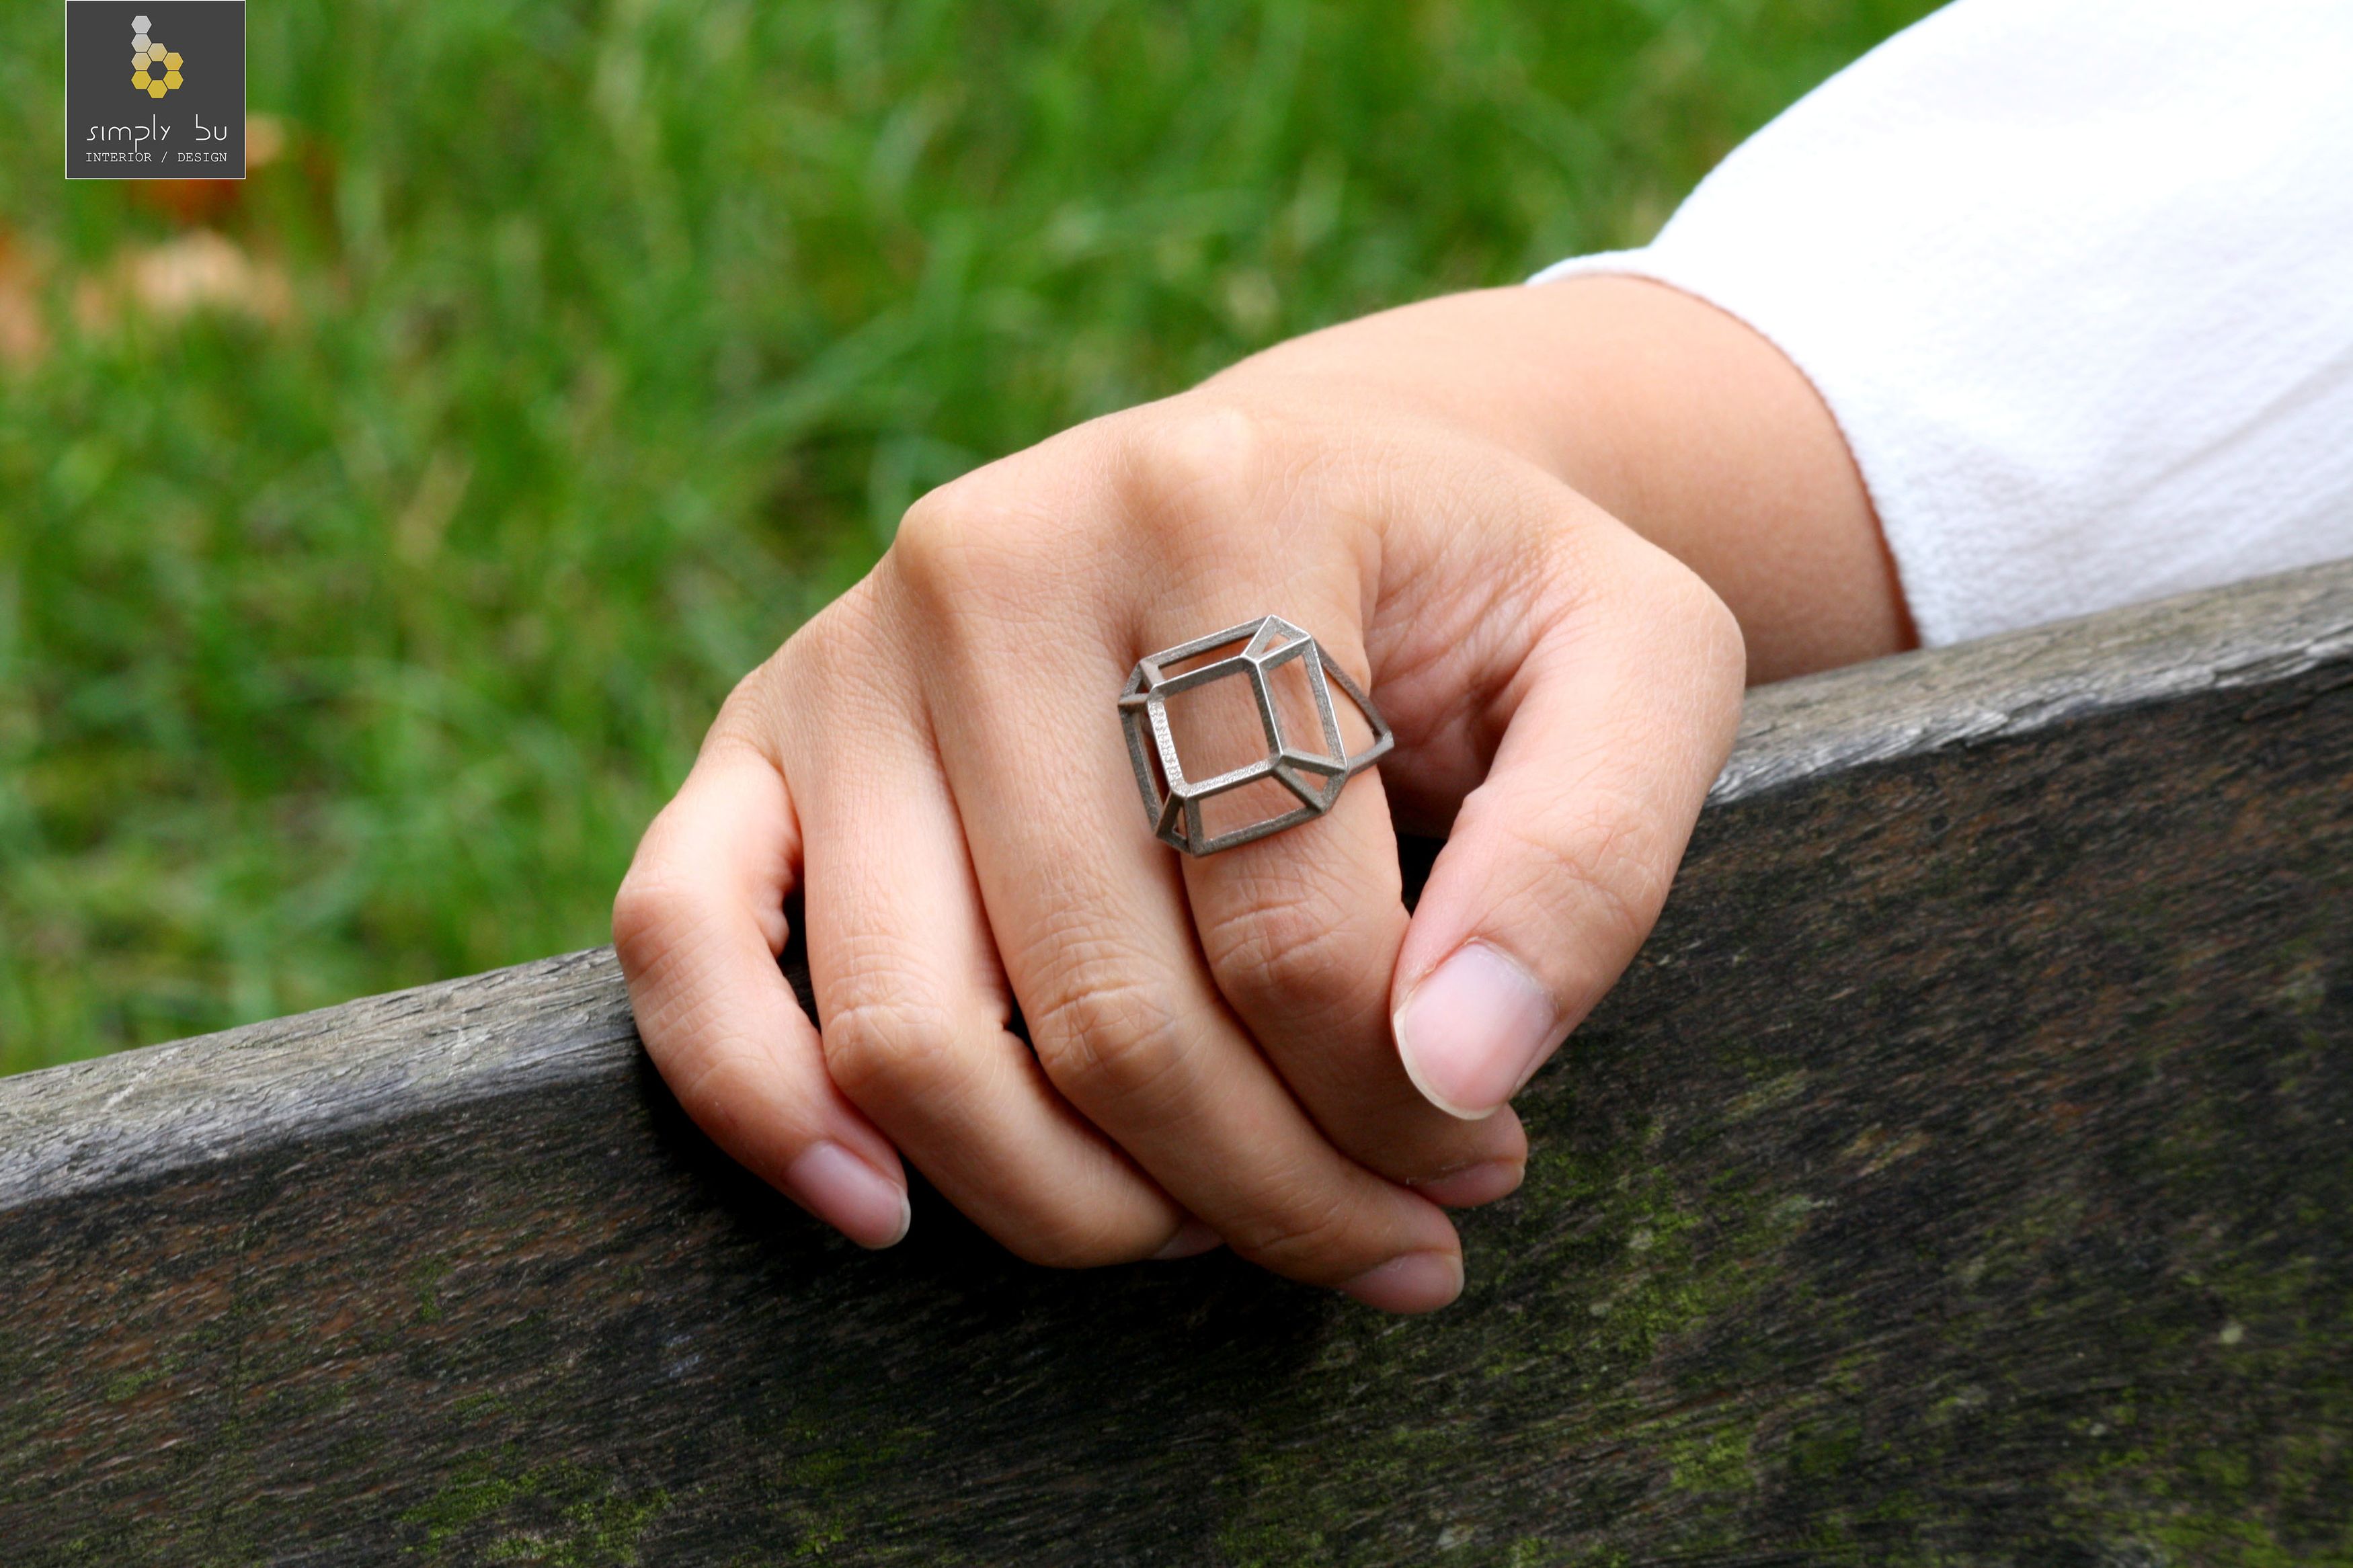
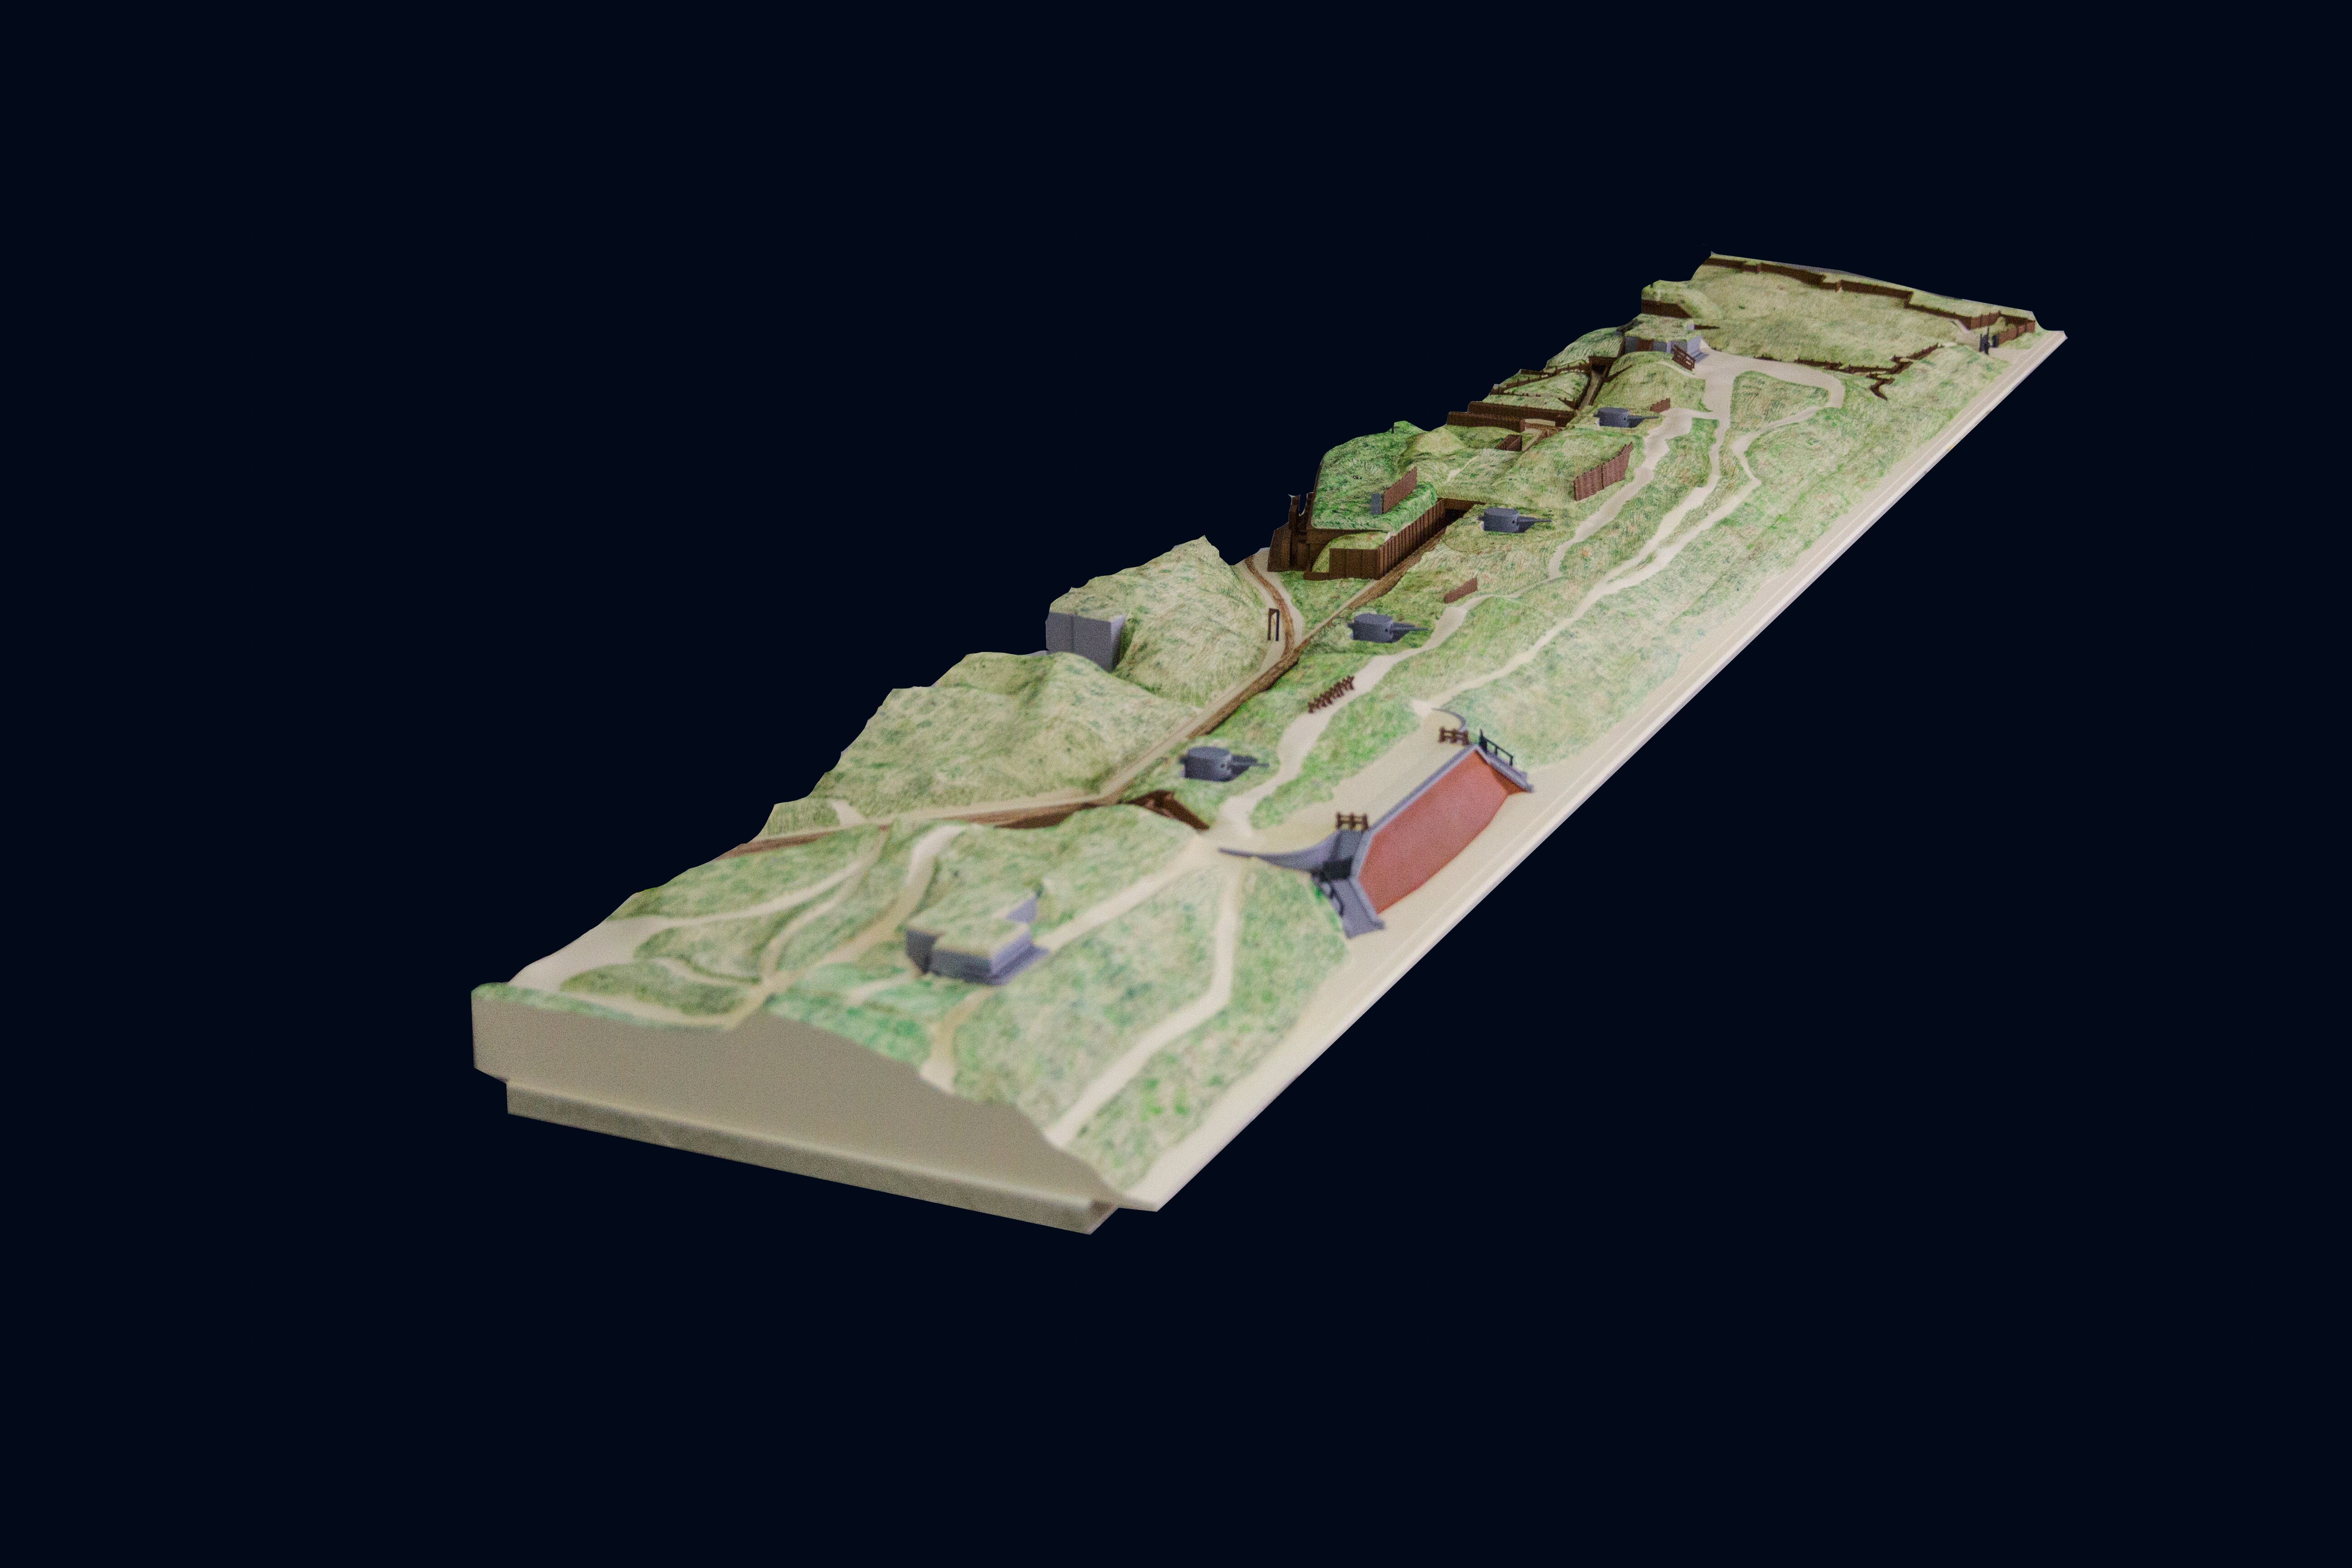
Understand the 3D printing technologies
The designers behind the jewelry brand Blueberries are a couple from the Czech Republic named Zbyněk Krulich and Markéta Richterová. They use Houdini by SideFX for their 3D designs because it has a node-based workflow where everything is built in a procedural way. Instead of moving vertices, the couple creates small systems to manipulate data in 3D. For the final analysis and exportation, they use Meshmixer.

The tip Zbynek and Markéta would give to their fellow designers is to get a better understanding of the 3D printing technologies and how to design for 3D printing with them. For Blueberries, this is crucial because they always work on the edge of what is possible to make with 3D printing.
Their design process starts with a concept and with that in mind, they create the first designs with a 3D software program. Afterwards, they perform several iterations for the prototyping phase. Once they have a finalized prototype, Zbynek and Markéta make some last iterations for the final design, in order to get the perfect final results.
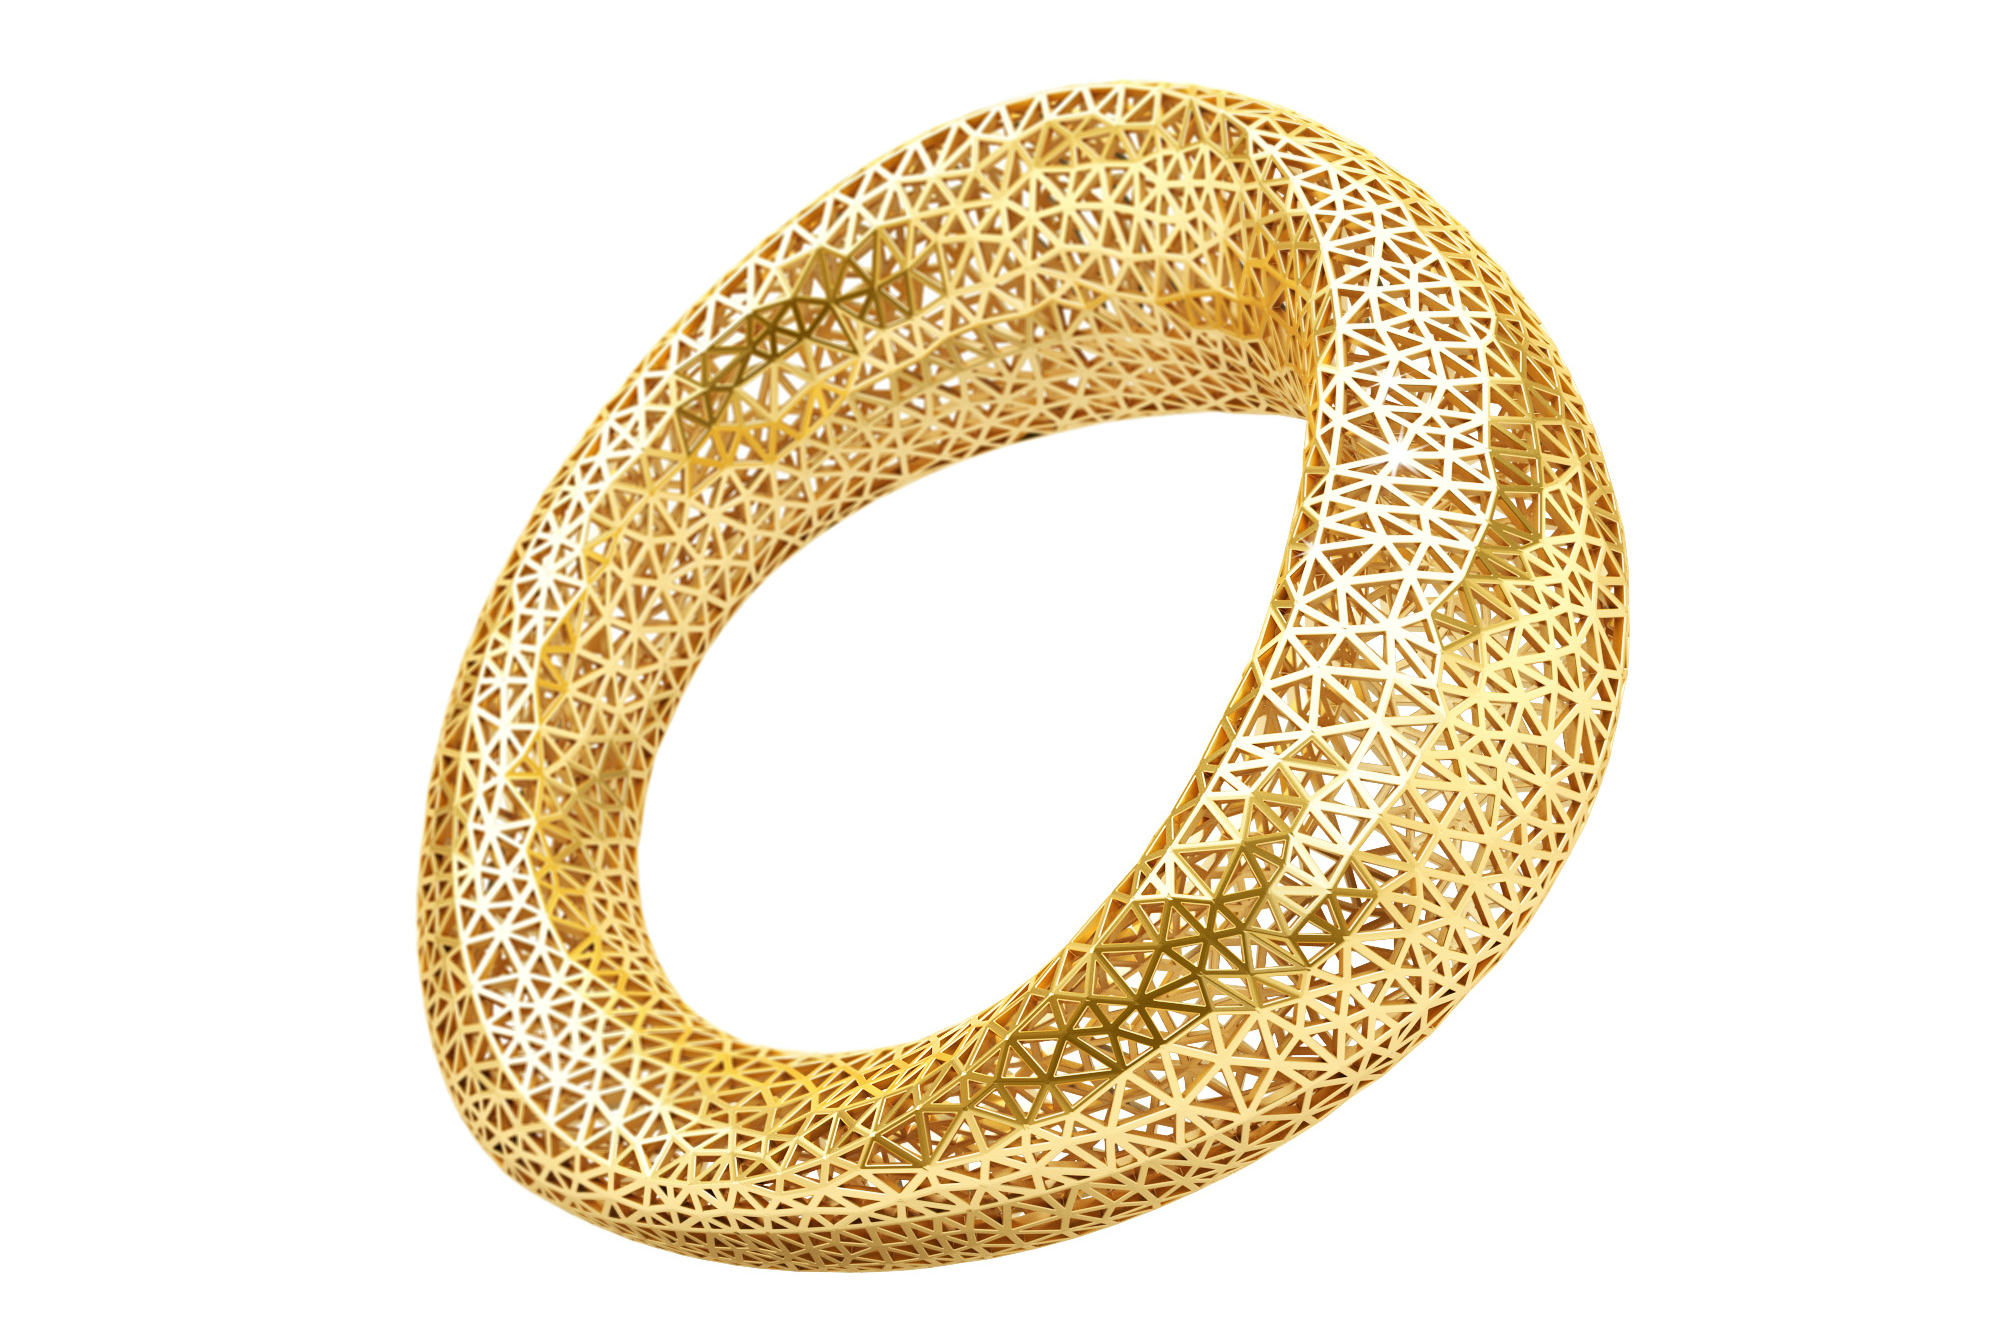
Delaunay Star Gold by Blueberries
-
Experiment and prototype
The product designers for the coffee product brand Fellow have a very open approach to designing for 3D printing. They use different 3D design tools when they are working back and forth between industrial designers and engineers, and they see this as a learning process: “We learn something new in the design process of every product, so no two 3D printing and modeling program recipes have ever stayed the same product to product.”
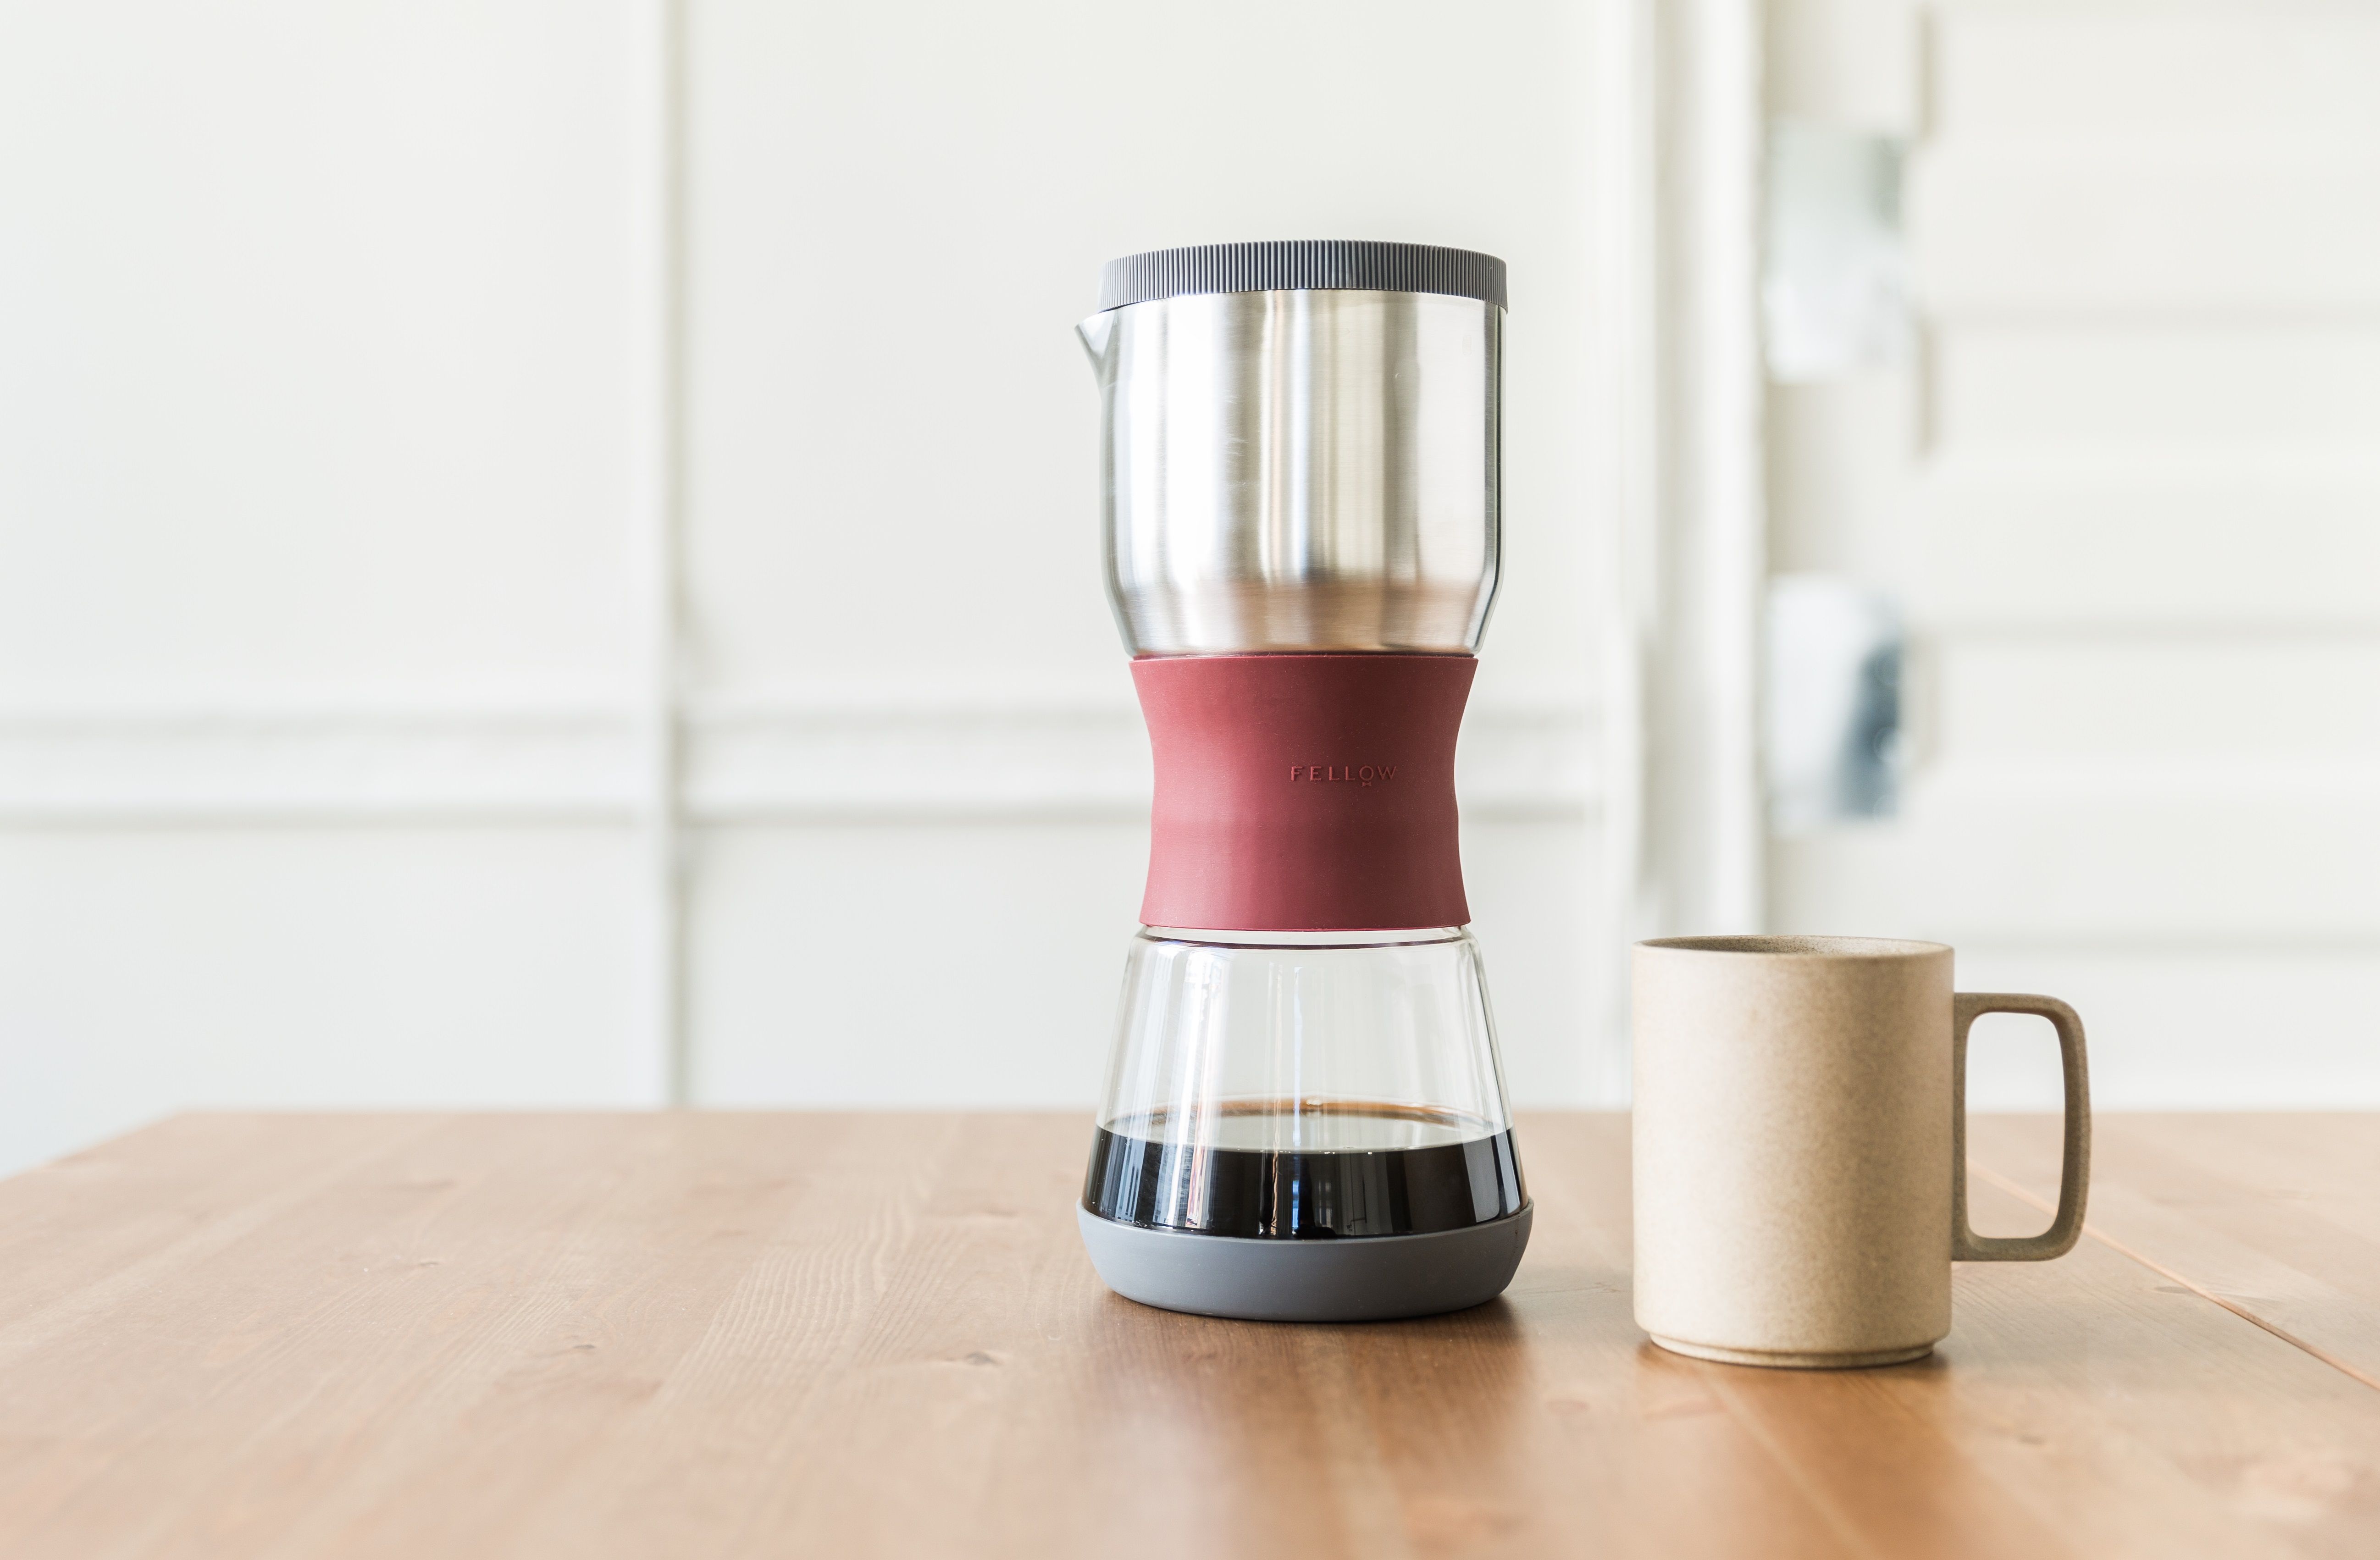
Duo Coffee Steeper by Fellow © Fellow
Fellow encourages prototyping because it makes it possible to see products to scale, hold them and feel their diameter and height. “To see how our product takes up space in kitchens is incredibly helpful to figure out if we are on the right track for form and function.” Prototyping allows them to create iterations of the same product with 3D printing during the design and engineering process.
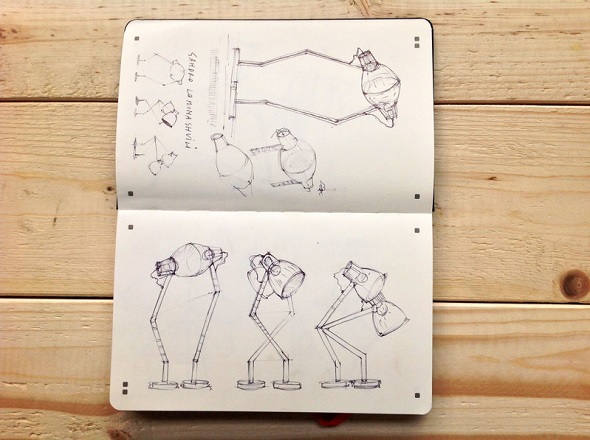
Sketch of the ‘Love Lamps’ by Sandro Lominashvili
As you can see, there is not one single approach to design for 3D printing. Knowing the material and technologies that you will be printing with is key to getting the perfect outcome. Obtaining a flawless 3D print might not happen on your first attempt, but following these tips will help to make it easier.
Another important step to consider when you start your designs is choosing the right 3D design software for 3D printing.
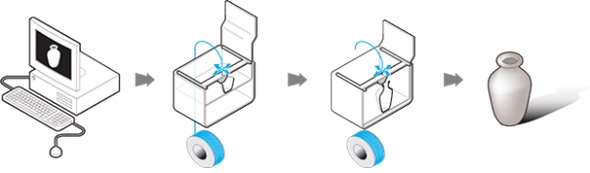
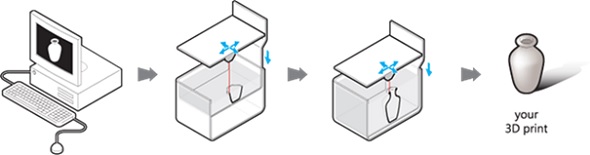
Once your 3D files are finalized and ready to 3D print, upload them to our 3D printing platform to get an instant price quote. Our 3D printing platform is also a good place to discover all the printing options that we offer, as well as the finishes and colors available for each material.
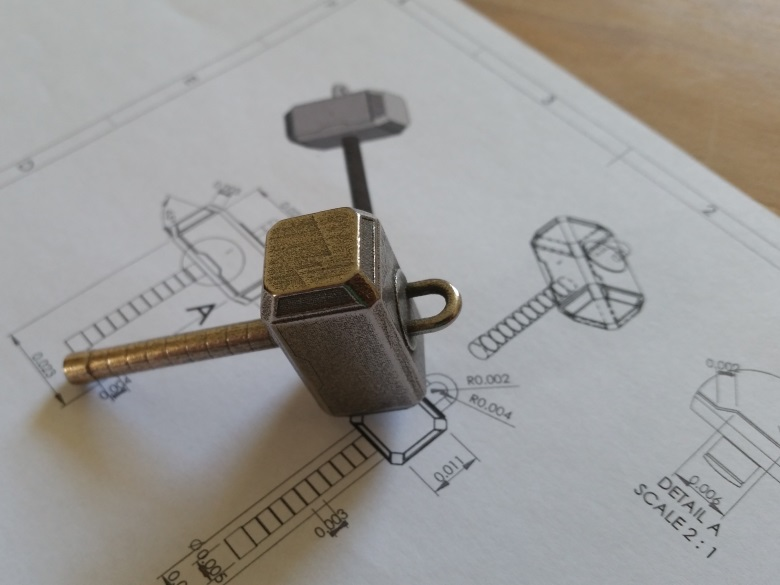
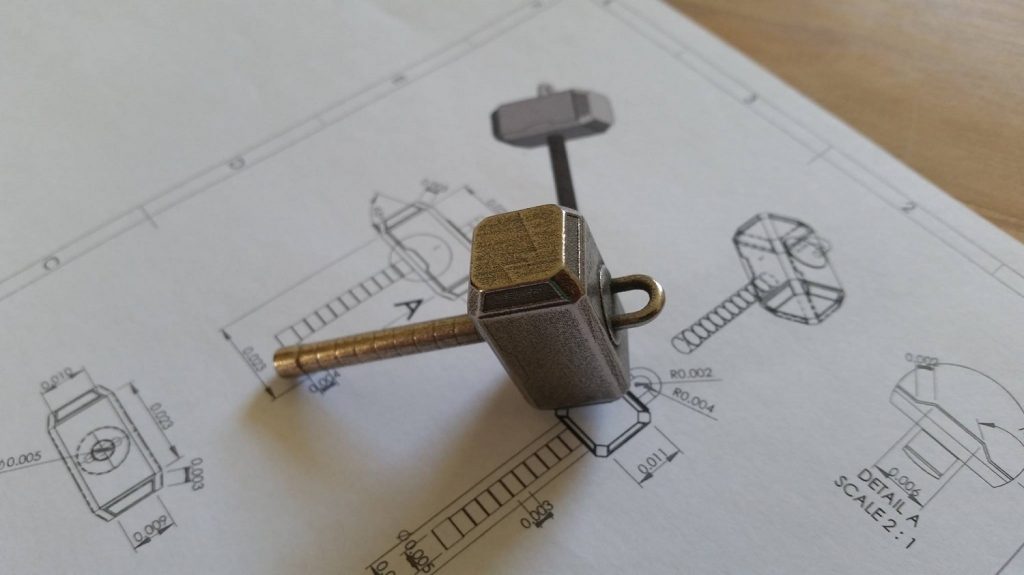
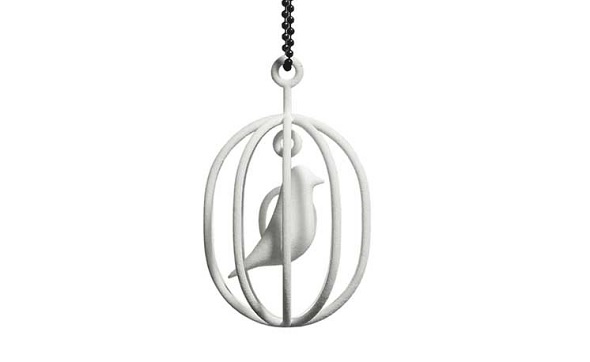
Featured image: Mjolnir Key Chain by Little Things | 3D Printed in Polished Natural Steel
]]>