I Uploaded My 3D Model — Now What?
Ever wonder what happens to your file after it’s been uploaded to i.materialise? In this post, we’ll walk you through the steps your models go through, from automated and manual checks to file preparation, production, and cleaning. We’ll also dive into what happens from the moment you click “order” until your 3D print arrives on your doorstep.
To complete a 3D print order, you must start with a 3D model. This can be done via a 3D scan, by designing it yourself using a 3D design tool, or by hiring a professional designer to do the 3D modeling for you.
Of course, modeling for a 3D print job can be confusing. This is especially true if you are a beginner. In this case, it might be helpful to read our whitepaper, Beginner’s Guide to 3D Printing, so your order won’t be canceled due to design errors.
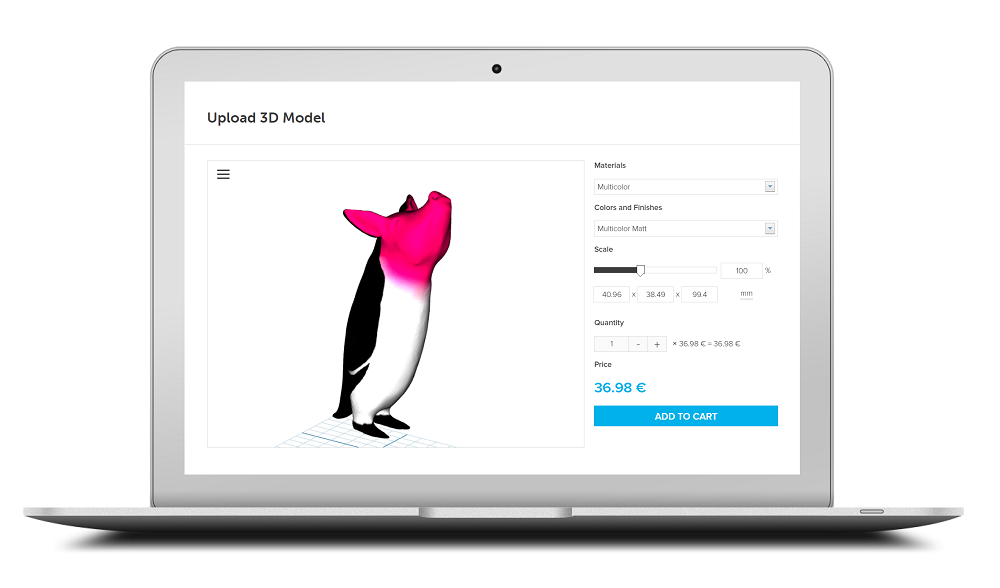
Once you have a finished 3D model, you upload it to i.materialise. Our 3D printing platform offers instant pricing, automated and manual checks, 8 different printing technologies, 21 different materials, and over 100 color and finish combinations. Plus, it has the capability to support many 3D file formats. As such, there isn’t a one-size-fits-all approach when it comes to 3D printing and preparing your 3D model. It’s not only about the printing (which usually only takes a couple of days at most). Rather, it involves an entire process of file checking, planning, printing, cleaning, finishing, quality checking, packing, and shipping your products.
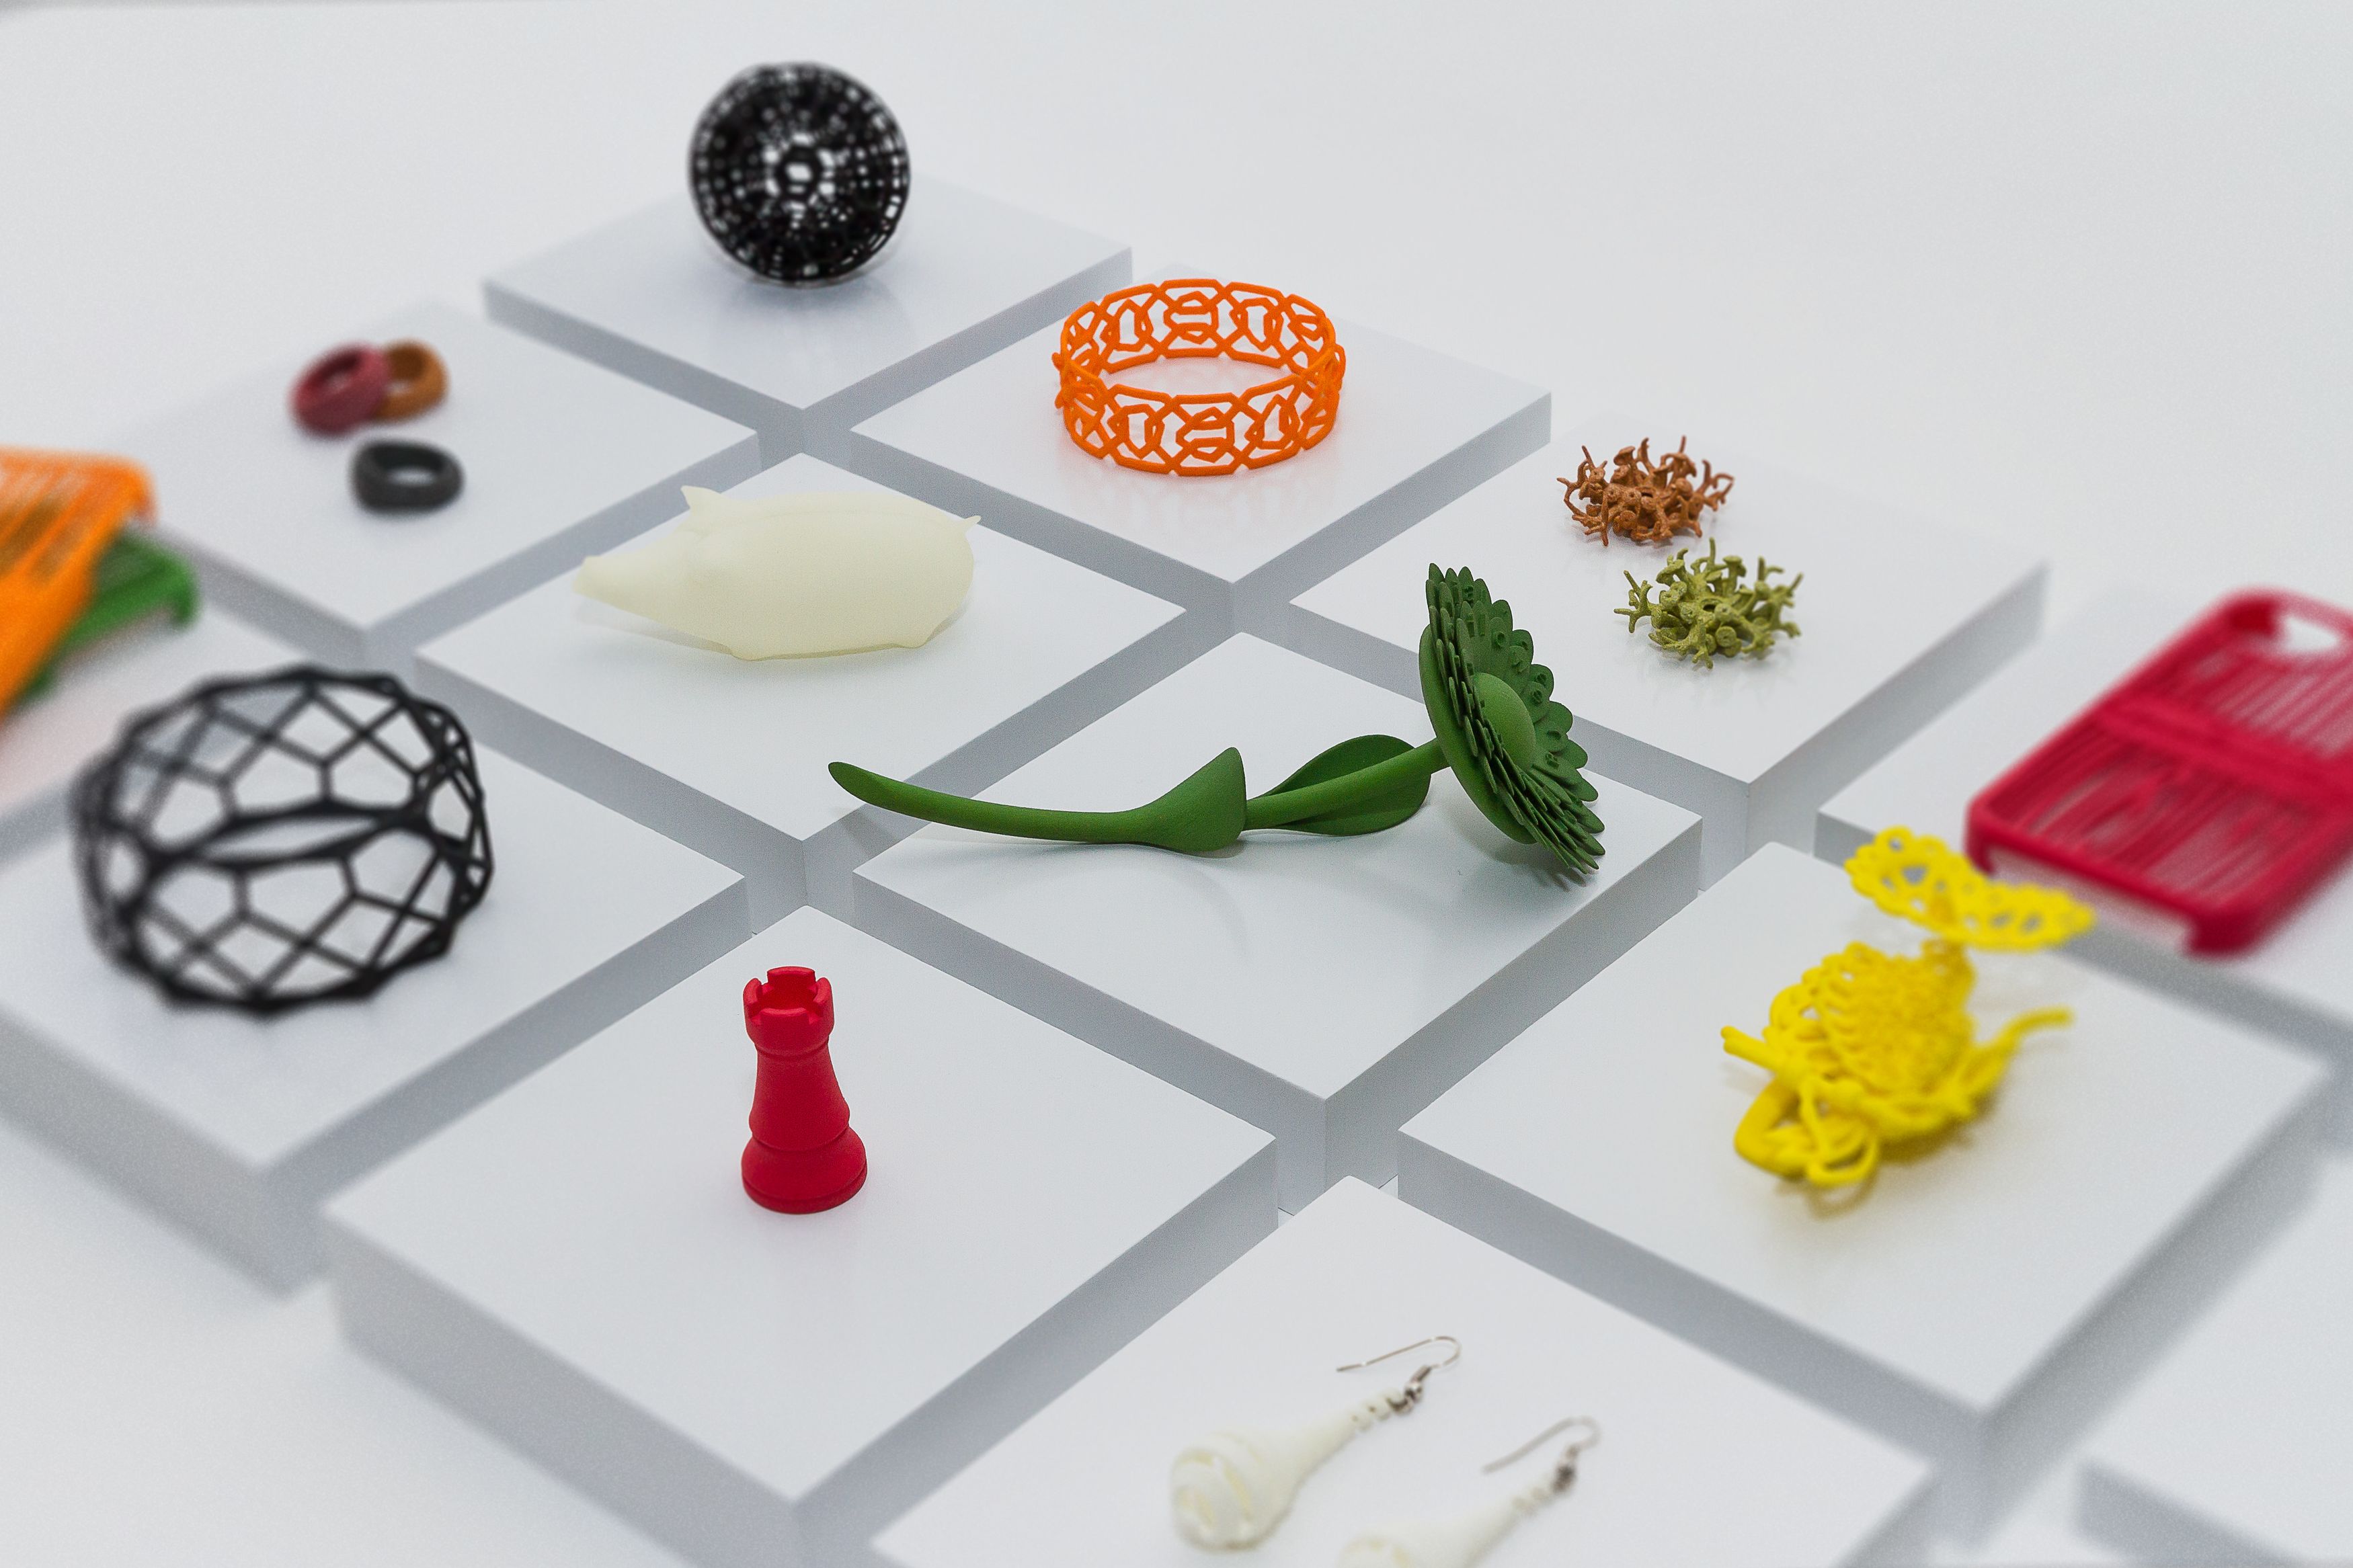
Over 100 color and finish combinations are possible with i.materialise
After the upload
Once your 3D model has been uploaded and your selections have been made, it immediately undergoes an automated check using our in-house software.
The software verifies if the model can be printed. It checks for some of the most common mistakes that make a 3D model unprintable, such as wall thickness issues. If a wall is too thin, for example, this could mean the 3D printer simply cannot build a wall or the wall would be very fragile and break off easily.
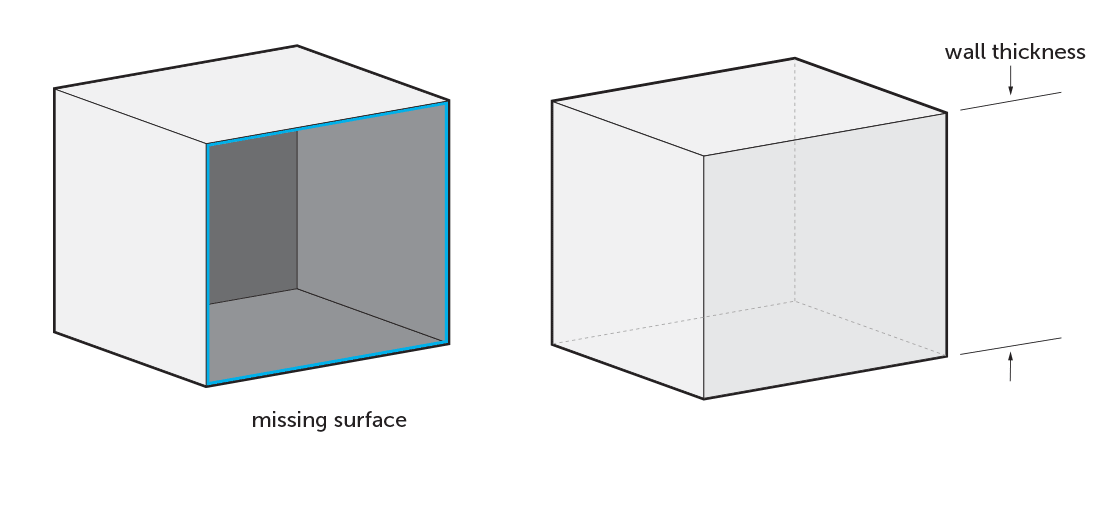
Another common mistake is when your model has edges or contours that are not closed or connected properly. These gaps between surfaces prevent your model from being watertight. This refers to the possibility that your model would “leak” because of these gaps. The gap is closed by welding or stitching the surfaces together in your 3D software program or creating a surface in between.
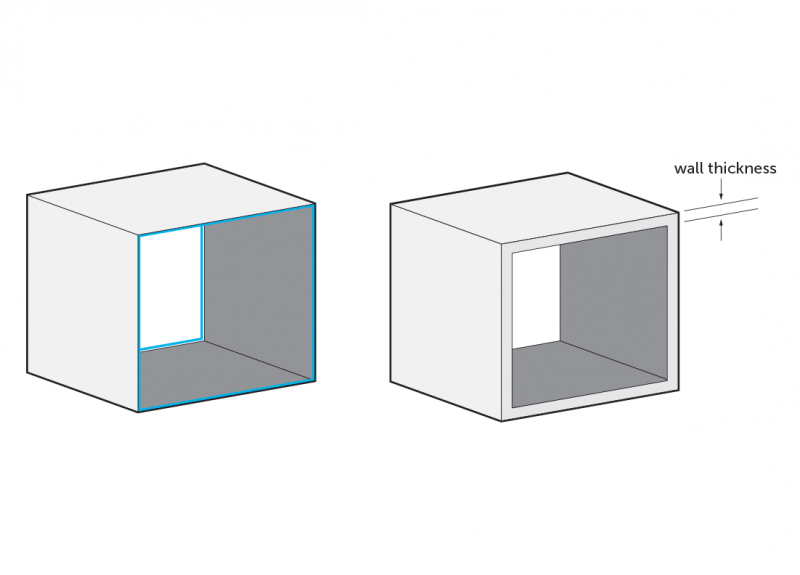

A common mistake when 3D modeling is making walls too thin, or simply forgetting to add wall thickness altogether.
In some cases, our automated software can fix these mistakes. In other cases, if one or more of the automated checks fail and cannot be fixed automatically, then a member of our customer support team reviews the model. During this step, they approve whether the model can be sent into job preparation or not. If there are still some risks associated with the model, they will reach out to the customer to see if they are willing to accept some of the risks (such as wall thickness), before it is sent to job creation.
If the model is not printable or considered acceptable, then the order is canceled (read more on “Why Was My Order Canceled?”). We’ll inform the customer about the cancellation with a refund and a full explanation of what went wrong so they can ensure that the next print will be successful.
Next step: production
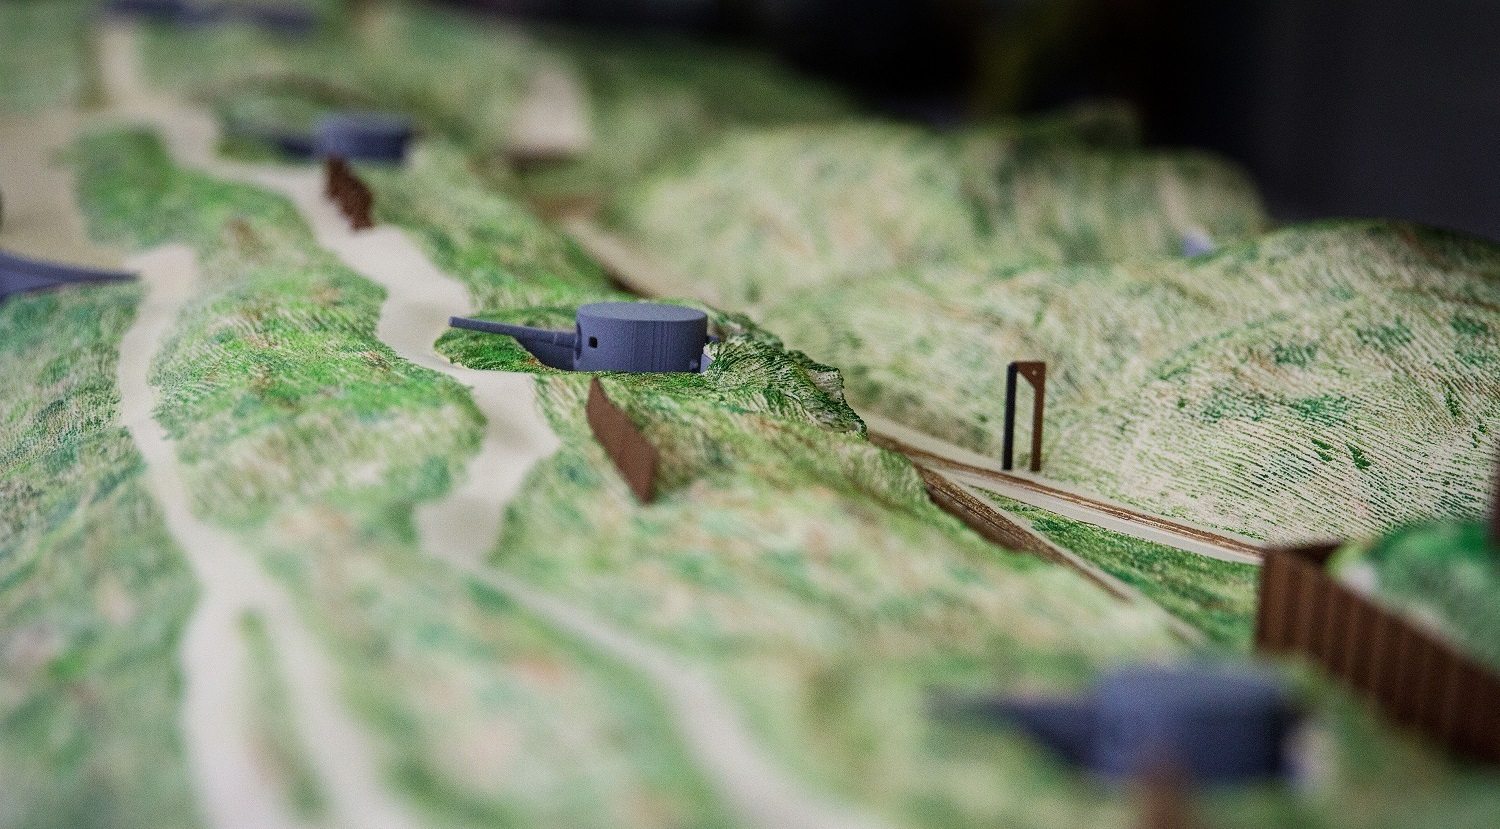
Once the 3D model passes all of the automated and manual checks, it’s cleared for job creation and production. The production facilities contain over 100 printers, including 15 of the world’s largest Stereolithography machines (printing up to 2100 x 680 x 800 mm).
Most of the time, many parts can fit in a single print bed, so there are other prints included in the job file containing your model. During this step, we orient, position, and slice your model. Orientation and positioning influence surface quality and mechanical properties, such as strength. Due to the layered building process, our team has to select the best orientation for each part. Slicing is where the job is split up into layers, sending that information to the printer to construct the entire print job.
We then start the printer, and depending on the size and amount of parts, the print job can take a couple of hours, two days, or even longer. This depends on the complexity of the job, material, finish, and/or the size of the parts. Some additional buffer time is typically added to give room for production corrections and additional checks or print queues. More on lead times and production times can be found here.
Final steps: post-processing, quality check, and shipment
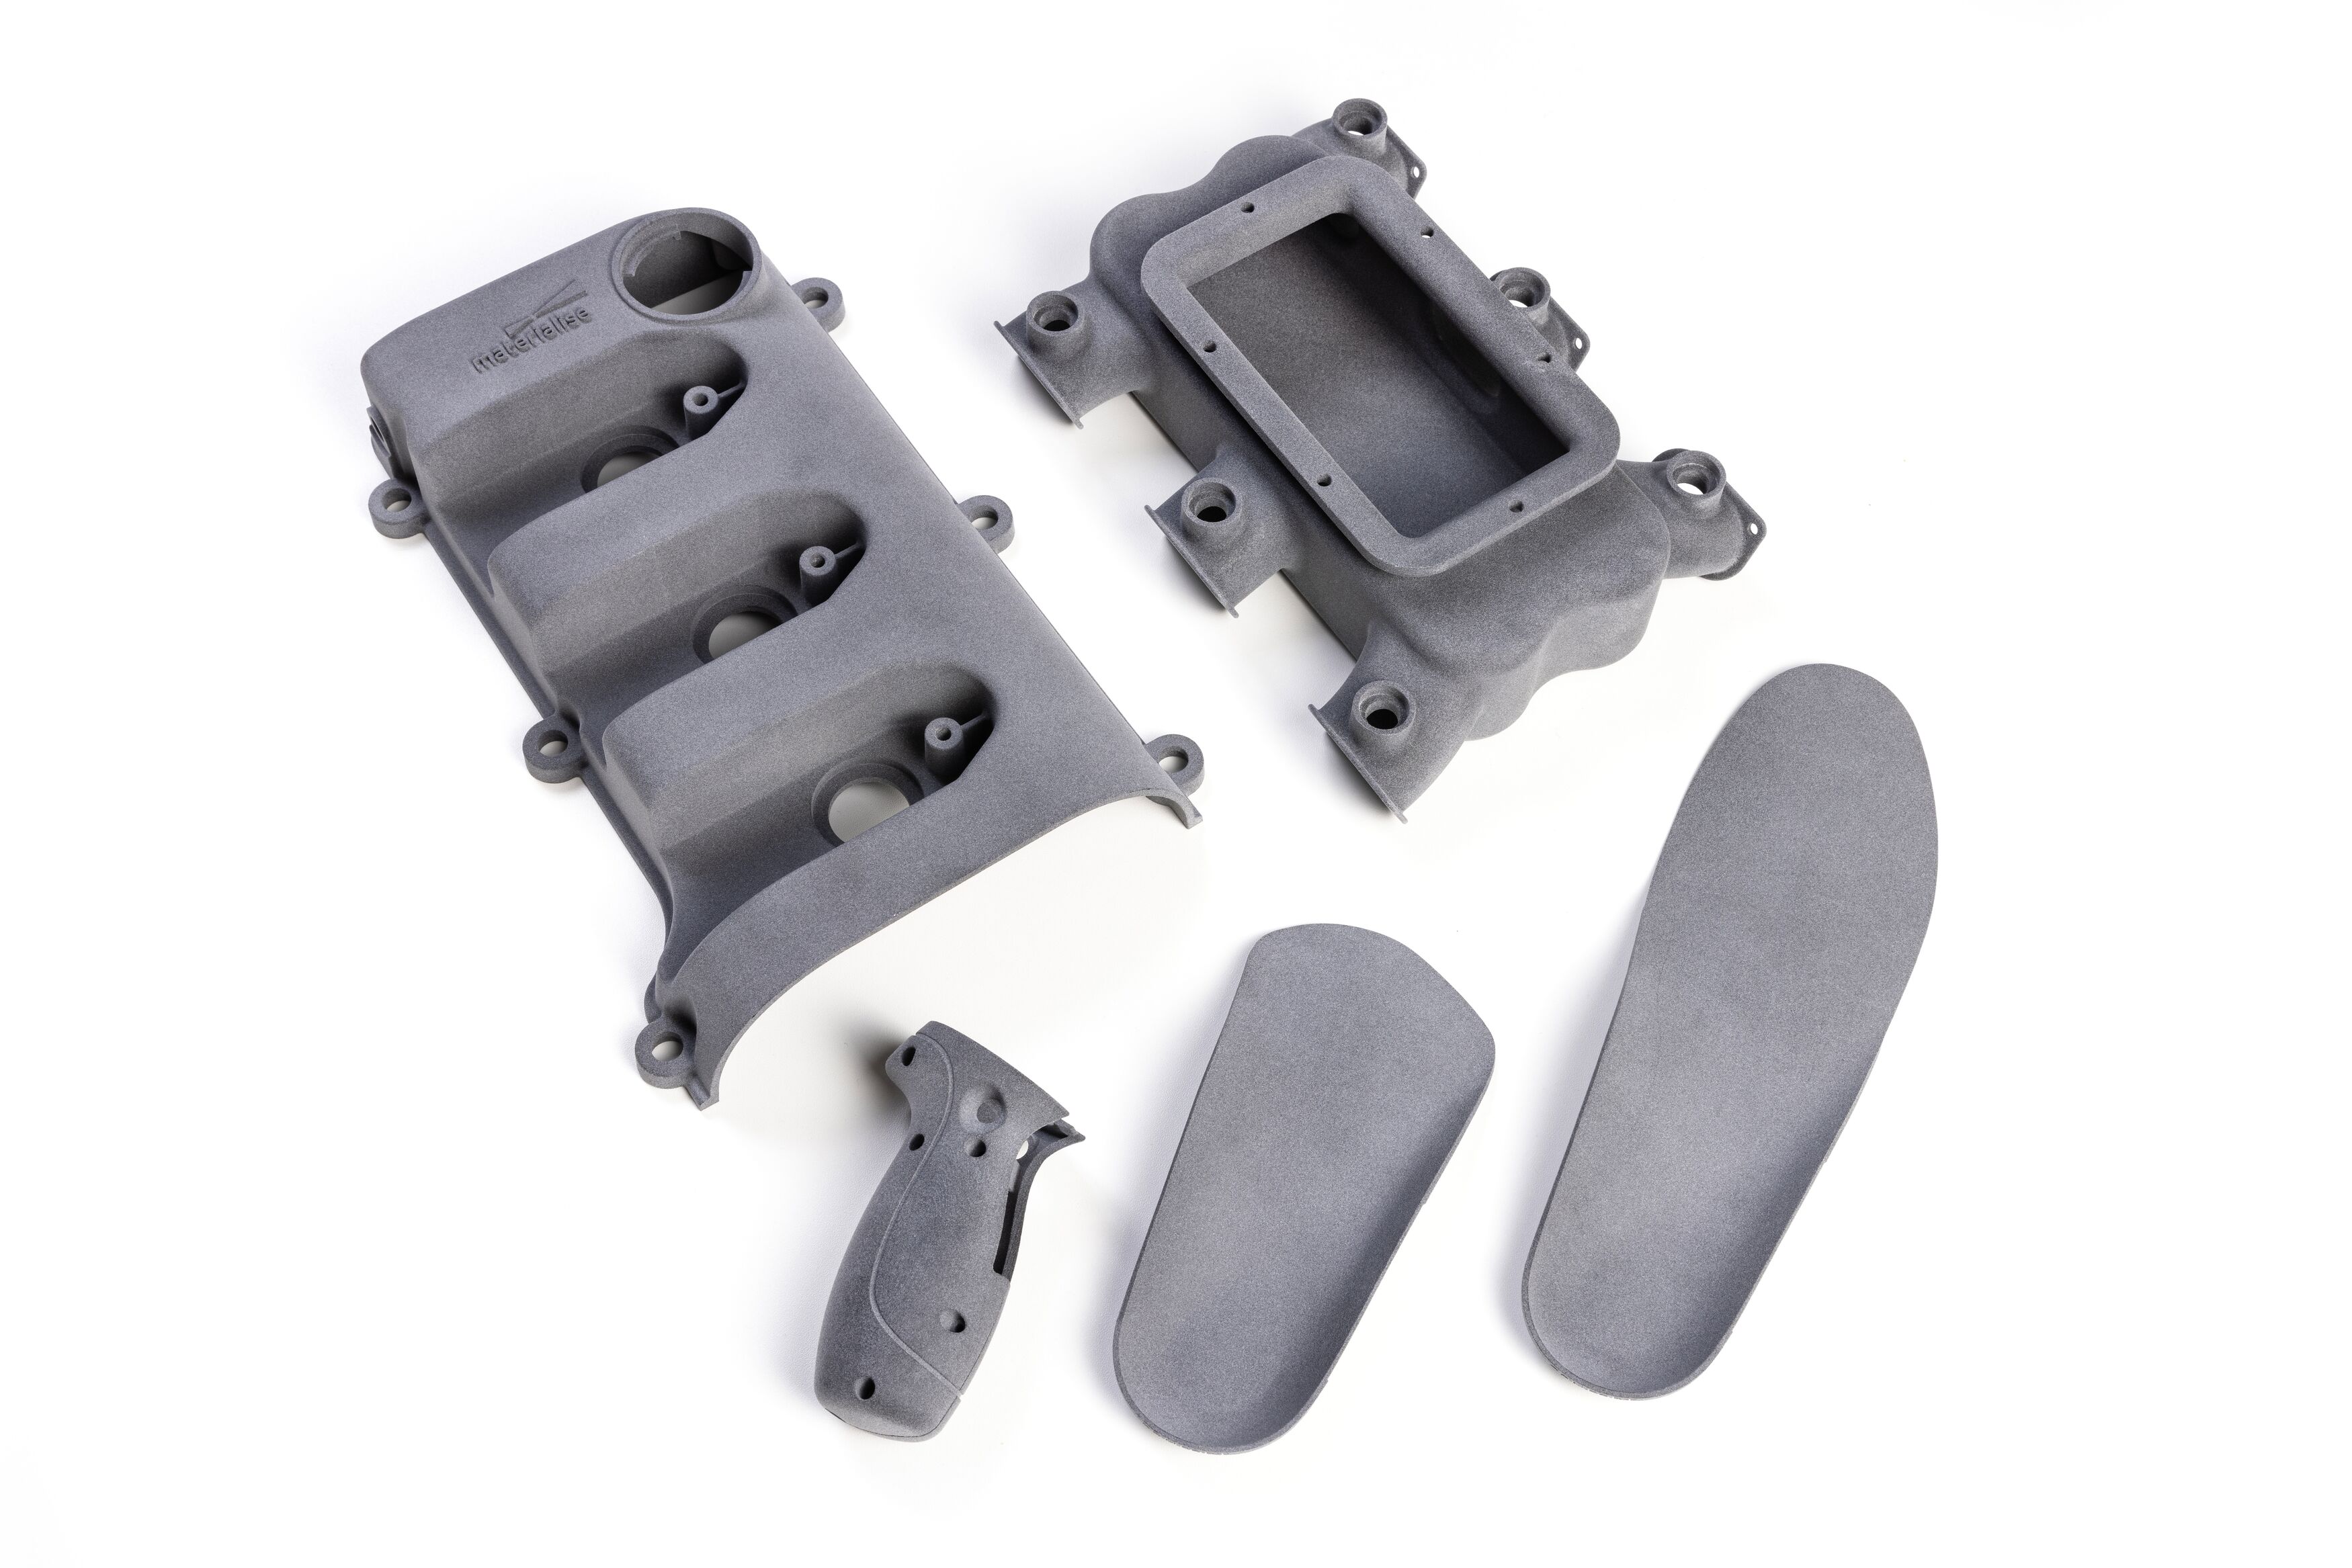
Once the model is printed, the parts are taken from the build and cleaned. The cleaning differs depending on the technology used. For a powder-based process like Laser Sintering and Multi Jet Fusion, we need to remove residual powder. For Stereolithography, we remove residual liquid resin and then the support. You can learn more about the different types of cleaning and 3D printing technologies here.
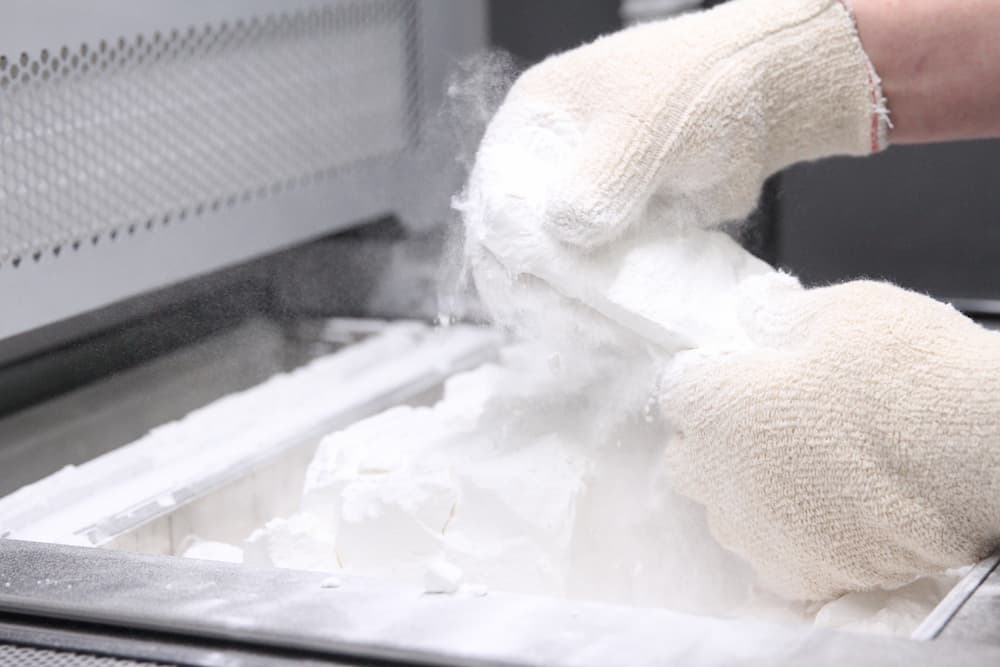
Powdered-based 3D printing technologies like Multi Jet Fusion require residual powder removal during the cleaning process.
Additional post-processing is done depending on the required finish or color. For example, if you ordered a Polyamide model with a red polished finish, once your model is printed, we place it into a tumbler with pebbles that vibrates at a high frequency to smoothen the surface. Then, we dye it by putting it into a bath with red pigment.
The last step before shipment is a quality check. We assess the printed parts for quality assurance and double-check basic measurements. Then, all the parts for one order are gathered for shipment together in one package.
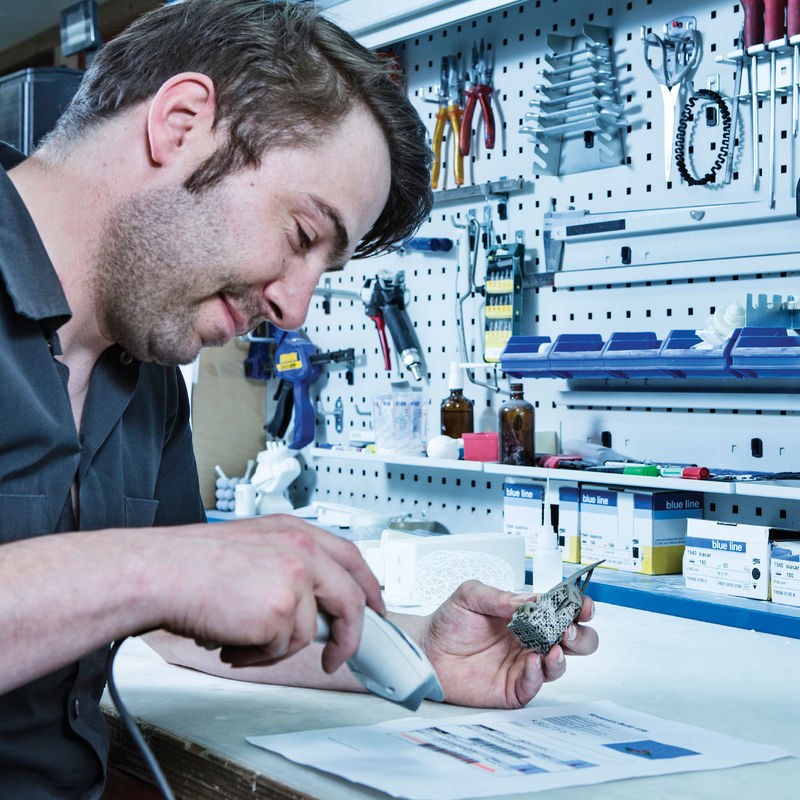
All parts go through a quality check before getting shipped out.
Your 3D print is now ready for its final step and last leg of its journey. All of the printed 3D models are shipped via UPS, with delivery times varying by region — check out our shipping time page for more info. Ready to print your model? Go to our upload page to get started.