How to Choose the Perfect Wall Thickness for 3D Printing
Since each 3D printing material and 3D model is different, choosing the right wall thickness for 3D printing can be confusing. Yet, keeping these simple tips in mind will ensure that you won’t receive an unpleasant surprise and the walls of your object will have just the minimum thickness they need.
Assign wall thicknesses to your 3D model
First things first: it’s very important that every surface of your 3D model has been assigned a wall thickness.
When using your 3D modeling software it is possible to design a surface without a wall thickness. However, our printers need the information about how thick you intend the wall of your object to be. Thus, when turning a 3D model into a real 3D print, wall thickness is needed.
Wall thickness is simply the distance between one surface of your model and its opposite sheer surface. Many printing problems can be traced back to wall thickness issues. The minimum printable wall thickness primarily depends on the 3D printing material you choose. However, other factors, such as the alignment, size, and overall design of your 3D model, can also influence the recommended minimum wall thickness.
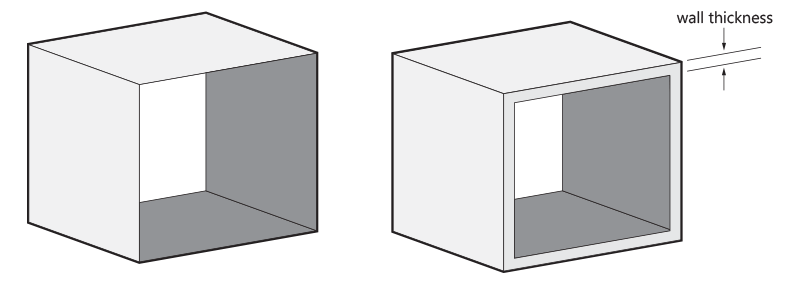
Minimum wall thickness is the distance between one surface of your model and its opposite sheer surface
Before you decide to 3D print, and ideally before you start to design your model, you should know the basic guidelines for your printing material of choice. You can find specific information about the required wall thickness for each material in our design guides.
Now, let’s have a look at some examples.
Choosing the right minimum wall thickness
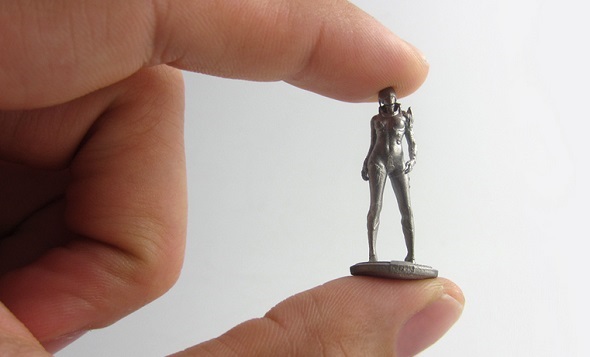
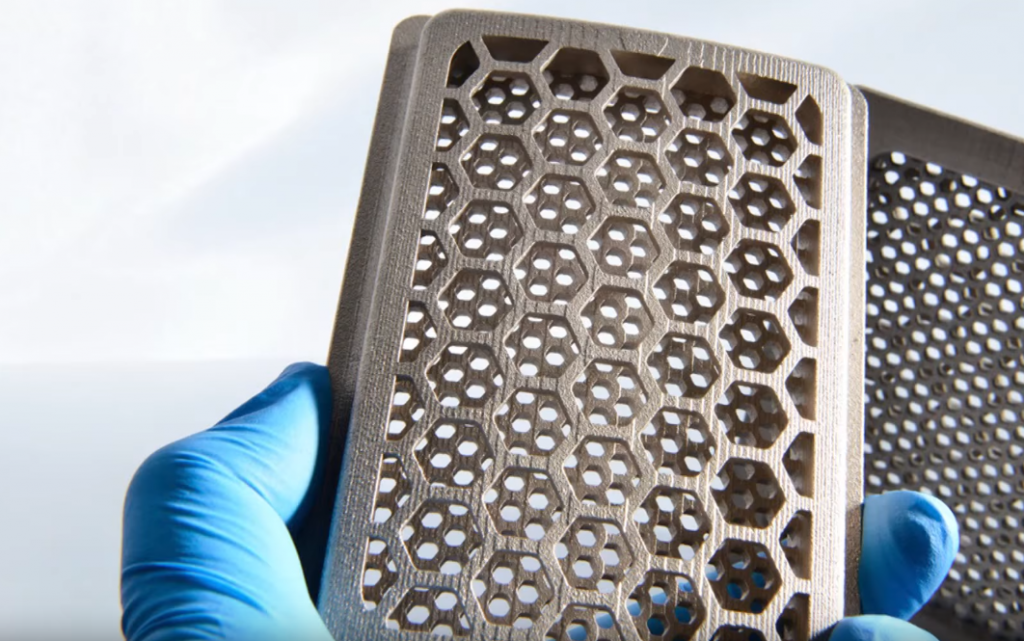
Aislin by Yarrid Henrard, printed in High Detailed Stainless Steel
If you decide to print in strong materials such as High Detailed Stainless Steel (0.3 mm) or Titanium (0.4 mm), your minimal wall thickness can be quite thin. However, we always recommend you to be on the safe side and make the walls a bit thicker.
As said before, the minimum wall thickness can depend heavily on the structure and design of your 3D model. If you want to print in high detailed stainless steel, a vertical wall with a surface of 5 mm² only needs a wall thickness of 0.3 mm, whereas a vertical wall with a surface of 100 mm² needs to be at least 1 mm thick.
A horizontal wall with an area of 100 mm² would need a 2 mm thickness. In this case, the size of the surface and the alignment (vertically or horizontally) are important when defining your minimum wall thickness.
Find out more about this in our design guide for High Detailed Stainless Steel.
The models printed in Gray Resin or Mammoth Resin would need walls with a thickness of 1 mm, 2 mm, and 3 mm.
find out more about this in our design guides for Ceramics, Gray Resin, and our different Resin options.
Also keep the maximum wall thickness in mind
After having mainly focused on walls that are too thin, you might encounter problems with walls that are too thick as well: for Metals, it is especially important to respect maximum wall thicknesses as thicker sections will generate too much internal stress and could cause the item to crack or even break.
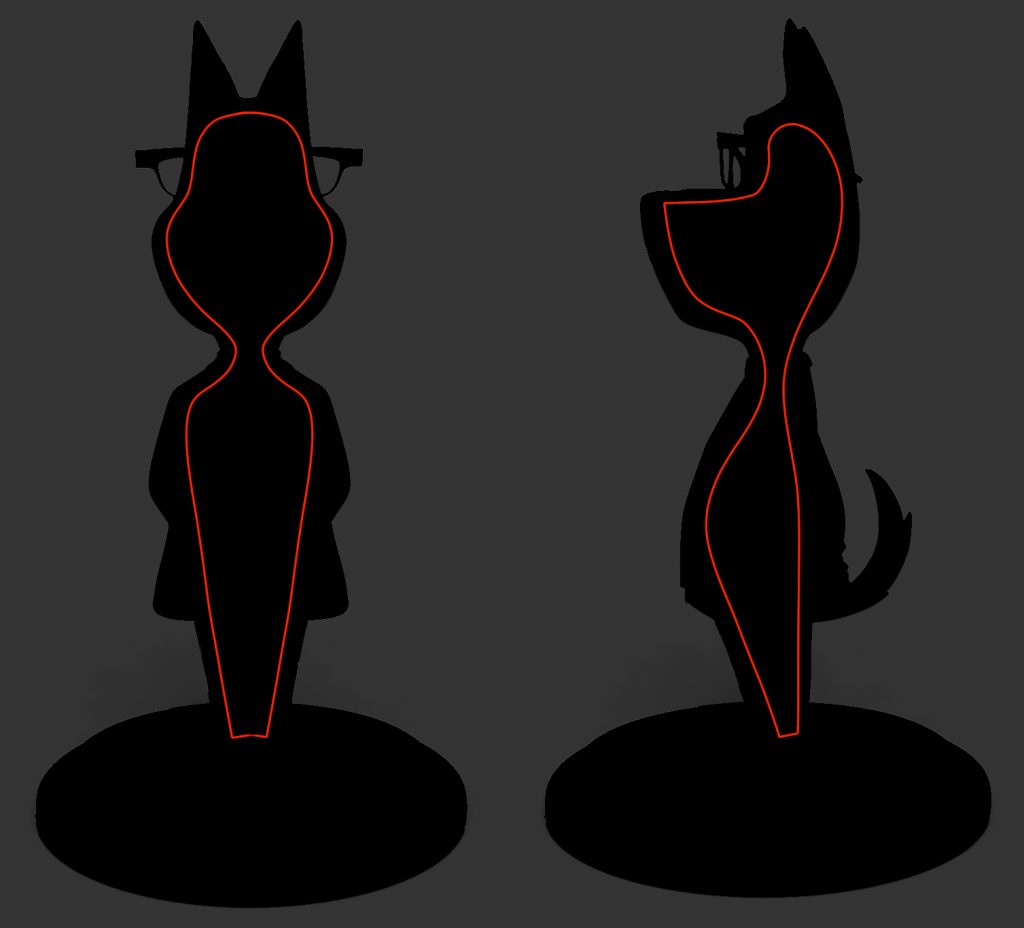
Too thick walls can be a reason why we cannot print some of your orders. The best solution is to make your model hollow and foresee holes to let the powder flow out: Once again you need to check the individual guidelines on how big these holes need to be: While 3 mm for small models (less than 10 x 10 x 10 mm) and 5 mm for larger models in fine for High Detail Stainless Steel.
Recommended wall thicknesses for 3D printing
Our printers can print quite thin in Multicolor+, but that doesn’t mean that printing very fine walls are a good idea. During shipping and finishing, parts of your object with a thickness below 1.5 mm are likely to break. Again, we recommend that you add extra wall thickness: 5 mm will make your model more solid and safer to handle.
For some materials, long, heavy items that hang in midair might break off when they are designed too thinly. If your model includes some more fragile parts, like outstretched arms of a figurine, try to add support structures as part of the design.
Don’t ignore gravity when designing your model. Instead, we recommend using bent arms or arms holding an item that touches the ground (e.g. a shovel). Find out more about this in our design guides.
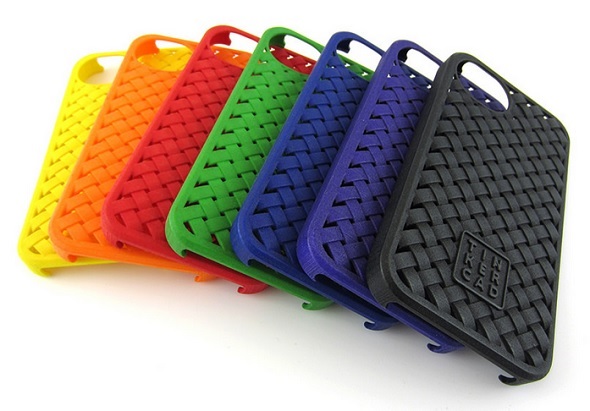
iPhone cases by Pekka Salokannel, printed in Polyamide.
Let’s take a look at one last example where maximum wall thickness plays an important role again: If you want to print a somewhat flexible object in Polyamide(SLS) like an iPhone case that needs to be clipped onto a phone, walls that are too thick might turn a flexible object into an item that is too bulky. In this case, a thickness of 1.5 to 2.5 mm would be ideal for creating a somewhat flexible product.
Getting the perfect wall thickness in a nutshell
- Firstly, you need to know how to assign a wall thickness to every surface of your 3D model. This step might be a bit different in each 3D modeling software, but it is crucial for preparing a 3D print.
- The recommended thickness of the wall depends heavily on the printing material. Carefully read the design guides for the material of your choice. Do not forget that in some cases maximum wall thickness can also cause problems.
- Analyze and think about your design. If it has weaker sections, think about ways to support them. Also, think about how the size of your object will influence the required wall thickness.
- If you wonder if your 3D model is printable, you can also use online tools like the Materialise Cloud in order to automatically check the wall thickness for a parameter of your choice.
- In case you still need help, visit our File Optimization Guide to learn more about how to prepare your files for 3D printing and browse our Help Center for answers to common questions. You can also reach us via our forum and our contact form. If you still have troubles with your 3D model, contact a 3D designer here.
If you run into difficulties choosing the right resolution of your file, this blog post will help.
Also, make sure to learn about 5 mistakes you need to avoid when modeling for 3D printing.
If your designs are ready for the 3D printer, upload them here and we can print them in 20 materials on our high-end machines.
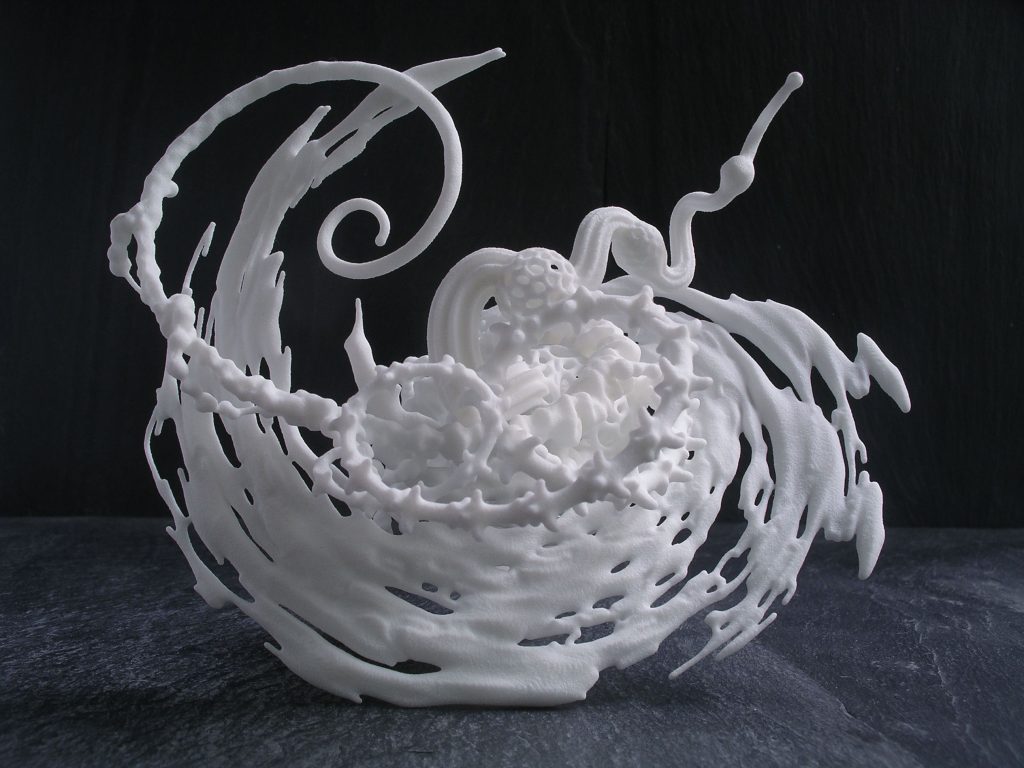
Featured image: Écumeur by Charles-Eric Gogny in Natural Polyamide(SLS)
Recommended Articles
No related posts.


