How Resin 3D Printing Works: Stereolithography Explained
Stereolithography, the technology behind most resin 3D prints, is often referred to as ‘the mother of all 3D printing technologies’ and is considered one of the most widely used techniques for producing high-quality 3D prints. Here at Materialise, we have been using Stereolithography since 1990. Time to talk a bit more about this technology and our latest resins.
The Technology: It’s all about UV Lasers
The technology behind (most) resin 3D prints is known as Stereolithography. And here’s the one-minute explanation of how Stereolithography works:
- In the first instance, the roller of the printer spreads out a razor-thin layer of liquid polymer. Since this layer is liquid, it will spread out over the entire platform ensuring that each layer has a consistent thickness
- The liquid polymer we use is UV sensitive. When struck by a computer-controlled UV laser, the resin will change from a liquid to solid state. Basically, the laser “draws” the outlines of the print onto the resin layer and hardens the parts that it touches. The parts that are not touched by the laser will remain liquid
- These two steps are repeated over and over and over again. The model is lowered by a fraction, and the roller spreads out a new layer. The laser then solidifies specific areas of that layer, which will become parts of your 3D print. This is repeated until the model is finished
- Once the printing process is completed and the entire object has been printed, the print is raised out of the resin tank. The excess liquid will simply flow away and can be reused for other prints. The prints then need to be removed and finished manually (i.e. remove support structure, smoothen surfaces, spray-paint surfaces, etc.)
The following video will give you a better idea of how this 3D printing process works:
The Resins: From Tiny Details To Mammoth-Size
There is more than one material used with this technology. In fact, we offer four different Stereolithography-based resins that all come with their own characteristics. However, these resins also share some attributes: they feature smooth surfaces and are great for post-processing.
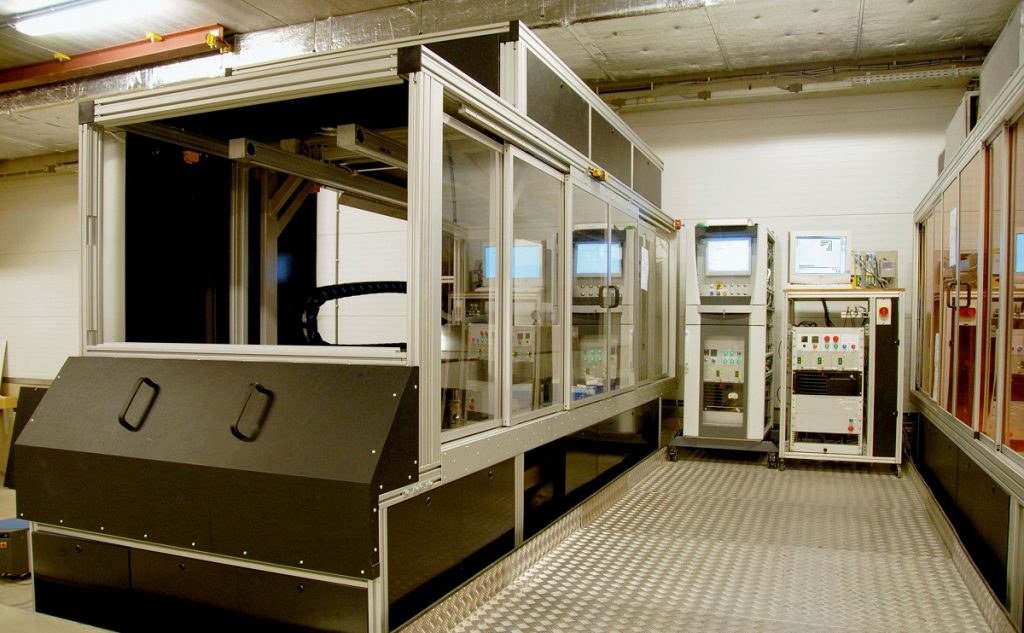
Mammoth Resin: Mammoth Resin is printed on one of the biggest printers out there… you guessed it, the Materialise Mammoth printers (that’s also the printer shown in the video above). Previously this resin was known as Paintable Resin. These printers can print large parts up to a size of 2100x700x800 mm, which can be spray-painted in several colors.
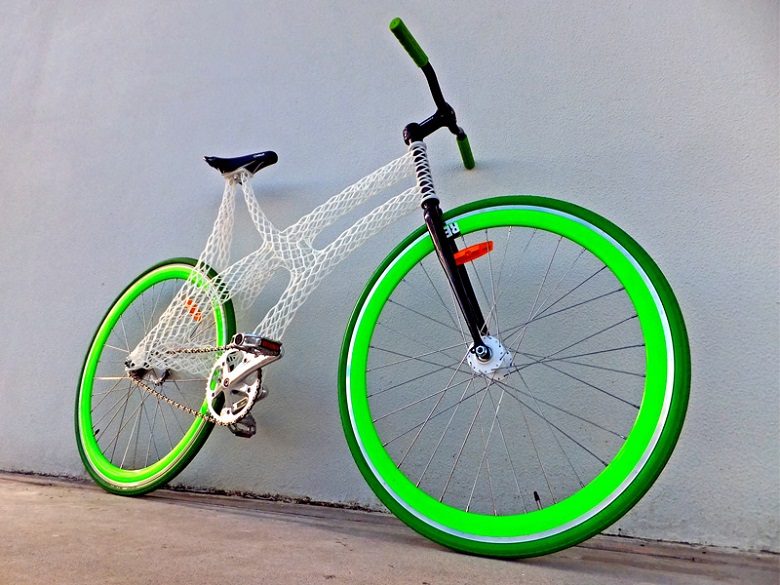
Bike Frame by James Novak. 3D Printed in Mammoth Resin.
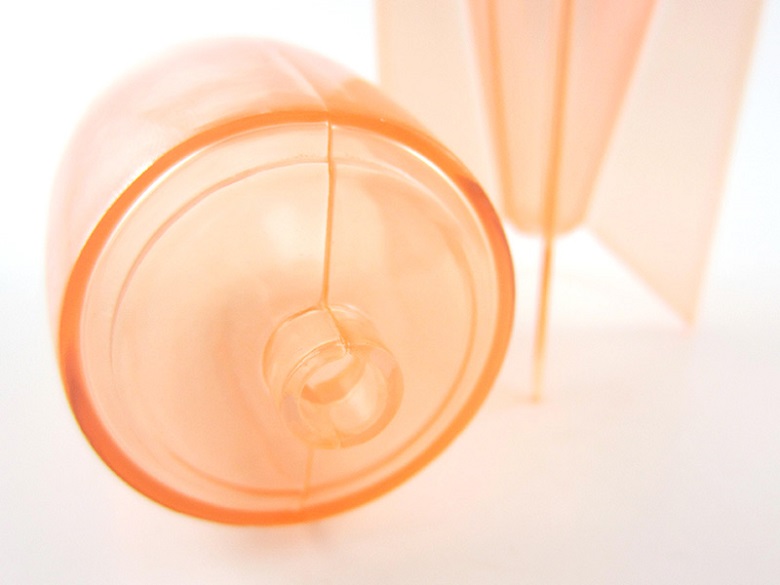
Transparent Resin: Also printed on our Mammoth printers, Transparent Resin is (surprise, surprise) transparent and can be ordered in several colors. In fact, it is the only transparent material that we currently offer at i.materialise.com. It can also be ordered for parts up to a size of 2100x700x800 mm.
Gray Resin: Gray Resin is the great all-rounder. It comes with a great level of detail, is suitable for small- and mid-size models, and features a smooth, gray surface. This gray color makes it perfect for hand- or spray-painting jobs. That’s why this resin is so popular among the scale modeling community.
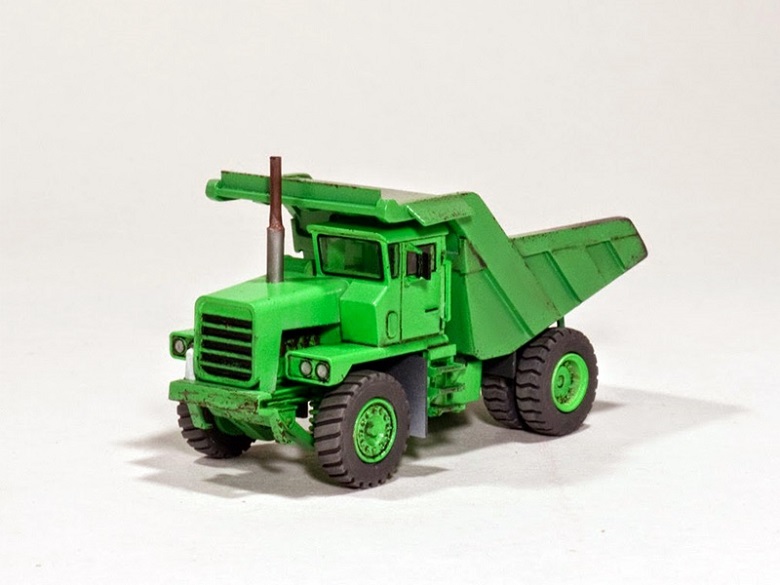
Dump Truck by Jens. 3D Printed in Gray Resin and Hand Painted.
Standard Resin: Our newest addition to the resin family. Standard Resin comes at a low-budget price while delivering very detailed results. To save some more money, you can even order Standard Resin with support structures, meaning less time spent in post-processing.
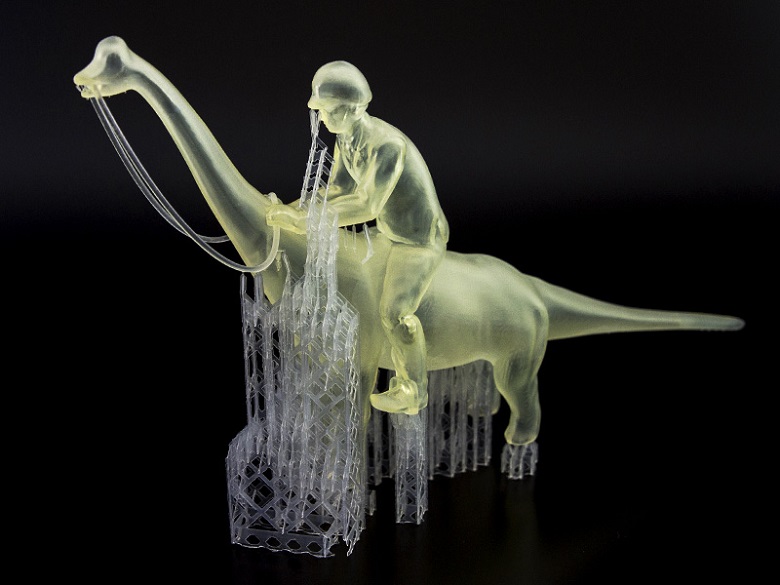
Dino Rider by Bert De Niel. 3D Printed in Standard Resin “with support”.
Want to get a high-quality resin print yourself? Simply upload your 3D file, choose from our wide choice of resins, see your price instantly, and place your order.
Recommended Articles
No related posts.


