Solving a Real 3D “Puzzle”
With decades of experience in puzzle making, Oskar van Deventer has designed some of the most challenging and intricate 3D puzzles seen on i.materialise. He’ll use anything from computer-aided design programs to nail polish to make his vision come to life. He walked us through his design process and gave insights into some of his upcoming projects.
Oskar van Deventer has designed and created puzzles for more than 40 years. He opted for wood when he first started out in 1978, which is a good choice of material to work with when creating cubic puzzles. He found it more difficult to produce different shapes, however, and moved on to a plastic material that allowed him to design other categories of puzzles — but that didn’t quite cut the mustard either.
When 3D printing came along, it completely changed puzzle-making for Oskar: all of a sudden, the limitations he’d encountered were gone. For him, the technology has enabled so much more in terms of puzzle creation and design options.
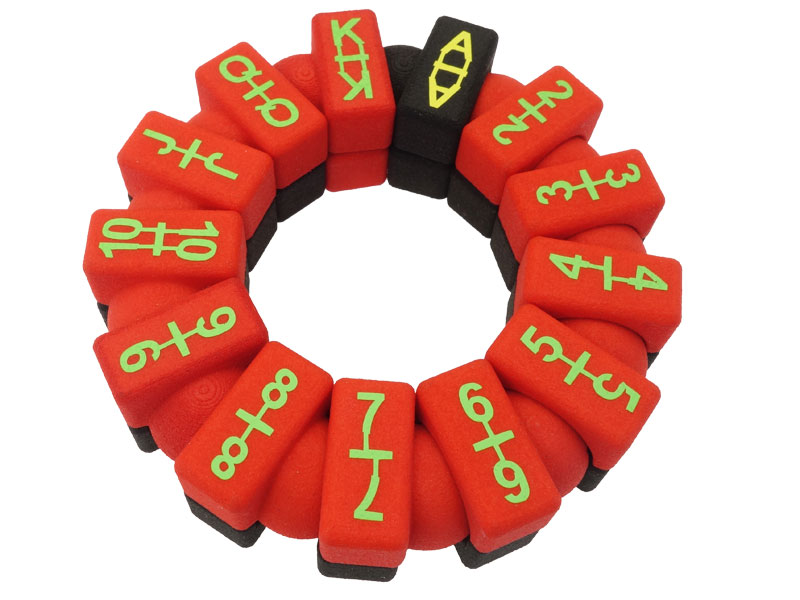
Loopy Twist © Oskar van Deventer
Designing puzzles requires serious geometry, especially puzzles with numerous faces. Using a computer-aided design program helps creators such as Oskar calculate all of the angles correctly.
“I draw a pentagon and some triangles, and the CAD program does everything else for me,” Oskar tells us. “It’s the CAD program that makes it fairly easy to first prototype on the computer and once the design is good enough, I print it.”
When he’s drawing a twisty puzzle model in Rhinoceros 3D, Oskar starts with the geometry and works on a sphere: “Using one larger sphere, I put a lot of smaller circles on the sphere so that when you move it, it’s a rotation of one of the circles,” he explains.
Working from those curves, he then hones in on designing the smaller pieces. It begins with a sharp outline of the corner piece, followed by closing everything by rounding out the edges.
Then it is meshed for export (a CAD command for polyhedral objects), and ready to be sent to i.materialise.
“When you’re sending the design to i.materialise, it has to be in a neat cage,” he said. “So, the next step in the design process is to develop a cage; I create some blocks for that purpose and I label the cage “twisty ring” for the puzzle. The cage includes all of the parts for the puzzle.”
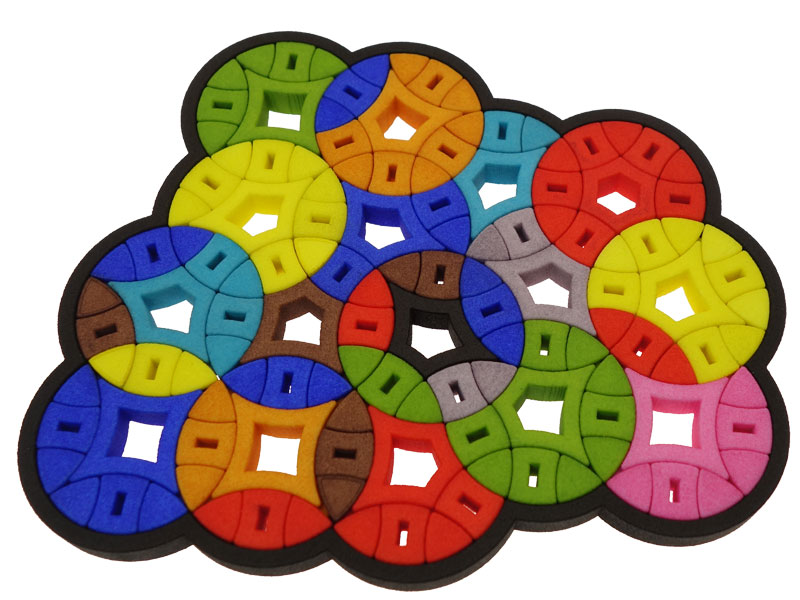
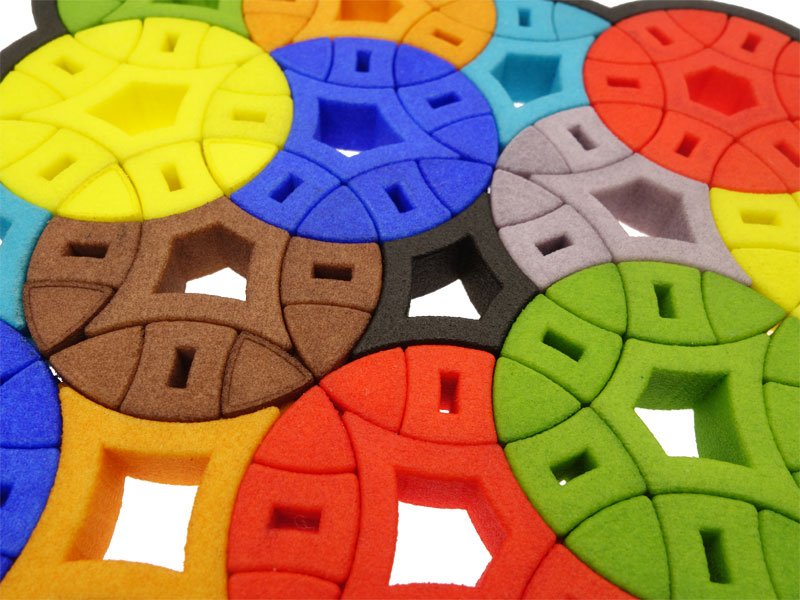
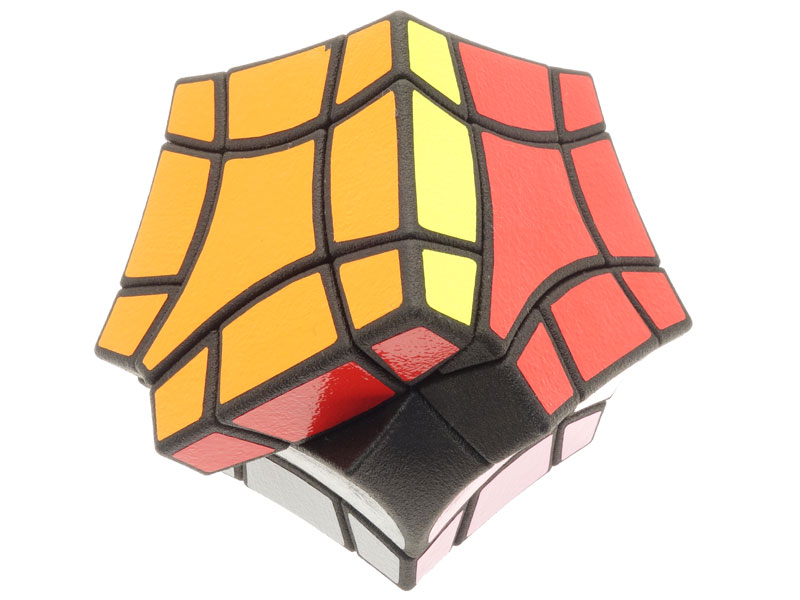
Jumble Cloud © Oskar van Deventer
Puzzle pro tip: Nail polish
Once it is uploaded to the i.materialise platform, it takes between 1.5 and 2 weeks to print and finish the prototype. “Developing a prototype like this is extremely fast compared to what existed in the past,” Oskar says.
Little post-production is required for a twisty ring puzzle. Oskar’s 3D material of choice is polyamide: it is both flexible and affordable. When assembling the puzzle, the polyamide is not completely smooth; the parts are stuck together and must be twisted to get them moving. He then cuts out the sticker designs to add color to the different faces of the puzzle.
“I use silicone lubricant — the same spray you use for a bicycle. I soak the pieces with the spray and break them in to make sure the puzzle turns smoothly,” Oskar explains. Because the combination of the silicone spray and the nylon material makes it hard for the stickers to stick, Oskar has found a clever workaround: he uses a nail polish primer and a hot iron to make his colored stickers adhere better.
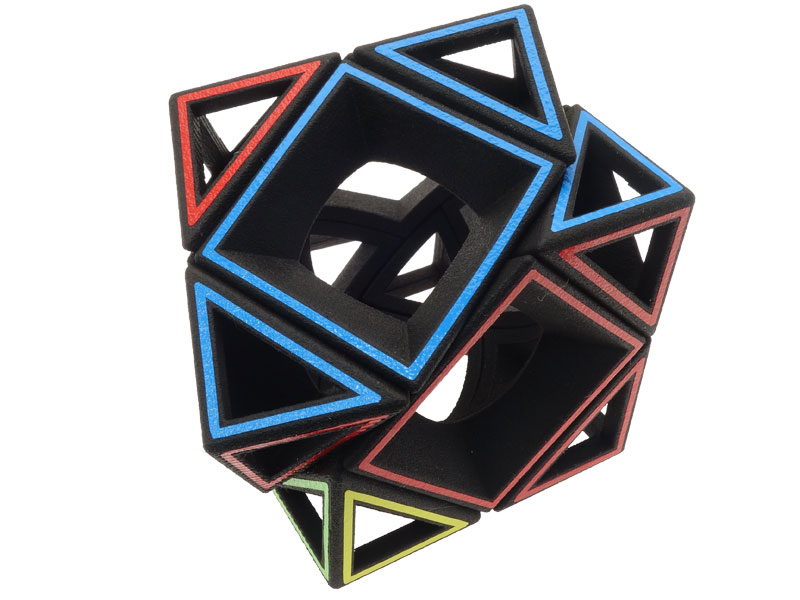
Hollow Skewb © Oskar van Deventer
What can we look forward to next?

Oskar van Deventer
You would think that after 40 years of puzzle-making, the flux of ideas would start to dwindle, but that is not the case for Oskar.
“The problem for me is not a matter of having too few ideas; it’s a matter of which project is exciting enough and having sufficient time to work on it,” he tells us. “There’s a project that I’m currently doing that is a twisty puzzle with 12 axes in a semi-random pattern. That one is next on my list; we have been working on it since last year.”
“I recently discovered that i.materialise does great dye work,” he adds. One of his small-scale productions is a puzzle ring (called the Rainbow Ring), for which i.materialise did all the 3D printing and the dye work.
“It saved me a lot of effort, and the dye work is very consistent,” Oskar says.
You can find out more about Oskar’s work on his website as well as our previous interview with him in which we discussed his amazing design for a supersized Rubik’s cube. Oskar’s designs can be purchased via his i.mat shop.
When you’re ready to start creating your own 3D puzzles, simply upload your 3D model to our online 3D printing service and choose from lots of high-quality materials, colors and finishes .
We love seeing what our community gets up to. Tag us on social media with #imaterialise for a chance to get featured!