The Most Important 3D Printing Technologies & Materials You Need to Know
If you believe that all 3D printers use filaments, and terms like Stereolithography, Laser Sintering and PolyJet Printing cause you headaches, then this blog post is for you. In this post, we’ll give you an overview of the essential 3D printing technologies and 3D printing materials that are currently used on an industrial level.
Filament-based 3D Printing
Home printers typically work with plastic filament. The technology behind this is often referred to as “Fused Filament Fabrication” (FFF). In our 3D printing factory, we have more professional, industrial-grade machines: our filament printers use a technology called “Fused Deposition Modeling” (FDM).
In an FDM printer, a long plastic filament is fed by a spool to a nozzle where the material is liquefied and ‘drawn’ on the platform, where it immediately hardens again. The nozzle moves to place the material in the correct location to build your model up layer by layer. When a layer is drawn, the platform lowers by one layer thickness so the printer can start with the next layer. Sounds similar to a regular home printer? Read on!
Now here’s the cool part: Unlike most home printers, our FDM machine actually uses a second filament that is used for building support material. Since the material used to build the model cannot be deposited in the air (e.g. for overhanging parts), the support material prevents it from falling down. After the printing process, the model is put into a bath with special soap. The support material dissolves automatically in this bath. Thanks to this, your designs can be really complex and contain interlocking, interlinking, and movable parts.
A good example of the kind of piece you can make using this technology is the fully functional, continuously adjustable screw-wrench below – all printed in one piece.

ABS prints: Functional & strong but with a rough surface.
The printing material these printers use is called ABS. This material will give you a print that is strong and accurate. ABS is very useful for functional applications because it matches 80% of the properties of real injected production material. However, the surface quality of the models produced with this material is rougher compared with other materials.
Powder-based 3D Printing
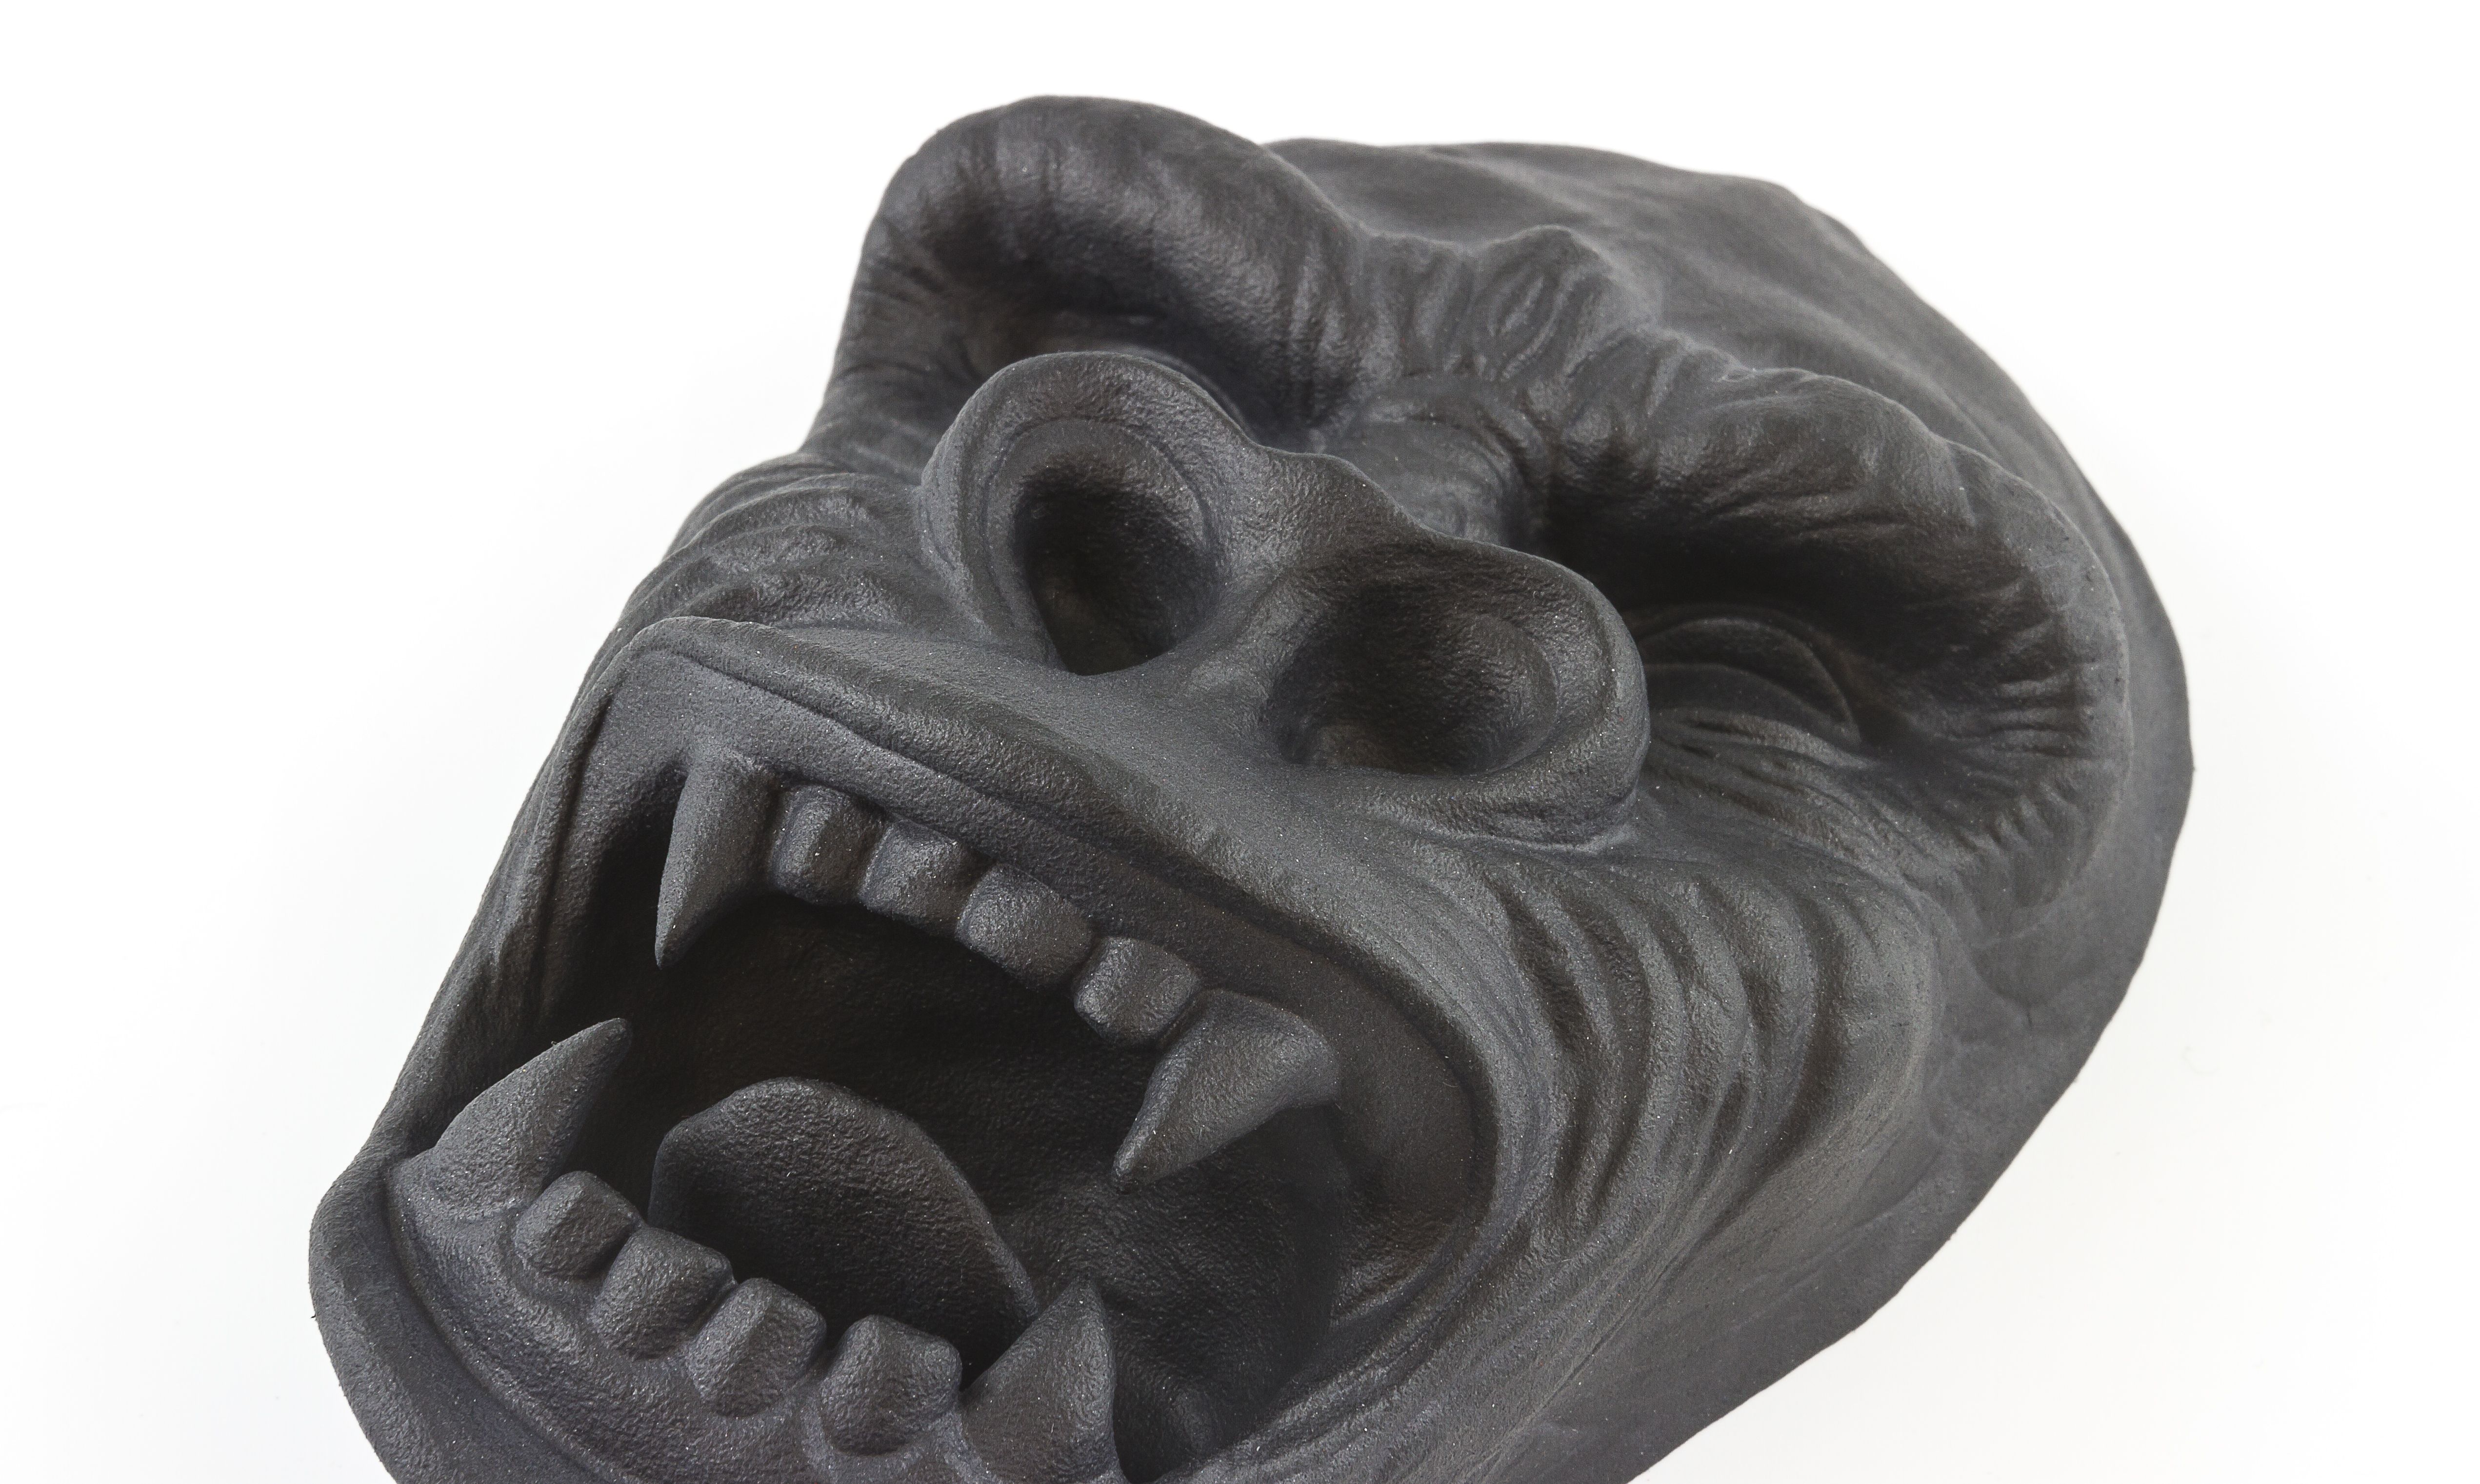
The next big family of printers that we have is not based on filament but on powder. Laser Sintering is used to create 3D prints in Polyamide, Alumide, and Polypropylene.

3D prints in Polyamide come in many different finishes and colors.
The interior of the printer is heated up to just below the melting point of the powder of your choice. The printer then spreads out an incredibly fine layer of this powder. A laser beam heats up the areas that need to be sintered together just above the melting point. And voila: the parts that were touched by the laser are now fused together while the rest continues to remain loose powder.
The models are printed layer by layer with the help of this laser beam. After a layer is printed, a new layer of fresh powder is spread over the surface by a roller. After the printing job is finished, the result is a big block of powder that contains the printed (sintered) models inside. In order to get your prints out of the powder block, we need to dig into the box of un-sintered powder and brush away the excess.

Digging 3D printed parts out of un-sintered powder. Photo by Arthur Los from Milo-Profi studio. Copyright by Flanders Investment & Trade.
So why is this such a great technology? No supporting structure is needed! The un-sintered powder is the supporting material. This allows for complex designs, and even interlinking and moving parts. Have a look at the following video to get a better idea about how it works:
Other materials such as Steel, and High-Detail Stainless Steel also rely on powder, but are not laser sintered. Instead, a binder is used to “glue” parts together. We refer to this technology as “Powder- & Binder-based 3D Printing”.

Going strong: 3D printed steel keychain ‘Rainbow Dash’ by Ben Scholzen
The starting process of this technology is quite similar to Laser Sintering: a roller puts a thin layer of powder on a platform. However, instead of a laser beam, a special print head places a binding agent at specific points, printing a thin layer of your model that is able to bind to subsequent layers. This process is then repeated over and over again until your model is complete.

Since your model was only ‘glued’ together, some post-processing is necessary with this 3D printing technology. The exact post-processing steps heavily depend on the material. For example, High-Detail Stainless Steel and Steel objects are placed in an oven for fusing. Steel models are additionally infused with Bronze for extra strength.
Resin-based 3D Printing
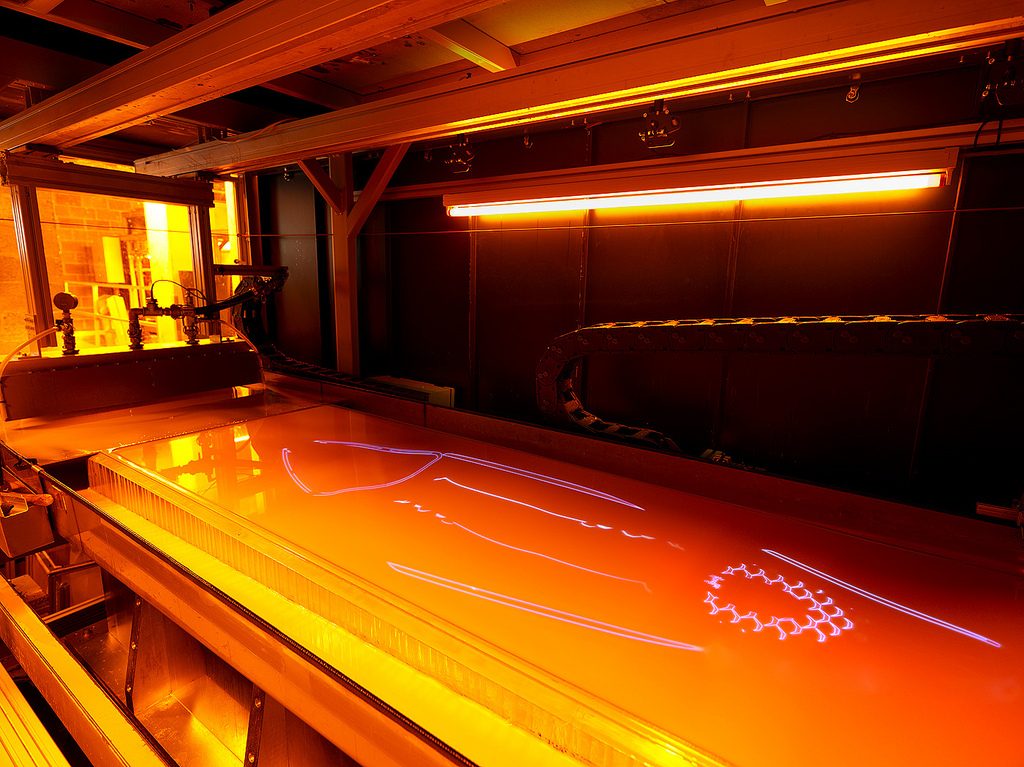
Now we are getting into technology that is used by really big printers. Our Mammoth printers can print up to a length of 2.1 meters (6.9 feet)! These beasts use neither powder nor filament; they use liquid resin. Welcome to the world of Stereolithography. The Stereolithography process takes place in a large tank and begins with a layer of liquid polymer spread over a platform. Since this piqued polymer is UV-sensitive, a UV laser hardens the area that will become one layer of your 3D print. The rest of the layer stays liquid. The platform is then lowered and the next layer is drawn directly on top of the previous one.

When the object is complete, it is raised out of the tank via the supporting platform – much like a submarine rising to the surface of the water – with the excess liquid flowing away. Take a look at a Stereolithography in action in the video below:
So what’s the difference between this and Laser Sintering? Because a liquid material is used (and not powder), we need to add support material for overhanging parts and parts that stick out. The supports will then be removed manually after the model is taken from the machine. This means that the design freedom of this technology is somewhat limited. The main advantages of materials printed with Stereolithography are smooth surfaces and a lot of finishing and post-processing possibilities.
Materials used in this printing process include Mammoth Resin, Transparent Resin, Gray Resin, and Standard Resin. They all feature smooth, high-quality surfaces. Additional plus points: Mammoth Resin can be printed in extra large size, Transparent Resin comes with a transparent look in different colors, and Gray Resin and Standard Resin come at a low price.

Smooth and transparent: 3D printed transparent resin
Another technology that is based on resin is PolyJet Technology, which is used for Multicolor+ and High-Detail Resin. It works by jetting resin in ultra-thin layers onto a build tray until the model is completed. Each layer is cured by UV light immediately after being jetted, producing fully cured models that can be handled and used immediately.

Lost-Wax 3D Printing & Casting
We’ve finally arrived at the last technology. For creating parts in Gold, Silver, Bronze, Copper and Brass, we use Lost-Wax Printing and Casting. This technology builds upon modern 3D printing technology as well as traditional metal casting.

Frog Ring by Peter Donders – created in gold plated brass.
It all starts by 3D printing your model in wax. This step is a type of Stereolithography that uses a wax-like resin. Support structures are printed along with the model to make sure it doesn’t fall apart. These support structures are automatically generated and manually removed after the printing process. Next, one or more wax sprues will be attached to your model. Then your model will be attached by the sprue to a wax ‘tree’, together with several other models. The tree is then placed in a flask and covered in a fine plaster. When the plaster solidifies, it forms the mold for casting the metal. The plaster mold is then put in an oven and heated for several hours to a point where the wax is completely burned out.

Then, molten metal is poured in to fill the cavities left by the wax. Once the metal has cooled and solidified, the plaster mold is broken and the metal models are removed by hand. Finally, your model is filed and sanded to get rid of the sprues. It will be sanded, polished or sandblasted to create the finish you desire. How great is that: the cutting-edge technology of 3D printing meets the ancient technique of metal casting!
This means, however, that complicated designs such as a “ball within a ball” or links of chains cannot be made with this process. But the upside of casting your model is that the final product will have the best quality: surfaces will be smooth, and the strength, feel, and look of precious metals (e.g. a silver ring or a gold pendant) is exactly what a customer would expect.
Multi Jet Fusion
HP Multi Jet Fusion is the technology behind Polyamide (MJF) and Rubber-like (MJF). It’s a powder-based technology but does not use lasers. The powder bed is heated uniformly at the outset. A fusing agent is jetted where particles need to be selectively molten, and a detailing agent is jetted around the contours to improve part resolution. While lamps pass over the surface of the powder bed, the jetted material captures the heat and helps distribute it evenly.
3D printing in Polyamide (MJF) has a natural gray color and it can be dyed black
Metal 3D Printing
Metal 3D Printing is a laser-based technology that uses powdered metals. Similar to Laser Sintering, a high-powered laser selectively binds together particles on the powder bed while the machine distributes even layers of metallic powder. Support structures are automatically generated and built simultaneously in the same material and are later manually removed. Once complete, the part undergoes heat treatment.
Metal 3D Printing is the technology used to 3D print Aluminum and Titanium.
Why Knowledge About 3D Printing Technology Matters
All these different technologies might sound confusing, but the important thing to keep in mind is the following: we cannot assume that Steel and Silver will have similar requirements simply because they are both metals. They are printed using different technologies (Laser Sintering and Lost-Wax Casting) and thus some design features will differ. Knowing the background about how these 3D printing technologies work will help you to design better models. It will enable you to understand why specific designs might be printable in some materials but not in others.
This also means that materials that use the same technology such as Gold, Silver, Bronze, Copper and Brass (Lost-Wax Casting) are more likely to share similar design requirements. To learn more about this, simply visit our material pages. Also, keep in mind that with the use of different printers and printing technologies, the maximum printing sizes differ. You can find an overview of these here.
The printers we presented in this article require a lot of investment and are often not economical for private consumers and small businesses. However, thanks to our online 3D printing service, everybody can use our printers and benefit from getting your prints in the best quality in a huge variety of materials. To upload your 3D file and get an instant price quote, simply click here. If you want to learn how to avoid the 5 most common mistakes when turning a 3D model into a 3D print, this blog post is for you.