The Surprising Reason Behind 3D Printing Production Times
In our 3D printing factory, we try to make production as fast as possible. However, many people are surprised to hear that getting their 3D printed parts can take several days or even weeks. What’s the main time driver in a 3D printing factory? How can you get faster online 3D prints? And what are the steps in the production process in a 3D printing factory?
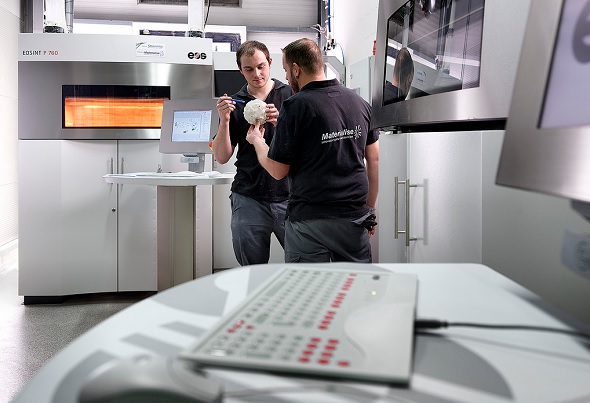
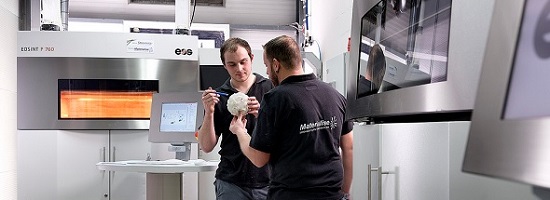
Photo by Arthur Los from Milo-Profi studio. Copyright by Flanders Investment & Trade.
What’s the main time driver in a 3D printing factory?
The main driver affecting the time needed for your 3D print is simply a chain of processes. 3D printing on industrial machines is more than ‘just’ the printing process. The printing time often only takes one or two days. The reason why getting a high-quality 3D print takes more time than this is simple: It’s not only about the printing. It’s about a process of checking, planning, printing, cleaning, finishing, quality checking, and packing your object. And these steps can add up.
That’s why a plastic polyamide print is typically ready for shipping within 6 business days, but for resin it can take up to 8-13 business days, while for silver it will take 8-15 business days (find the exact production times for each and every material here).
However, more and more people are requesting a faster way to get their 3D prints, especially when they are dealing with deadlines of their own. So, is there an alternative?
How can you get faster online 3D prints?
We know that for many 3D printing projects, time is of the essence. That’s why we created something like a ‘fast lane’. One material, no finishing options (no dying/no polishing), and a smaller maximum model size guarantee a much faster workflow. Thanks to this, we can print high-quality 3D prints that are ready to be shipped within 48 hours. We call this option ‘Polyamide Priority’—you can find more information about this here.
What are the steps in the production process in a 3D printing factory?
As already pointed out, the individual steps before and after the 3D printing process can add up. Let’s take a quick look at what those steps are:
- It all starts when you upload a 3D file and choose your material. The uploaded 3D models get checked automatically but there’s still a human support engineer who will double-check if your design is really printable. Should we find any mistakes or parts that could break, we will contact you with detailed instructions on what needs to be changed. Priority orders get handled extra-fast here.
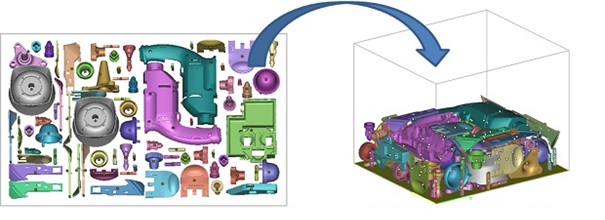
- If your model is printable, we need to plan the printing build. That coordinating the printing of your model together with the other models that we’ve received from other customers. That’s where Materialise’s powerful Magics software comes into play. The software automatically plans the so-called ‘nesting process’, and finds the perfect way to place 3D models in a three-dimensional space.
- Then—and only then—the 3D printing process This way, we are sure that your models are printable and won’t break, and we are also sure that we’re using our capacity as efficiently as possible (thus offering you the best price).
The exact duration of the printing process depends on the technology used, the size of the printer, and on the volume and size of the build. A full laser sintering printer (the machines we use for Polyamide, Alumide, or Rubber-Like) can take up to 1.5 days. Our Polyamide Priority printers are smaller and thus finish printing faster. After the printing process, the building box could be taken out of the printer, but it’s still at a temperature of about 170°C (338°F). That’s why we need to wait for up to two days for the contents to cool down. - Once this done, post-production processes will begin. The exact steps depend heavily on the material. Polyamide 3D prints are dug out of the un-sintered powder and cleaned with high-pressure air guns. Support structures for resin 3D prints need to be cut away, ceramic prints need to go into an oven, multicolor prints needs to be superglued, silver prints need to be taken out of their mold.
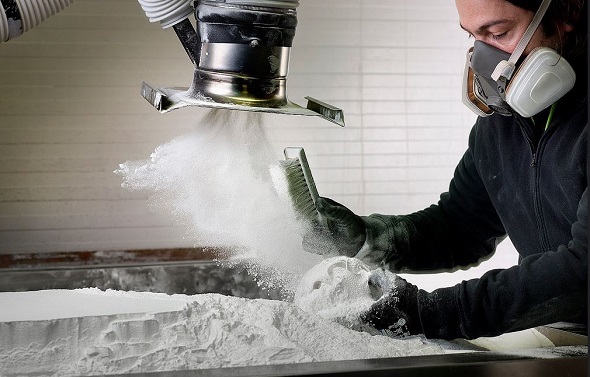
Digging 3D printed parts out of un-sintered powder. Photo by Arthur Los from Milo-Profi studio. Copyright by Flanders Investment & Trade.
- Any additional finishes, like coating, gold-plating, dyeing, polishing, etc. (finishes of which we offer more than 100 options) are manual steps that still need to be applied. To save some time, polyamide priority prints are always unpolished and undyed.
- At the very end, every model goes through a final quality check to make sure that the result matches our high expectations (and is likely to match yours), and is then carefully packaged and shipped out to our customers.