5 Essential 3D Modeling Tips for 3D Printed Jewelry
We know that creating a model for 3D printing can be somewhat intimidating. Despite offering you a lot of design freedom, 3D printable models still need to stick to certain design rules. In this blog post we will explain the 5 most important 3D modeling tips to ensure that your jewelry is perfectly 3D printable.
Are you ready to follow the steps of these amazing 3D printing jewelry artists?
These rules are applicable for any orders in gold, silver, bronze, and brass.
1. Maximum Printing Size
The first thing you need to know is that there is a Maximum Printing Size. We can print jewelry in gold, silver, bronze, or brass up to a size of 88 x 88 x 125 mm – so printing bigger pieces like the bracelet in the image below isn’t a problem at all.
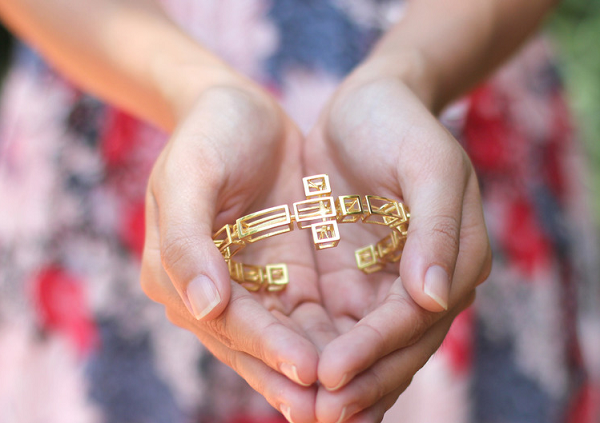
Tree in Cross Bracelet by Vulcan Jewelry/Desmond Chan
If you need a bigger print than 88 x 88 x 125 mm in one piece, you can switch to one of the many other materials that we offer. You can find an overview of the maximum 3D printing sizes for all materials here.
2. Minimum Wall Thickness
Also, the most important thing to keep in mind when creating a 3D model is Minimum Wall Thickness. In 3D printing, wall thickness refers to the distance between one surface of your model and the sheer surface opposite to it. For most of the models printed in gold, silver, bronze, and brass, the minimum wall thickness needs to be between 0.6 and 0.8 mm.
The exact value depends on the material and finish of your choice and can be found in the design guide for each material right here.
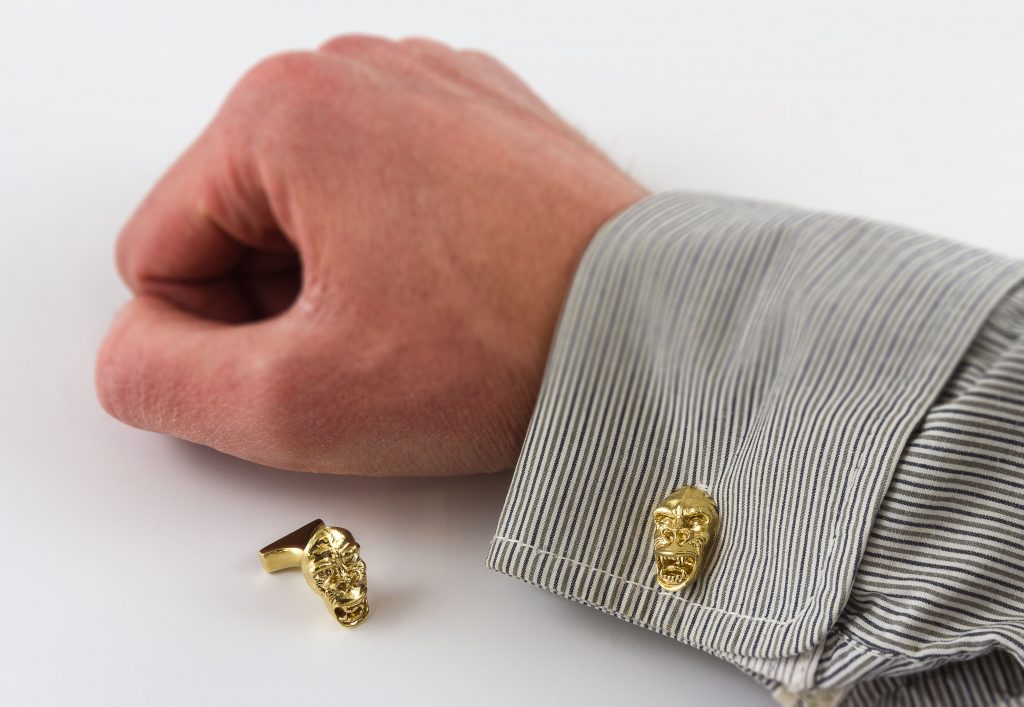
For these gold-plated brass cuff-links for example, the designers had to make sure to choose a minimum wall thickness of 0.8 mm. Otherwise, the walls would be too thin and the model wouldn’t be printable.

Cufflinks by DAMN x Café Costume
To avoid any deformations in designs with fragile parts or wire structures (see the T-Rex below) we recommend a minimum wall thickness of at least 1 mm.
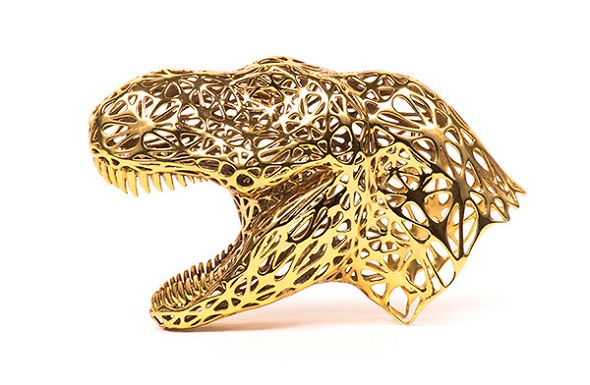
3D-Rex by Octavio Asensio
If you want to learn more about minimum wall thickness, take a look at our tutorial here. Trust us, it’s a really important topic.
3. Minimum Size of Small Details
Another thing to keep in mind is the Minimum Size of Small Details. What I mean by details are the very small decorative parts of your objects, such as embossed or engraved text. The smallest possible feature of your design should be at least 0.35 mm in diameter and 0.4 mm in height. Longer features such as rods should be at least 0.8 mm in diameter, or they might break during the casting.
4. Hollow Models
Our next tip is about printing hollow models. If you want to design a hollow model make sure to include more than one release hole – ideally you should have a minimum of three. The exact size of the holes depends on the design and the size of the model but you should try to choose 1.5 mm as the minimum size.
The print below is a great example of a hollow object with several large release holes.
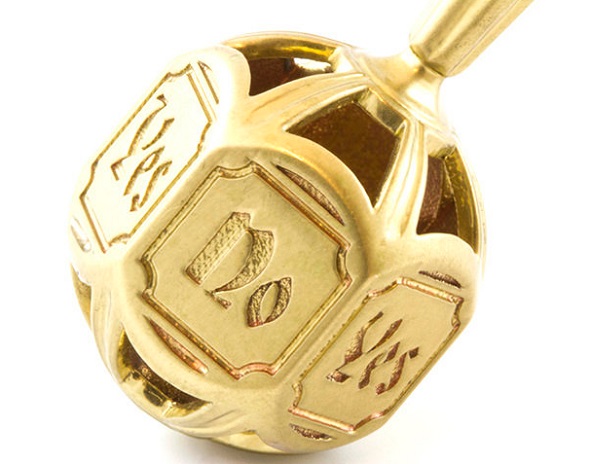
Decision Spintop by Michael Mueller
If you want to learn more about what hollowing is exactly, take a look at our hollowing tutorial here.
5. Grouped Models
The last piece of advice is about avoiding so called ‘grouped models’. When uploading a 3D model to our website, make sure that your file only contains one object. You cannot upload several objects in one and the same file.
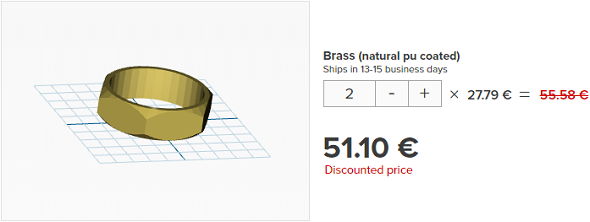
If you need several prints of the same file, just upload your file and adjust the ‘quantity counter‘. This will also lead to a nice discount.
Please keep in mind that these five modeling tips are only valid for prints in gold, silver, bronze, and brass. You can find more about how 3D printing really works downloading the i.materialise Guide to 3D-printed jewelry!
Once your 3D model is ready, simply upload it here, see your instant price quote and let us take care of the production process.
Remember to share your jewelry designs with us on social media with the hashtag #imaterialise.
Jewelry doesn’t finish with precious metals. Discover our favorite 3D-printed jewelry in non-metal materials! Remember to follow the design guidelines for these alternative materials.
Recommended Articles
No related posts.


