Time to Shine: Introducing Chrome-Plated Brass
Once again we’re proud to announce a new member in our growing family of 3D printing materials and finishes! This time we would like to introduce the official trial of a shiny new metal finish: Chrome-Plated Brass! Featuring a smooth and glossy surface, a great level of detail, and a razor-thin electroplated chromium layer, this finish is what many of you have been waiting for. Let’s take a closer look!
Introducing 3D Printed Chrome-Plated Brass
As of today, you will be able to get your design 3D printed in Chrome-Plated Brass with i.materialise. The finish has now officially debuted as a new trial 3D printing finish for Brass on our website.
Models made out of Chrome-Plated Brass are constructed based on a wax 3D print, a casted brass object, and electroplating treatment (we’ll tell you more about the technique later). This leads to a real metal piece with a stunning chrome look!
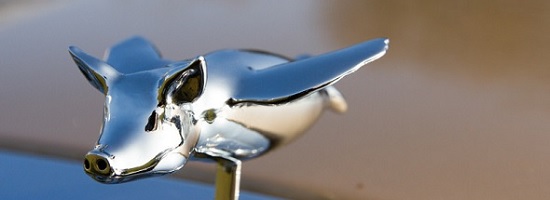
This mix of 3D printing, casting and electroplating leads to a smooth surface, high level of detail and a great shine! The chrome-plated layer offers a polished aesthetic appeal, provides some corrosion resistance and increases the surface hardness of your model. It is a more affordable imitator of chrome and its aesthetics. This makes Chrome-Plated Brass perfect for decorative items such as car parts and tools.
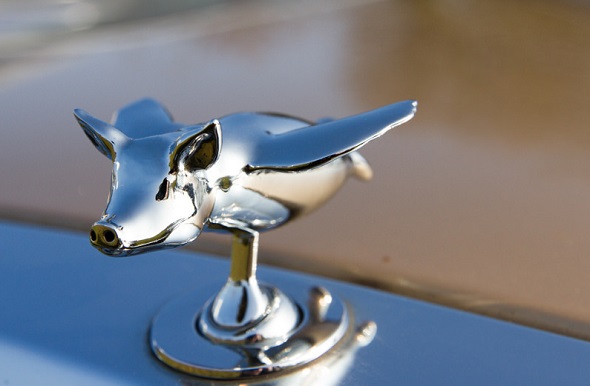
Examples of Chrome-Plated Brass Objects
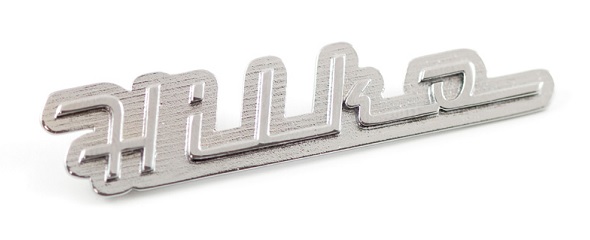
Decorative logo for a customized & handcrafted guitar by Hilko Nackaerts.
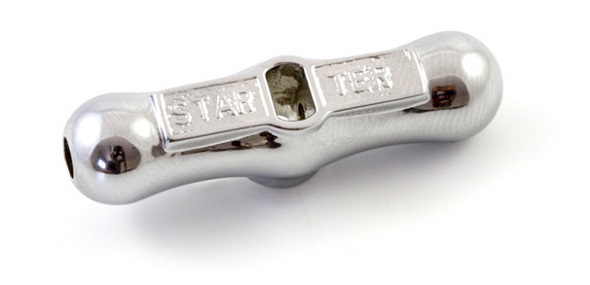
Starter Handle for the restoration of a historic aircraft by Christoph Vernaleken.
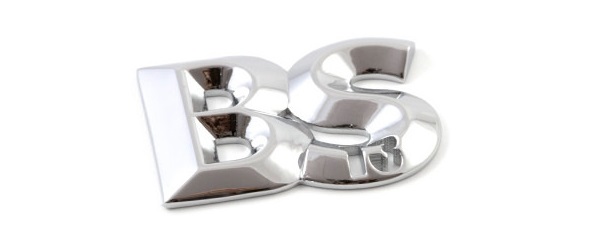
This sample piece of Chrome-Plated Brass is available for purchase here.
The Technology behind Chrome-Plated Brass
Wax 3D printing and lost wax casting are used to build your design when using Brass for your model and finish. This means that a wax 3D print of your model will be printed first and used to create a mold. The wax will then be burned out of the mold and liquid brass will be poured into the cavities that are left behind.

The finishing is done manually: to get the Chrome look, a very thin layer of copper will first be applied to your model, followed by a layer of nickel, which acts as a base that the chromium will attach itself to. We then apply the chromium layer in the final step.
Design Guidelines for Chrome-Plated Brass
If you are already familiar with our Brass design guide there is good news: the guidelines for Chrome-Plated Brass are just the same as those for our other finishes. In a nutshell, you should try to stick to the following rules:
- Choose a minimum wall thickness of 0.6 mm. If you intend to print a wire structure, your walls should be at least 1 mm thick.
- Make sure that small decorative parts and embossed/engraved text have a size of at least 0.35 mm.
- Keep in mind that the maximum size of your object can be up to 88 x 63 x 125 mm.
- If you want to print a hollow model, make sure to add several release holes (we recommend adding at least three holes with a diameter of at least 1.5 mm)
- Keep in mind that you cannot upload grouped models and interlocking parts in this material/finish.
You can find the complete list of these design rules with more explanation and imagery in our Brass Design Guide.
Want to learn more about Brass and our five available finishing options? Visit our material page on brass and learn more about this exciting material. Wondering what your 3D model costs with a Chrome-Plated Brass finish? Simply upload your model here, choose “Brass”, select the new finish, and get an instant price quote.