How to Create Custom Pendants and Necklaces With JWEEL
Want to design your own 3D printed custom necklace or pendant in under an hour? We did – and so can you! Designing your own necklace gets easy with accessible and user-friendly programs like JWEEL, a free browser-based design app for creating customized jewelry. It has a built-in feature that lets you 3D print your own necklaces, pendants, charms, and rings in gold, silver, brass, and other materials— without even owning a 3D printer. It’s a great and easy way to quickly create custom jewelry designs – let’s lake a look at this app and design our own custom necklace!
Creating Your First Custom Necklace
So let’s head over to Jweel and open their design app. If you want to learn a bit more about this app, feel free to visit our introduction blog post about Jweel here. It’s a good starting point for this necklace tutorial.
Once you are on Jweel’s website, click on ‘Create’ and select ‘Freestyle Pendant’.
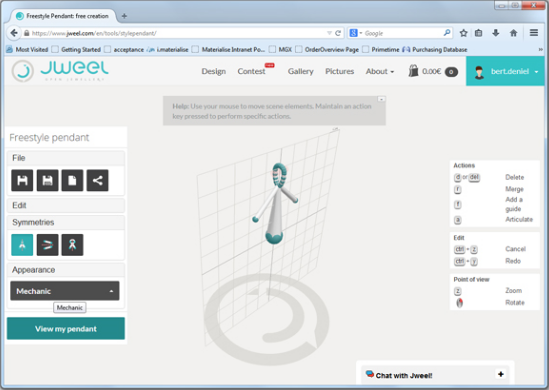
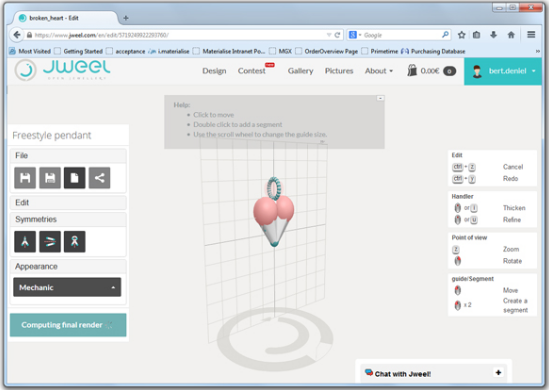
1. The Default Screen
This is how it looks when you start a project. There is a basic freestyle pendant design. It’s the start of our journey to design our first 3D printed custom necklace.
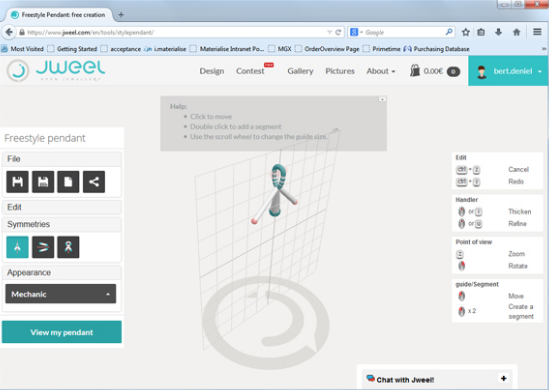
2. Select a sphere by clicking on it.
Note that we have “Symmetries” turned on. You can turn it off or change its direction via the “Symmetries” menu section on the middle-left side of the screen… right below “save.”
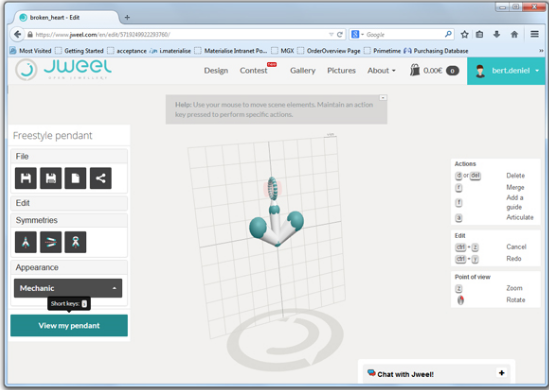
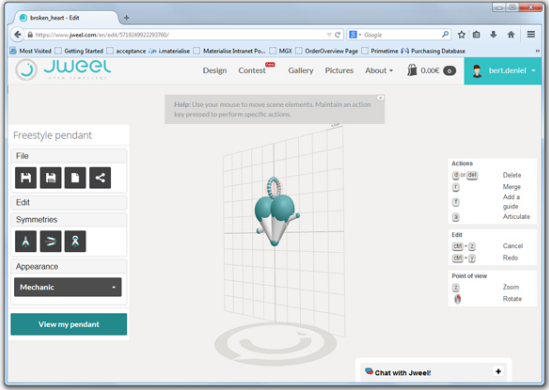
3. Delete the entire “limb” it by clicking your DELETE key. Do the same for the other one.

4. Select bottom sphere and double click. Select the new ball that appears, and drag it up and away from the center.
5. Join the balls together at the top, to form a heart.
JWEEL lets you intersect and combine parts by dragging and dropping them around. No need to calculate wall thickness or worry about manifold edges…
6. Create a new limb.
To make a “sphere” or “limb,” double click on an existing sphere. Another ball will appear for you to drag around. It is a separate ball from the ball you clicked. Click down on the new sphere you generated, hold down your mouse drag the sphere until you see it stretch into a limb. Drag the limb through the heart.
7. Use Your New Knowledge to Create an Arrow Shape That You Like.
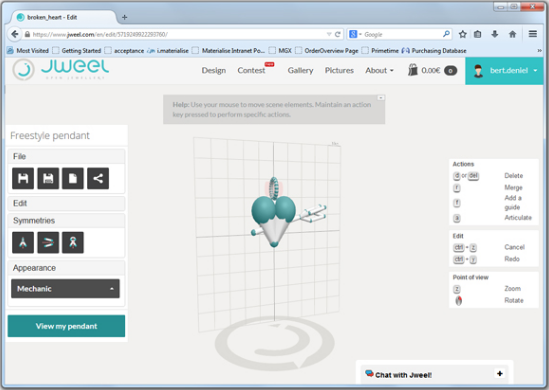
Click on the spheres and keep creating new limbs and dragging around balls until you get the shape you want! Our secret volunteer had so much fun with this part that they spent 30 minutes designing this complex, geometric cube-like shape for the arrow base!
8. Click “View My Pendant.”
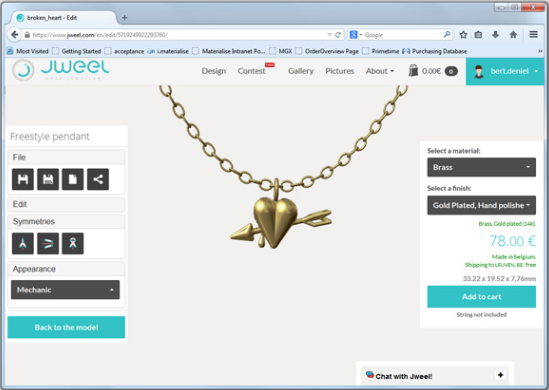
The final render can be embedded on websites, Facebook, and social media for free.
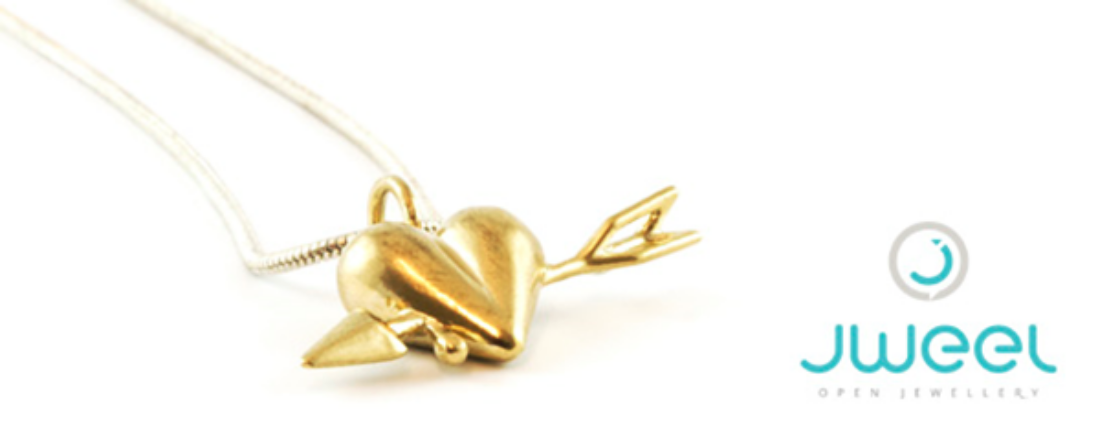
Now you can either save your design on the free server, or send it off to the 3D printer. We chose to print our design – here’s the stunning result:
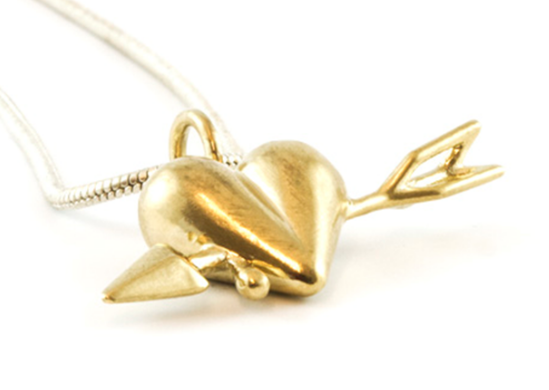
We chose to print our design in brass, a budget-friendly material. Would you guess pendant was made by someone who never designed jewelry before?
That’s all there is to it: our custom necklace – created in under an hour! If you already have a 3D file/design and already know how to use more sophisticated 3D modeling software, you can simply upload your designs to our website here and order a 3D print in 18 different materials including gold, silver, brass, and bronze via our online 3D printing service. Take a look at our jewelry shop to see custom 3D printed pieces of jewelry such as 3D printed necklaces, charms, rings, earrings, pendants, bracelets, brooches, and cufflinks. All of these designs were created by talented designers from our community.