Photo to 3D: How to Turn a Single Photo into a 3D Model & 3D Print
Are objects from photos 3D printable? Recently, a new app made quite a stir: Smoothie-3D promised to provide an easy modeling tool that gets you from a single photo to a printable 3D model. Now we put the app to the test: we converted a photo to a 3D model and printed it!
Finding software for converting a photo to a 3D model
One of the highest bars to pass to enter the world of 3D printing is learning how to create a 3D model. While online printing service like i.materialise facilitate the printing process itself, it often seems that there’s no way around 3D modeling.
But now the new modeling application Smoothie-3D offers a simple solution: A free online tool that makes creating 3D models as easy as possible and promises users a simple ‘Photo to 3D’ experience. No prior modeling expertise or software download is required. All you need is a single picture of the object you want to 3D print.
Getting the right picture for your 3D model
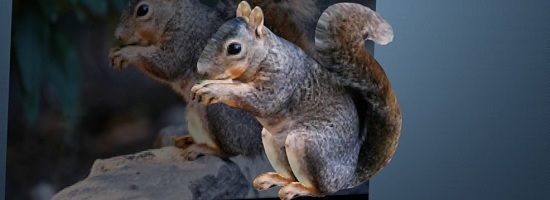
First, we looked for a picture of a squirrel and found this one. It would be an image that was taken from the side, as it makes modeling much easier. It should also be a photo that looks similar on the other (hidden) site of the object. That’s why this photo of a squirrel is great: we know that its looks the same from both sites.

We then went to Smoothie-3D.com, logged in, and added the image by clicking on “Image” and “Add”.

Turn your photo into a 3D model
So let’s get started with the modeling part. We now needed to draw a little: we drew the outlines of the squirrel and its body parts. The app turned these parts into a textured 3D model. When you are familiar with the interface and buttons this process only takes a few minutes. Take a look at the video below on how to draw the outlines of the squirrel and how to turn it into a 3D model:
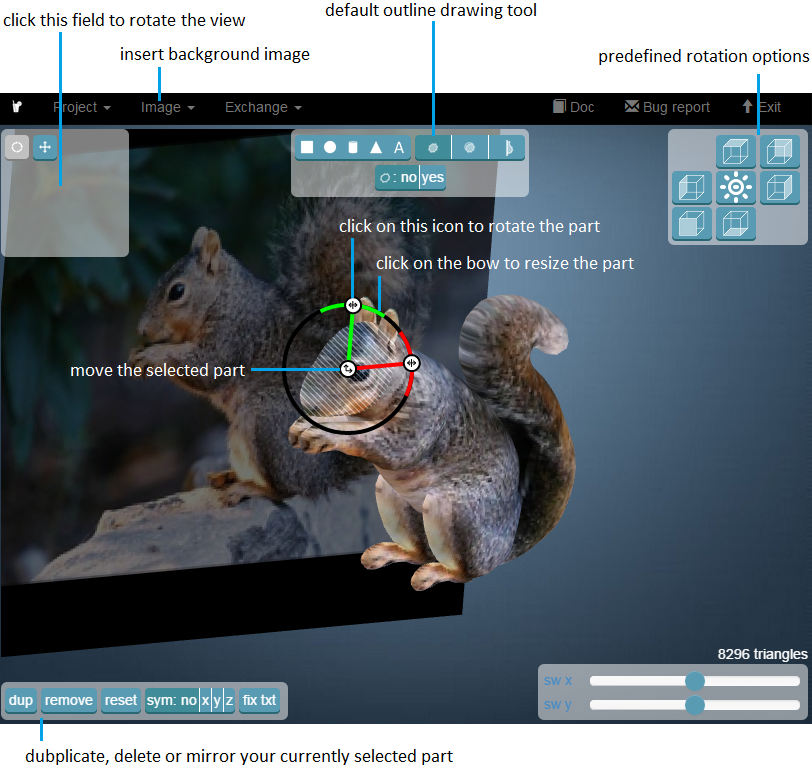
When you use Smoothie 3D for the first time and are not familiar with its modeling tools, it might take a while to figure out how it works. We put together this screenshot that explains all the important tools you might need:
3D printing your photo (based on the 3D model)
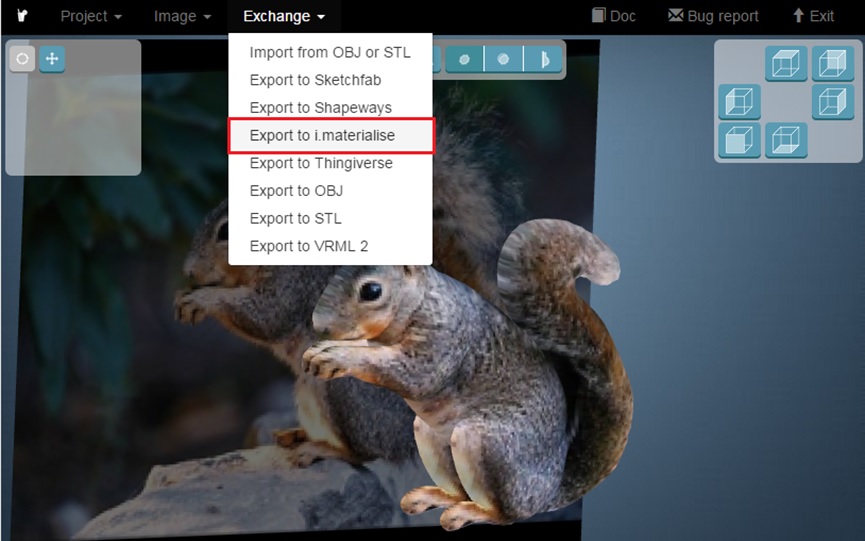
Once the modeling phase is complete, all you need to do is send the model to i.materialise for printing. Click on “Exchange” and “Export to i.materialise”.
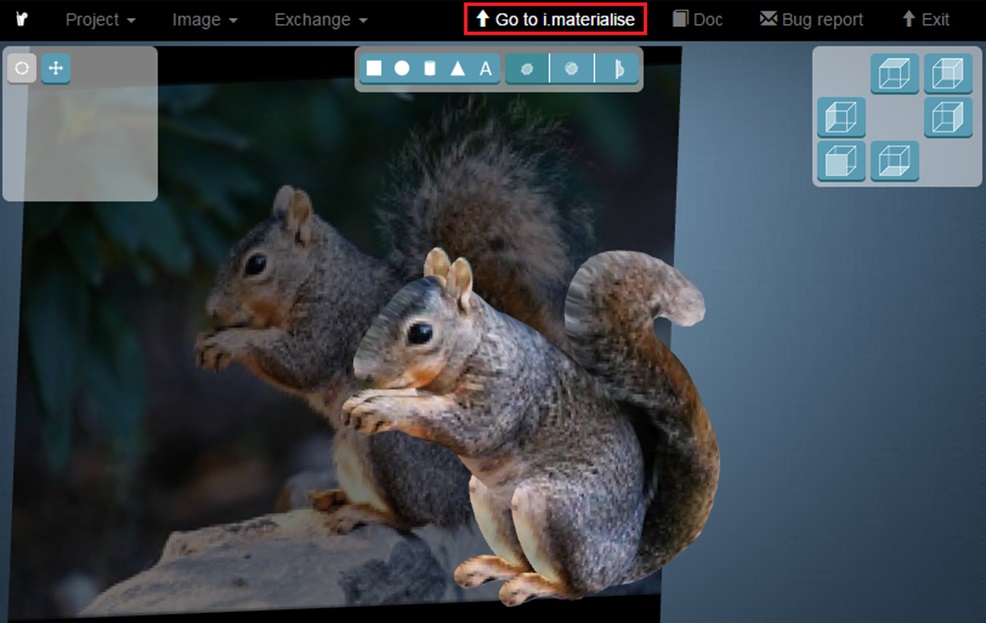
A new link appears at the top of your screen. Click on “Go to i.materialise”.
The model will be directly uploaded to our 3D Print Lab. Select the size and material of your choice. Why not go for a multicolor 3D print?

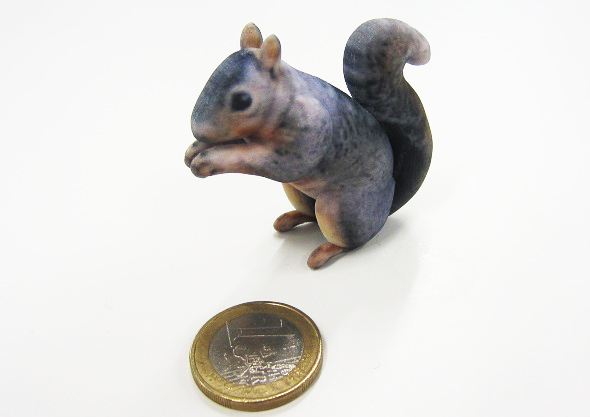
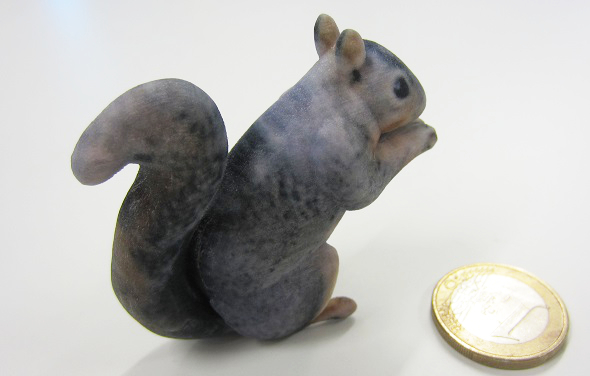
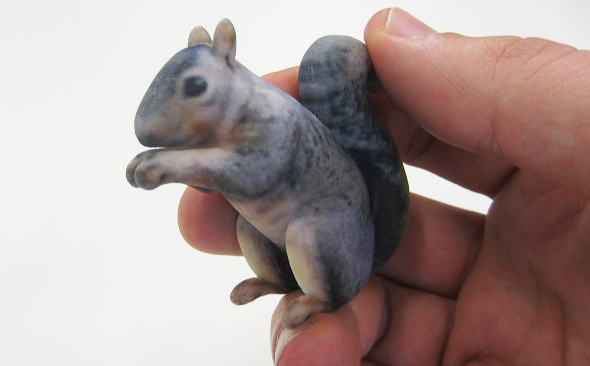
The final result: our 3D-printed squirrel, coming from a single photo and a few minutes of drawing in a free, online application. Not bad, right?
Are you looking for more ways to turn your photos into 3D prints? Then you might want to check out our article about the free software “123D Catch” as well. It automatically creates a 3D model based on photos taken from different angles. Once you have a printable 3D model, you can always upload it to our website and order a high quality 3D print. If you need some more help with the modeling process, you can also send a photo or image to one of the designers of our 3D modeling service and ask them for help. We also compiled a list of other free or low-cost 3D modeling apps and programs here.