3D Printing Tips & Tricks – How to 3D Model A Great 3D Print
When modeling a 3D object for 3D printing, you need to stick to certain design rules. Printers and 3D printing materials have individual rules and characteristics that need to be respected in order to get the high quality 3D print you are looking for. That’s why we compiled the ultimate list of 3D printing tips and tricks to make your life easier. Stick to these basic rules and you won’t have a problem when turning your idea into 3D printed reality.
When designing a 3D model for 3D printing, there is no one-size-fits-all approach. The precise rules depend on the material (and 3D printing technology) of your choice. Let me give you an example: with our online 3D printing service you can print in 18 different materials. Some of these are printed on 3D printers that use powder (i.e. laser sintered wood), while others are based on a liquid resin (i.e. paintable resin with stereolithography). It’s only logical that the exact requirements are thus different.
Luckily you can find everything you need to know in the design guides for each and every material here. So, depending on certain requirements for your design, like wall thickness or dimensional accuracy, these design guides can help you to create printable 3D files. By browsing through the design guides, you’ll quickly discover why that specific material you had in mind might just (or not) be right for you. Additionally it makes sense to learn more about the technologies we use by reading this article.
Here are a few examples of the essential basic rules, tips, and tricks you will find in our design guides.
Setting the right wall thickness
A 3D model needs ‘wall thickness’ (or be solid) to be printed. However, the big question is: how thick do these wall need to be? In most cases it somewhere in between 1 – 3 mm but it really depends on the material – you can find a good overview here.
Choosing the right space between your moving parts
With some materials you are able to print interlinking, interlocking, moving parts, and chainmail patterns. Once again, this is not possible with every 3D printing technology. Click here to learn more on how this works.
Create a hollow 3D model
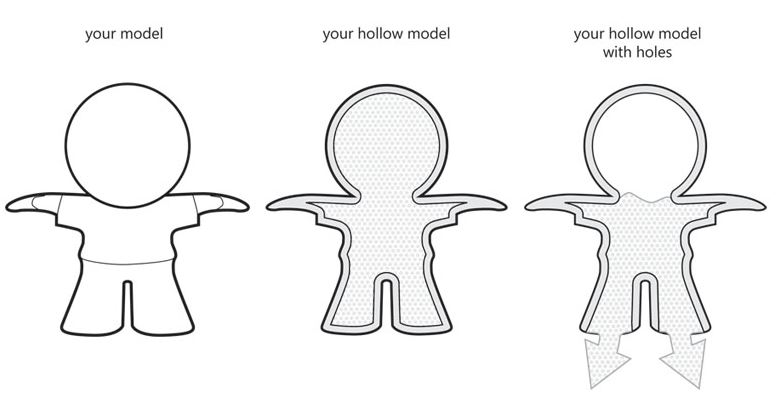
To reduce the risk of deformation and to save money, it makes sense to hollow out your 3D model and add escape holes to your 3D print. Free 3D modeling software Meshmixer makes this quite easy. Click here to learn more.
3D printing overhanging and thin parts
Strong materials can easily handle overhanging parts, more fragile ones could break off, however. Make sure to read the design guide of your 3D printing material well, and adjust fragile parts accordingly.
Warping and deformation
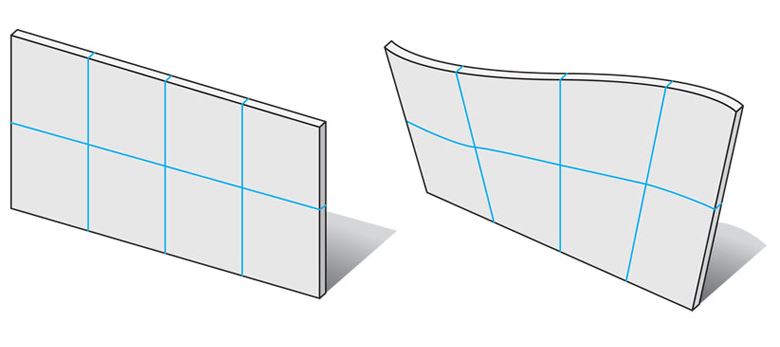
For some materials, designing big flat plains can be tricky since they can deform. This process is called “warping”. Take a look at our design guides to see if your material is affected by this as well.
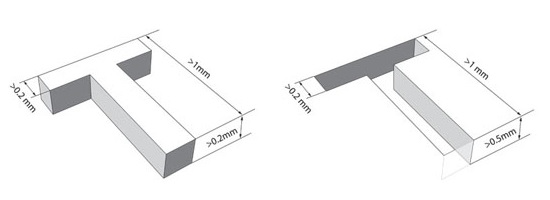
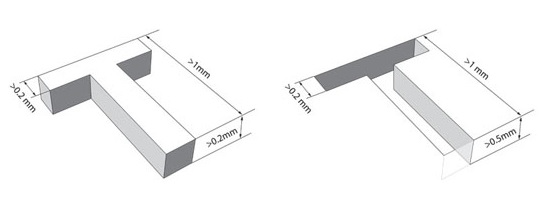
Engraved text and surface details
Are you thinking about adding engraved or embossed texts or surface details? Make sure to check the minimum line thicknesses and depth that are need.
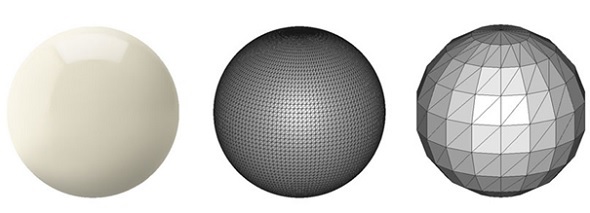
File resolution for 3D printing
Choosing the right file resolution is important for a good 3D print. You want all details to be visible yet the file should be small enough to be handled. Click here for our guide on how to get the perfect file resolution.
Did you manage to prepare your design for the printers with these 3D printing tips and tricks? Then upload it to our website here and order your high quality print. Are you still enhancing your 3D model? Learn to avoid these 5 important 3D modeling mistakes or ask a professional 3D designer to help you out.
Recommended Articles
No related posts.


