How to Get Your Perfect Multicolor 3D Print
Being able to get a print from a multicolor 3D printer is one of the coolest things. However, we get quite a few questions about the look & feel of this material. In this article, we want to explain to you what our multicolor material actually is, what color you will need to expect, and how you need to model your 3D design to get a great multicolor print!
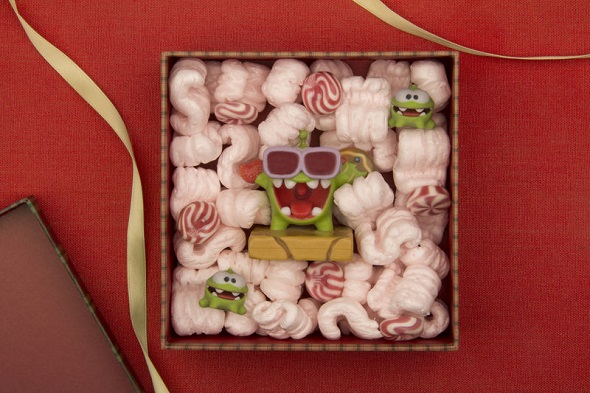
Cut the Rope by Toyze
The Material & Technology: It’s All Based on Powder
‘Multicolor’ is the only material that enables you to print models with more than one color – we can print up to 16.7 million different colors to be precise (more about the colors below).
Models made of multicolor are constructed from a fine granular powder. A ColorJet printer builds up your multicolor model, layer by layer, from bottom to top. A roller puts a thin layer of powder on a platform and a print head places tiny drops of glue at specific locations, printing a thin layer of your model. The platform lowers and the roller spreads another layer of powder.
The coloring is done by combining 4 different pre-colored glues to match the color requested. After the printing process, the model is brittle, but it’s strengthened by putting it into superglue. A UV coating is sprayed on it to prevent de-coloration by sunlight.

3D printing in multicolor material
Multicolor is not suitable for functional parts and needs to be handled with care. Even after reinforcing the model with superglue, the model remains fragile. This is why we recommend using this material primarily for demo models, such as architectural scale models, figurines, and awards.
The surface has a sandy, granular look but is smoothed thanks to the UV coating that is put on the model after the printing process. However, this coating does not protect your print from water and humidity. A drop of water will stain your model and fade the color.
The Colors: What to Expect
A short physics lesson on colors will help you get the best possible color on your print, because the color you see on your screen can differ slightly from the printer’s colors. A pixel on your screen is composed of Red, Green, and Blue (RGB), while multicolor printers use Cyan, Magenta, Yellow, and Key (Black). Since your screen and our printers do not use the same color system, the set of colors might shift slightly:

The different color models of your eye, RGB screens, and CMYK printers. Image from createspace.com.
In both CMYK and RGB, mixing these basic colors leads to new color options.
CMYK works pretty much like the box of paints you used back in school. If you don’t have the painting color you’re looking for, you need to mix two existing colors together. Adding colors together usually means that the new color will be slightly darker (when you mix yellow and black, the resulting color simply cannot be brighter than yellow, can it?). That’s why this system is called a ‘subtractive color model’. It will lead to a somewhat darker color. Adding all colors together produces black.
Screens, however, do not work like our box of paints. Instead of using paint or ink, they use light. The colors of light are red, blue, and green (RBG). When the colors are added together, the result gets brighter. When all three colors overlap, the color becomes white. That’s why this system is called an ‘additive color model’.
When colors are converted from RGB to CMYK, the color intensity changes a bit. So, what you see on your screen and what comes out of the printer might look slightly different.
Bright colors on a screen tend to look duller and darker in CMYK. Generally, the brighter, more vivid and vibrant the colors on your screen are, the bigger the difference between your 3D model and your 3D print will be.
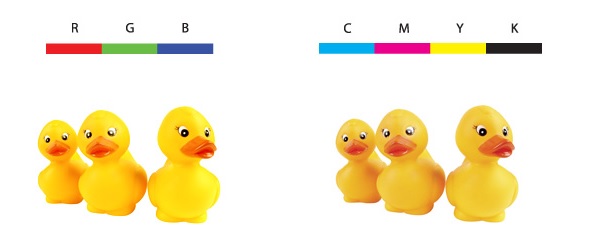
The different color models of RGB screens and CMYK printers. Image from tecnoarena.net.
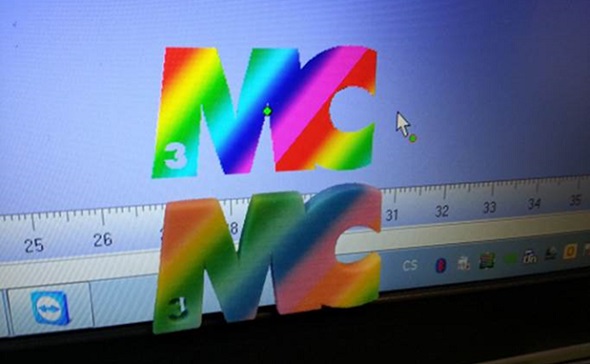
Example of a 3D print in multicolor and a bright computer screen.
Another problem is that computer screens have adjustable settings – so things like brightness, gamma and color temperature can make a huge difference. Monitors also can vary greatly in color accuracy, depending on the technology (TN, PVA, IPS, OLED) and the calibration setting.
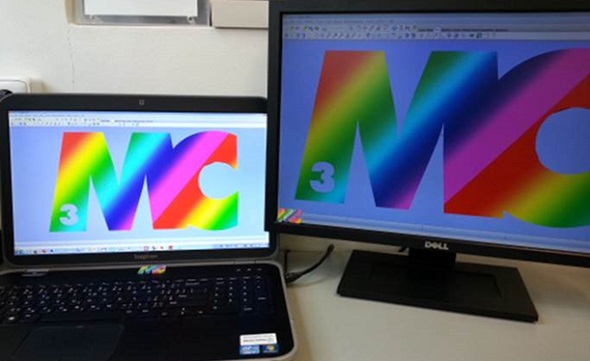
Example of two monitors with two very different color and brightness settings.
Does this color difference make a huge difference? In most cases, it really doesn’t. But if you need a really precise color that must not change even slightly – let’s say for a 3D model that features skin color (see example below) – you might want to order a smaller test print first and experiment a little to get the color exactly the way you want it.

Human face by Eric van Straaten. 3D printed in Multicolor.
The Finish: Matt or Gloss?
We offer multicolor in two finishes: matt and gloss. Once your model is printed, it gets cleaned up, strengthened by putting it into superglue, and finally sprayed with a UV coating to prevent de-coloration by sunlight. That’s what we call our ‘matt’ finish.
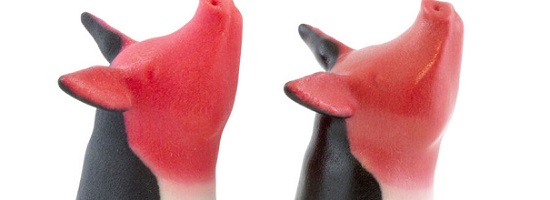
The ‘gloss’ finish is simply a thicker UV coating, which gives the model a shinier surface. In general, it can be said that the gloss finish creates an object with more vivid colors, while the colors of a matt object won’t be as shiny. Take a look at the following prints to get a better understanding of these two finishes:
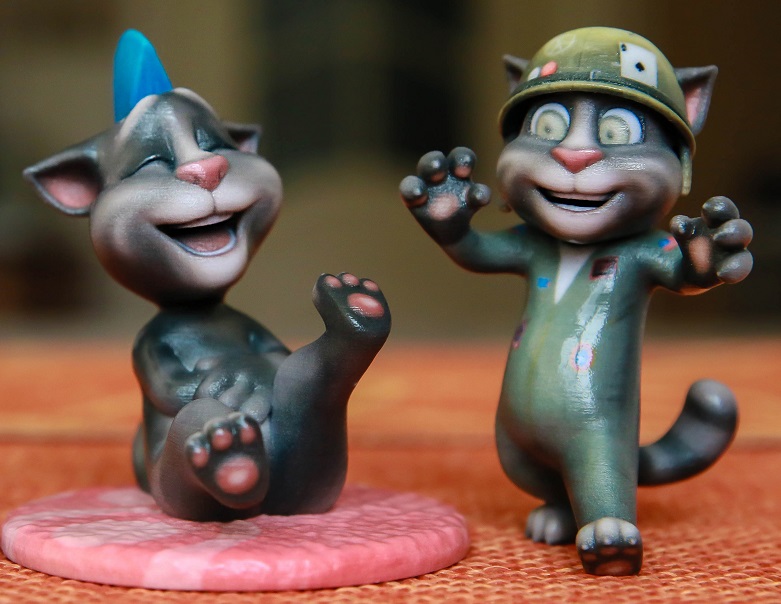
Two Talking Tom figurines by Toyze. Printed in gloss multicolor.
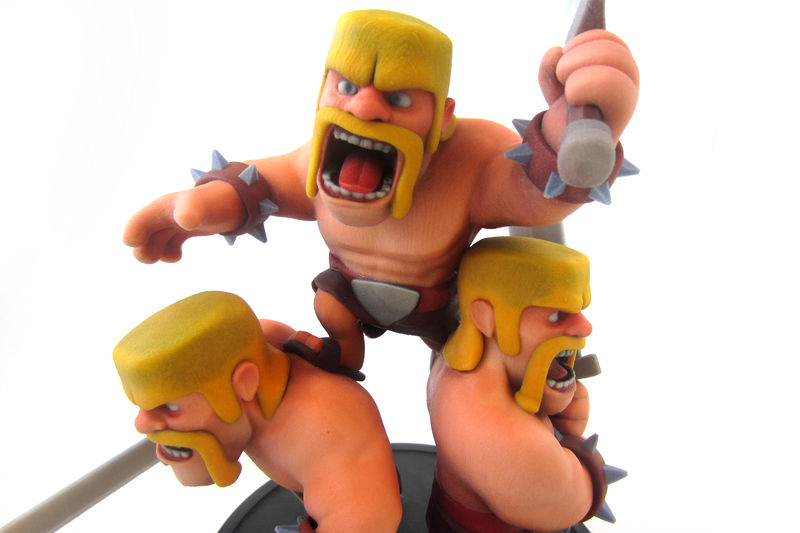
Clash of Clans figurine by Supercell. Printed in matt multicolor.
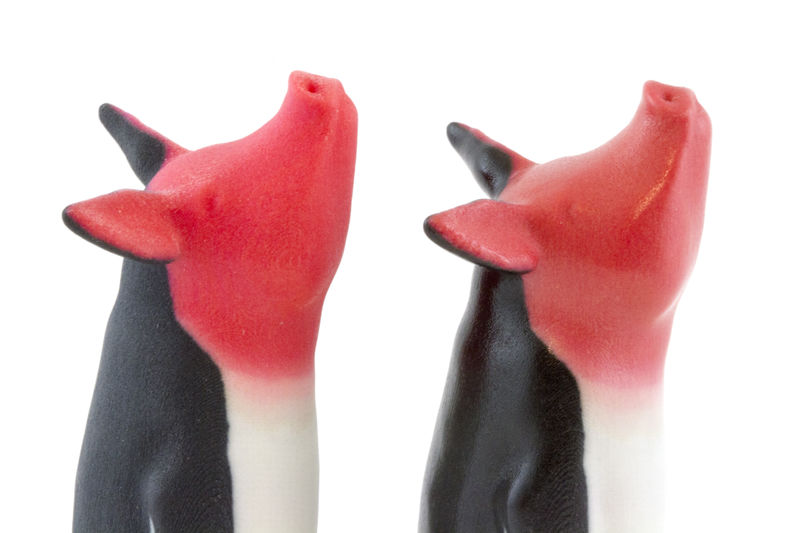
Matt (left) and gloss (right) next to each other.
Alternatively, we also offer this material both in gloss and matt without color. Your print will look somewhat like polyamide when it comes out of the printer. This is interesting for artists that prefer to paint the prints themselves.
Design Guidelines: Making it Stronger
Our printers can print models in multicolor that are quite thin, but that doesn’t mean that printing very fine walls is a good idea. As we pointed out earlier, we’re talking about a model made of granular powder – so, your model needs to be handled with care. Even after we reinforce your model with superglue, the model is still fragile.
During finishing and shipping, parts of your object that are thinner than 1.5 mm are likely to break. We recommend that you add extra wall thickness: 5 mm will make your model more solid and safer to handle. In any case, you should make walls at least 1.5 – 2 mm thick. Long, tiny features like pins, thin fingers, tiny hair points or antennas that are 1.0 – 1.5 mm thick might not survive.
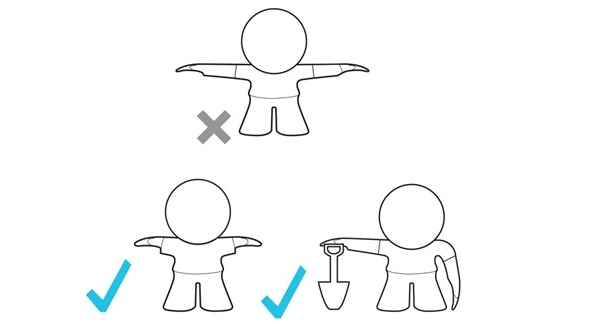
Don’t ignore gravity when designing your model. Long, heavy items that hang in midair might break off when they are designed too thinly. If your model includes some more fragile parts (like outstretched arms of a figurine), try to add support structures as part of the design. We recommend using bent arms or arms holding an item that touches the ground (e.g. a shovel).
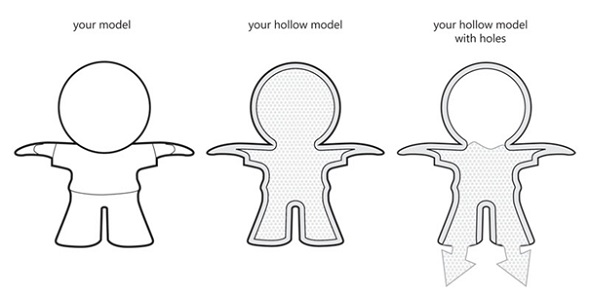
Also, think about adding holes to hollow models: multicolor is priced by volume – the less material you use, the less it will cost you. So, a hollow model will be cheaper. A rule of thumb for hollowing out your models is to maintain a wall thickness of 2 to 3 mm. Make sure to add at least 2 holes with a diameter of 5 mm so the trapped powder can escape. The reason is that a hollow model full of trapped powder is in danger of deforming, and the weight of the powder can cause thinner sections of the model to break.
For more essential tips & tricks for designing your multicolor model, please visit our multicolor design guide.
The Texture: Getting Color Information into your 3D Model
As our multicolor material is colored during the printing process, your 3D file must contain the texture information.
If your model has textures, be sure to upload all the necessary information to our site. How to check? Well, if you see your texture after having it uploaded to our website (and after having selected multicolor), then we have the info. However, if you see a mono-colored or un-textured model, it’s possible that some info is missing. If this happens, check your export settings and the file format you used. Some file formats are able to include textures directly in the file (e.g. colored STL, VRML, SKP, and dae), while others store the texture in a separate image-file and map-file (this is the case for obj).
In the latter case (obj-file), it’s important to remember that an obj file alone only has the information about the model’s shape and volume. It’s a mesh without any texture information. For printing in color, you also need to save a mapping file (mtl), which tells the printer where the colors and texture information go. If you have used texture images (for example, png files), they must also be included in the upload. Simply group all files related to the model into a zip file and upload it to our website. Our viewer still won’t show the texture, but we will have all of the info we need to print the model the way you want it.
If you have any doubts about how to complete your multicolor print, please contact our customer service.
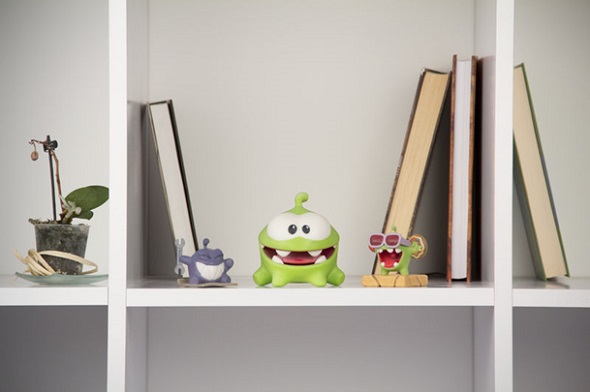
Cut the Rope by Toyze
Learn more about our multicolor material in our blog posts about ColorJet printing, magical multicolor figurines by Elfriede de Rooster, and 3D printed Talking Tom and Cut the Rope figurines.
Recommended Articles
No related posts.


