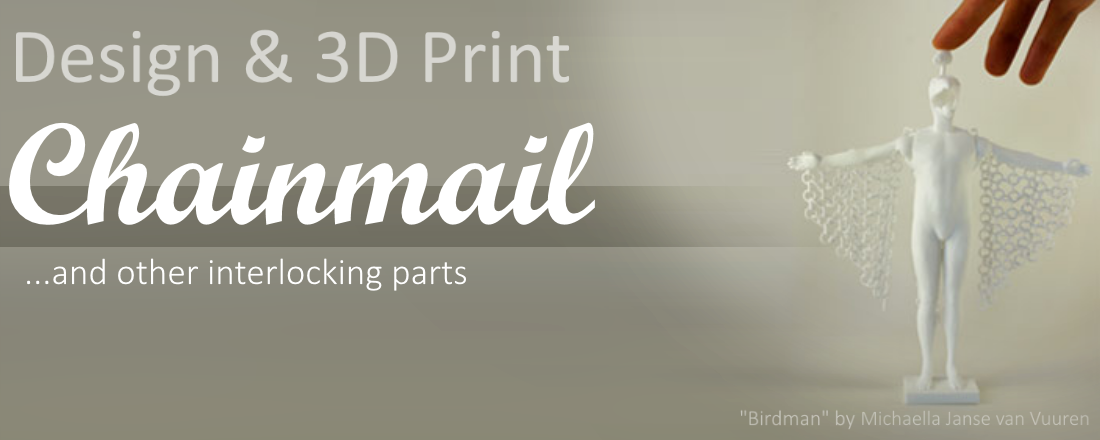
How to Design and 3D Print Chainmail Patterns and Interlocking Parts
One of the most fascinating things about 3D printing are chainmail patterns, interlocking, and movable parts. The structures of these designs look complex, but they are actually quite simple to make. These kinds of structures (often called “nested” parts) can be used for 3D printed jewelry, mechanical structures, complex action figures, decor items, and many other projects. Follow this tutorial to learn how to use free 3D design software to make 3D printed chainmail and other interlocking parts. It’s easier than you think!
Chainmail patterns and interlinking parts mean that your 3D printed object will have movable segments. Your object will still be printed in one go – these parts will not be attached or assembled by hand. A great example for a chainmail pattern is the horse marionette by Michaelle Janse van Vuuren. A stunning 3D print with interlocking parts is the One_Shot stool by Patrick Jouin (see both images below).
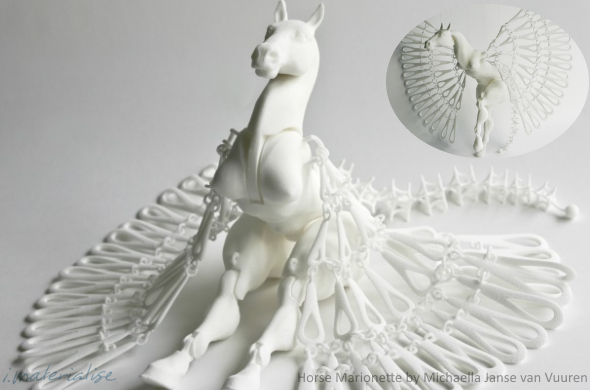
Horse Marionette by Michaella Janse van Vuuren has interlocking parts. This piece was 3D printed in one piece, no assembly needed.
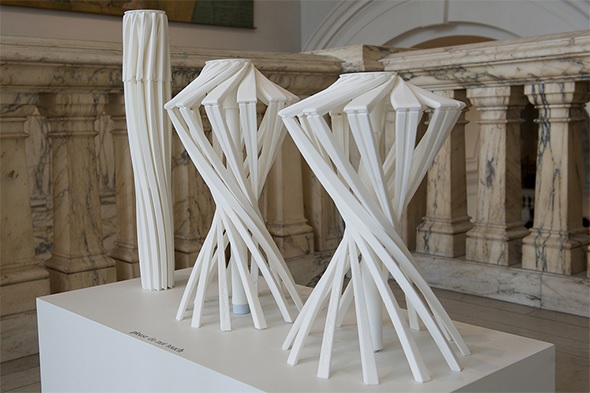
3D printed in one piece as well: One_Shot.MGX by Patrick Jouin. © Victoria and Albert Museum, London.
3D printing materials for chainmail patterns and interlocking parts
Not every 3D printer and every 3D printing technology are able to produce this kind of patterns. At our 3D printing service, you can order 3D prints with interlocking parts with most materials that are based on FDM printers and Laser Sintering, such as ABS, Polyamide, Alumide, Rubberlike, Wood, HD Resin, and HD Stainless Steel. Our material page always has the latest information about which 3D printing materials can handle interlocking parts.
If you want to learn more about why some materials can handle these chainmail patterns and interlocking parts while others cannot, take a look at our technology overview where we explain and compare all important 3D printing technologies and materials.
3D modeling chainmail patterns: an introduction
Before we begin, note that the method covered here is not the fastest or most efficient way to make interlocking parts: it does not use programming, add-ons, paid software, or some of the more complex Blender features (i.e. Particle System).
The fastest way to make a chainmail pattern is to automatically generate it, but a lot of free 3D design software has trouble with this. OpenSCAD and Blender can both generate chainmail, but Blender’s requires clean-up and OpenSCAD requires programming skills.
This tutorial will cover a much more basic method and use free 3D design software: Blender and Meshmixer.
Basic setup for creating interlocking parts
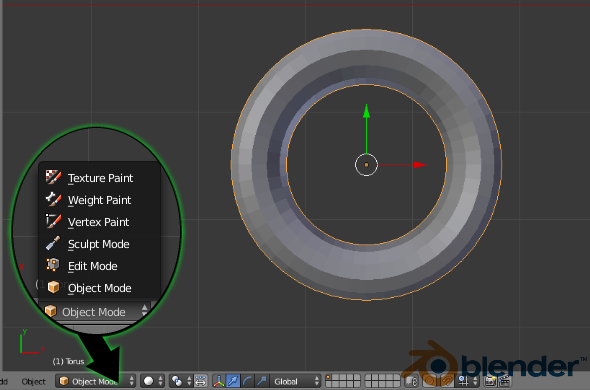
Delete the default cube that appears when you open Blender. You should be in “Object Mode.”
Finally, click “View: Top” in the bottom left corner. Before starting a project, think about the material you are designing in. Our materials page contains a design guide for each material. It includes technical specifications for different materials, such as how much space (i.e. clearance) you must leave between rings. For example, there is a 0.5 mm clearance for Alumide. You don’t have to measure this— just keep it in mind.
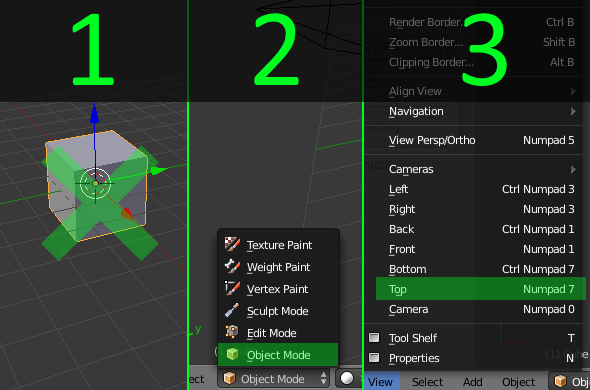
Blender Setup: Not so scary.
Generating a basic ring shape
For this tutorial, we are using the default Torus ring located in the “Create” Menu. The “Create” menu is located on the upper left side of your screen. Click on the Torus ring.
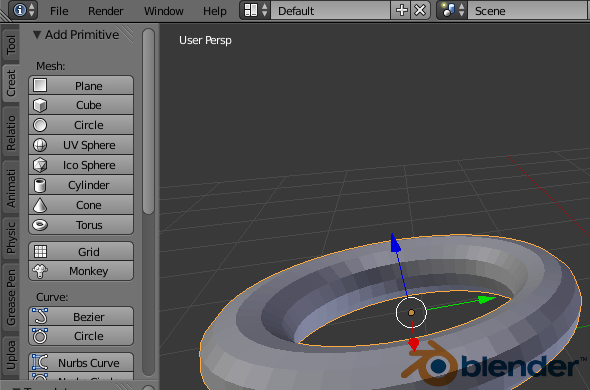
Edit the ring using the “Add Torus” sub-menu that automatically appears (see screenshot below). Thick rings with a large hole inside usually print best (i.e. the classic chainmail ring shape).
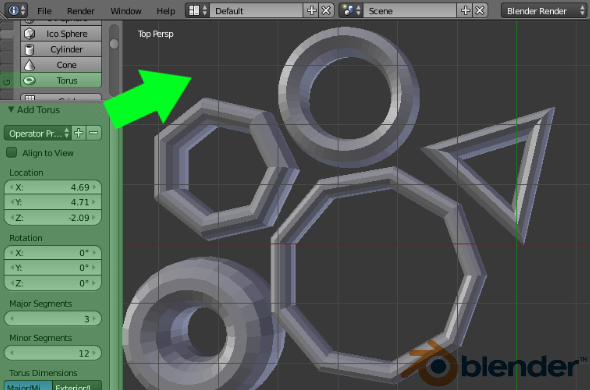
The Add Torus menu can customize your ring, and automatically generate many different ring shapes!
Checking the strength of your ring
You can use free software to check how strong your ring or overall design is. Import your ring into Autodesk Meshmixer, and go to ANALYSIS => STRENGTH tool.
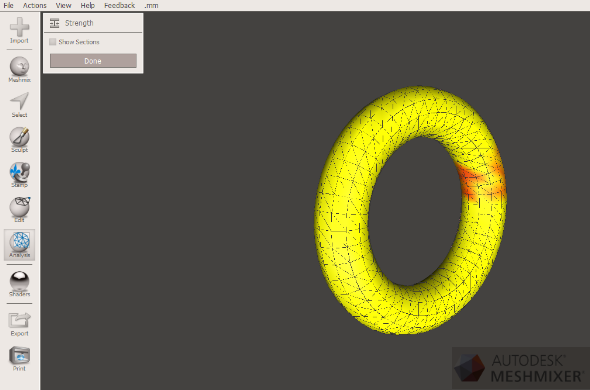
Meshmixer is a free software which includes a strength analysis tool. It is located in ANALYSIS => STRENGTH.
Remember: do not re-import the file it into Blender! Doing that messes up the vertices!
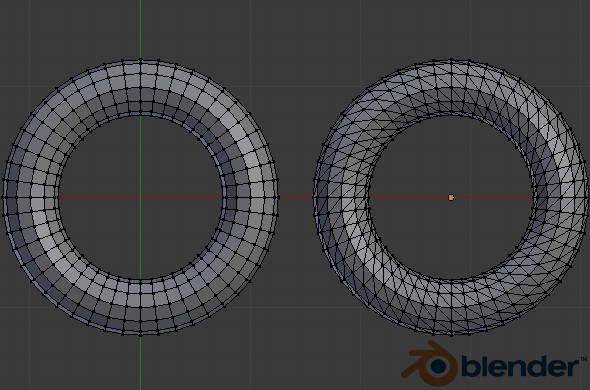
Before (left) and after (right): The ring at right has messed up vertices because it was exported from Blender, imported into Meshmixer, exported from Meshmixer, and then re-imported into Blender. Importing and exporting through different software packages can change or mess up your vertices! Don’t do that!
Generating several rings for a chainmail pattern
Right click to select your ring in Blender, and then click SHIFT + D to make a copy. Drag the red arrow to move the copied part to the side.
Always note which Mode you’re in on Blender. Here, we’re in Object Mode.
Change the view to sideways: click View => Left in the bottom left corner. Don’t try to skip this step by panning there with your mouse, and don’t mistake left for some other direction. This will save you a headache later on.
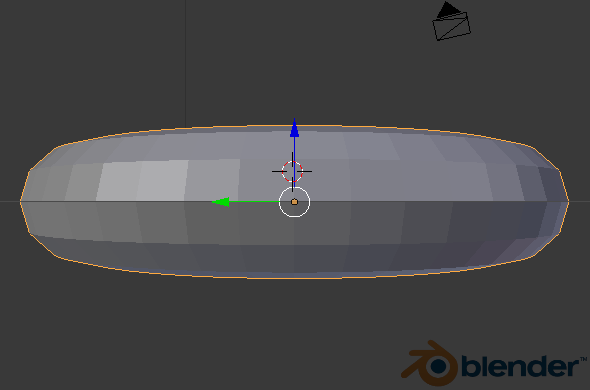
Blender’s “Left” View. Use the “View” menu as much as you can. It’s more exact than manual panning!
Rotate the ring: Select the ring by right-clicking. To get an exact angle, type “R” and the angle number (i.e. “R 25” for 25 degrees.) To get a custom angle, move your mouse.
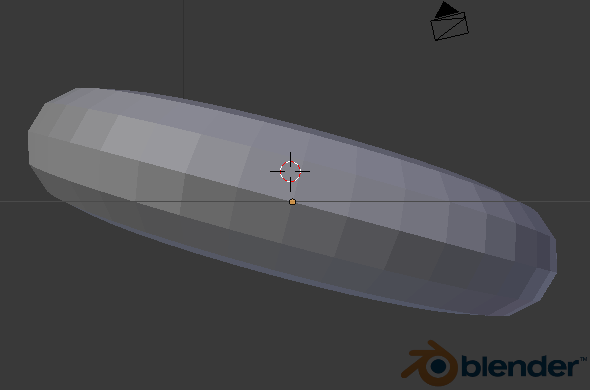
Click R to rotate. Type in a number for an angle (example: R 55 for a 50-degree angle)
Slide rings together: Use the arrows to slide one ring into the other. You’ve got your first interlocking part!
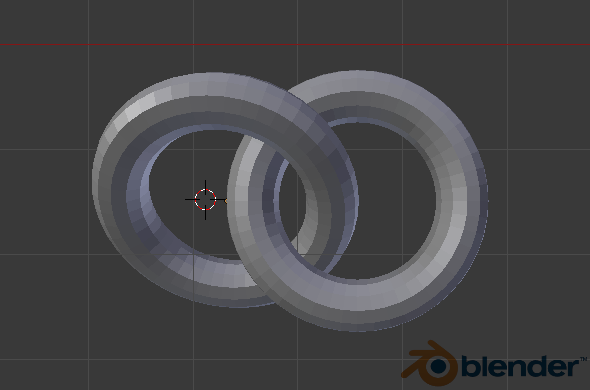
Slide rings together!
Let’s complete the chainmail pattern: repeat the process. You can select multiple parts by holding down shift, then right clicking on them. Shift +D makes copies.
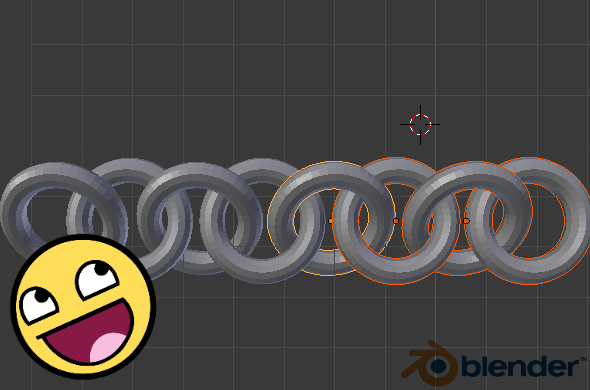
Copy and paste large sections together! Hold down shift and click on items to select more than one.
Limitations of chainmail patterns and interlocking parts
Note that interlocking parts, including chainmail, cannot normally be 3D printed in metals. Many “3D printed” metals are cast from a mold made of a wax-like print, via techniques such as lost wax casting. Since you need to make a mold to cast, it’s evident that you cannot make good molds from interlocking parts (you cannot detach them!). However, they can be printed in most plastics— including Aalumide, a Polyamide-Aluminium hybrid with a metallic look to it.
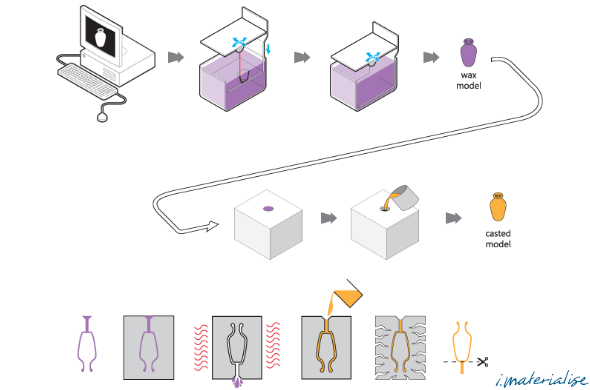
Lost wax casting is a process used to 3D print a variety of metals, including silver, gold, brass, bronze.
And that’s all there is to it. You can now create your first 3D model with a chainmail pattern. Remember to carefully read the design guides of our 3D printing materials to see if interlocking parts are possible and to get the right space between your moving parts. If your design is ready for the printers, upload it to our website here. If you’re new to Blender our video tutorial will help you to get started.