3D Printing and 3D Modeling with Photoshop CC
Great news for Photoshop users: you can now use the powerful editing tools of Photoshop to bring 3D models and prints to life! Photoshop CC now fully supports 3D printing with i.materialise in 100+ materials and finishes – all that’s left for you to do is to take a look at our new tutorial video on how to create 3D models in Photoshop.
3D printing tutorial for Photoshop CC
We’ve created a hands-on tutorial and info website to take you step-by-step through the process of creating 3D models in Photoshop CC. This tutorial will teach you how to use different views, how to edit both in 3D space and on the UV skin, and how to 3D print your model. You’ll see how to suit up a little piguin (yes, that’s a penguin and a pig mixed together) in minutes for a black tie event. Check out our new Photoshop 3D printing tutorial and follow the tutorial text in this blog post.
Step 1: Learn to import a 3D file to Photoshop
Photoshop lets you import the most popular 3D file formats such as STL, IGS, PLY, or OBJ. In our tutorial video, we chose to import the STL file of a piguin. If you don’t have a 3D file yet, you can find objects to start from on these 10 popular 3D model databases.
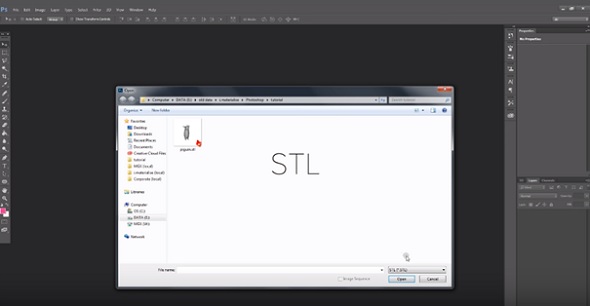
Start by importing a 3D file (for example an STL file) to Photoshop
Step 2: Get familiar with the basic controls
The next part of our video tutorial is all about familiarizing yourself with the 3D environment in Photoshop CC. Learn how to use basic controls to manipulate and rotate the view, zoom in and out, and to switch between several predefined views (i.e. how to switch between the main and secondary view).
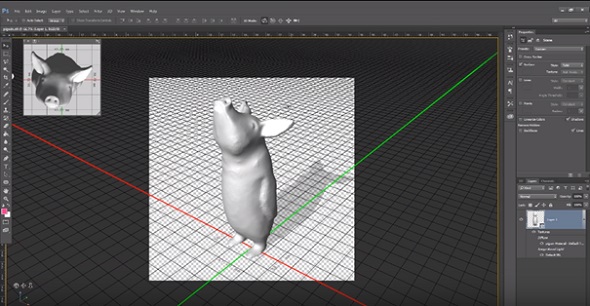
Get familiar with the 3D environment in Photoshop
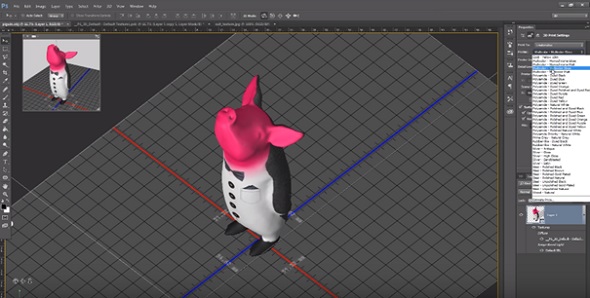
Step 3: Investigate the 3D model in Photoshop
Now it’s time to investigate the model in more detail. Photoshop lets you change the layer characteristics of your 3D object. With the segmented view, for instance, you can virtually cut open your model on the X, Y, and Z axis to take a look inside your model. You can also display the design as a point cloud wireframe structure and switch other effects such as shadows off or on.
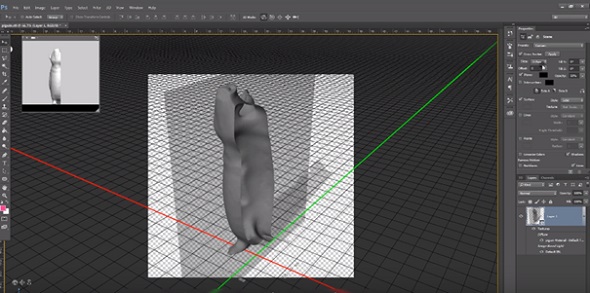
Learn to investigate your 3D model in Photoshop
Step 4: Paint your model in a 3D space
The ability to paint your 3D model is one of the biggest benefits of Photoshop. Which other 3D modeling or design software can offer editing tools as powerful as those that Photoshop has to offer? If you want to, you can directly start painting the design in a 3D space.
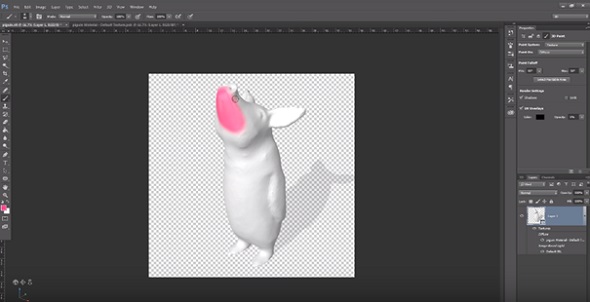
You can paint a model in a 3D space
Step 5: Switch from 3D to 2D and paint the 2D skin
If you prefer to paint and edit in 2D you can simply switch from the 3D view to a classic 2D view. This means that the UV skin of the model will be unwrapped and easy to edit. You can change the UV overlay capacity, select the brush size and hardness of your choice, and use any of the Photoshop editing tools you have in mind. For example, you can add effects and filters such as noise, distortion, pixelation and much more.
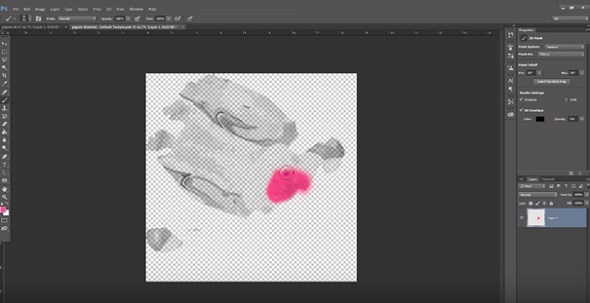
You can also edit the 2D skin of your model
Step 6: Import Photoshop files and images into your 3D model
Of course, you can also add images to your 3D model. It makes the most sense to start importing them in the 2D view and then navigating them to the right place. Of course, you can also work with several layers, use textures, and modify and manipulate the important images with the Photoshop editing operation of your choice.
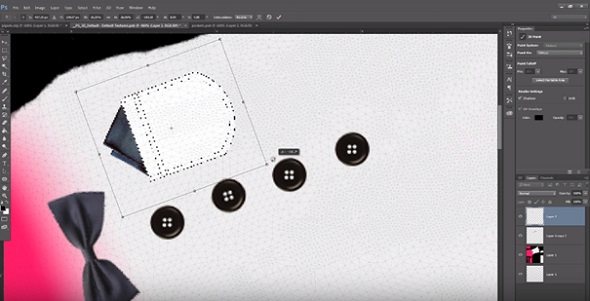
You can also import images onto your design
Step 7: 3D print your design
Once your design is ready, it’s time to hit the ‘print’ button, select i.materialise, and choose the material and finish of your choice from the drop-down menu. You can also double-check if the dimensions of your 3D model are correct. Click ‘prepare to print’ and save your 3D file by selecting ‘export’.
Prepare your Photoshop file for 3D printing
You will then be directed to the i.materialise upload page. Upload the 3D file that you just saved on your computer and you will instantly see the price for your high-quality 3D print.
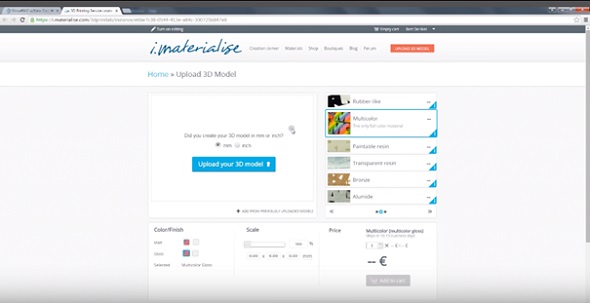
Upload your Photoshop 3D file and get your 3D print
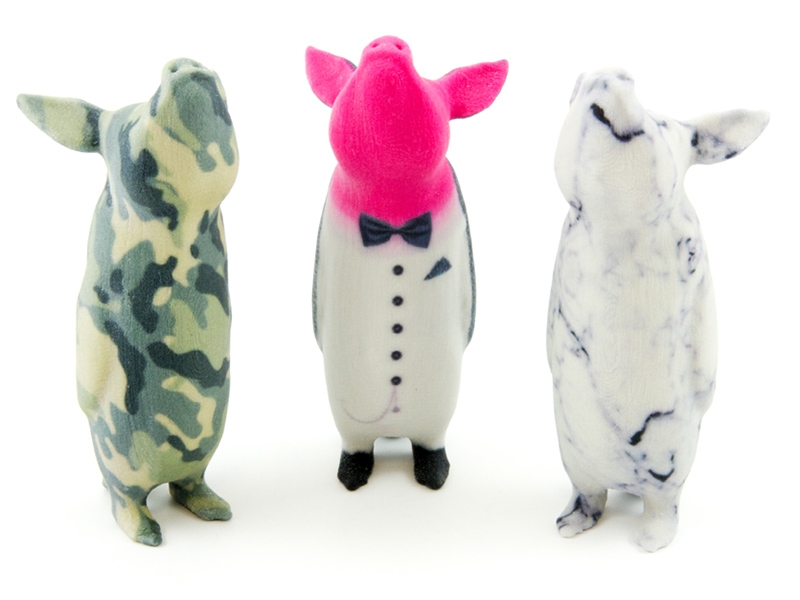
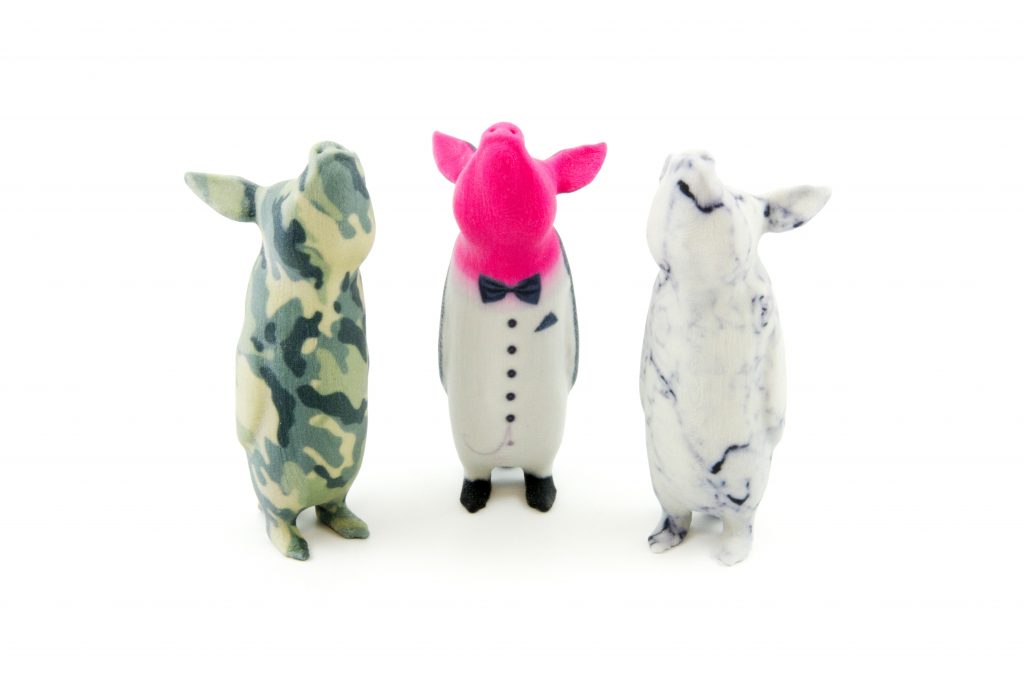
Piguins painted in Photoshop CC and 3D printed in Multicolor
And that’s it. Editing your 3D files with Photoshop will make them look better than ever! This is especially useful if you were thinking about printing in our multicolor material. Visit our dedicated Photoshop CC site for some more info and images. To get a general overview of all 3D printing materials, check out our materials page.