This Vintage Car Gets a 3D Printed Upgrade
How do you create a 3D printed piece that amazes everyone, from little kids to mechanics, drivers, automotive enthusiasts and even photographers? Read the story of Chris James Champeau, a director, editor and visual effects virtuoso, who created a beautiful hood ornament for his father-in-law and fell in love with 3D printing.
Meet Chris James Champeau, the designer behind the hood ornament
Chris James Champeau is a visionary director, editor and visual effects virtuoso, based in Los Angeles, California. He has worked with high-profile musicians on documentaries, music videos and commercials and can turn the simplest shot into a thing of beauty. From an early age, he’s been passionate about hunting, fishing, camping and of course football, and now he can definitely add 3D printing to that list.
The first time Chris thought about 3D printing was about seven years ago. At the time, he was working together with Dave Stewart (singer-songwriter of the Eurythmics). They decided to create digital bobblehead avatars for everyone in the office and they wanted to have each one 3D printed. Unfortunately, at that time, Chris’s models weren’t fully developed for 3D printing yet. He never really revisited the notion of 3D printing until now with this hood ornament.
When Chris received his 3D-printed hood ornament, he found the results so breathtaking that he immediately knew it wasn’t going to be a once-and-for-all sort of thing. He got so fascinated by 3D printing that a few other projects are already in the pipeline.
The 3D Printed Hood Ornament
For the last couple of years, Chris and his wife would build something unique and different each year for the birthday of his father-in-law. His father-in-law races a 29 Model A Speedster, so, first they built him a lamp out of the carburetor that he runs, a Stromberg 81. The year after, they built him a one-off tool roll from leather and canvas with tools conformant to the period. However this year, they couldn’t decide what to build or buy for him. For years, he had had a hood ornament on his Speedster, but about a year ago, he was towed off the track at Road America and the tow strap happened to catch the hood ornament and damaged it quite severely. The ornament was beyond repair.
So, when it came to his birthday this year, Chris and his wife decided to look for a new hood ornament. They spent a lot of time searching around for another one, but they didn’t find anything they liked. After thinking about it and watching a few video tutorials on zBrush, Chris decided that it would make sense to create his own. He had never 3D printed anything in the past and was pretty unfamiliar with the process. He started with some primitive shapes in zBrush and slowly sculpted the character into his own. After about a week or two of solid round-the-clock work, he had pretty much turned himself into a zBrush expert and had the model ready to go. He started looking into how to turn the model into a real tangible object, which led him straight to our 3D printing service, i.materialise. And this is how the hood ornament came to life.
From Idea to 3D Printed Reality
Chris does a lot of 3D work for visual effects almost every day and when working in 3D, he prefers to use Cinema4d. It’s the first 3D software Chris has ever used and since he is highly experienced with it, it is the quickest solution. However, when it comes to 3D printing, he has used two different programs that are more geared towards the world of 3D printing: zBrush is his go-to for organic modeling and Autodesk’s Fusion 360 is what he uses as his CAD go-to software.
The most difficult part of realizing this project was that he had never worked with zBrush before. He had tooled around with it a few times in the past but never actually sculpted a final project. So, when it came to creating this model, he experienced a pretty steep learning curve to create exactly what he imagined in his head.
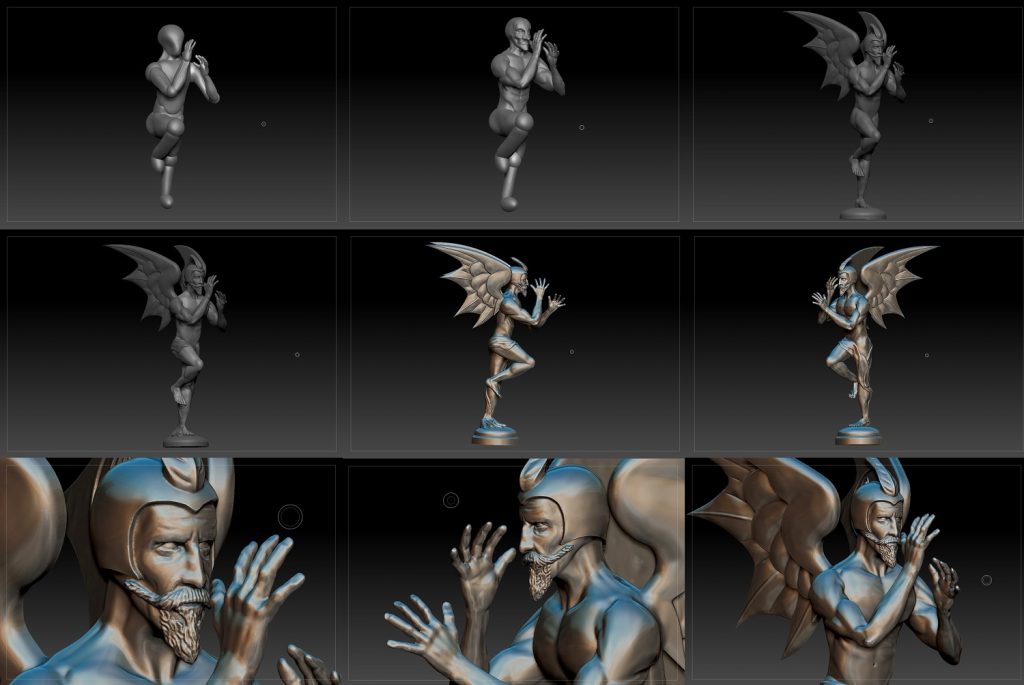
3D Models of the Hood Ornament in zBrush
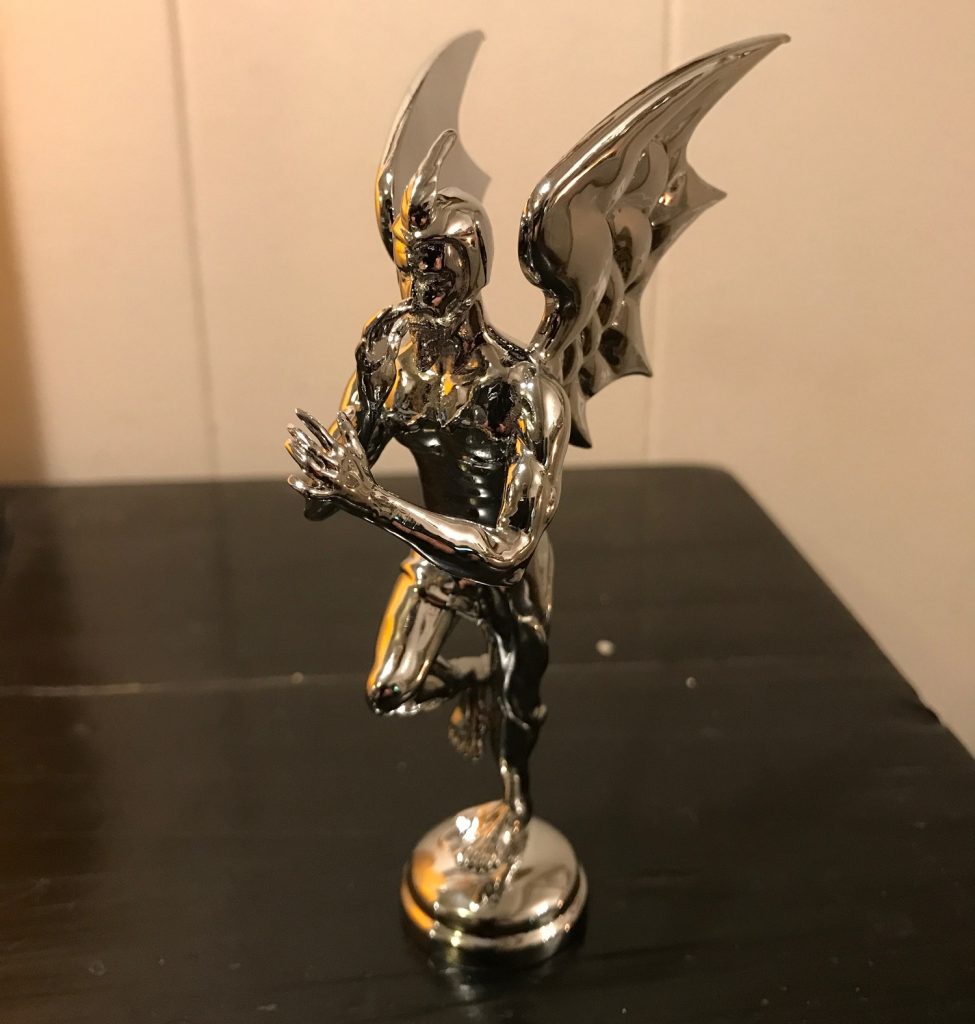
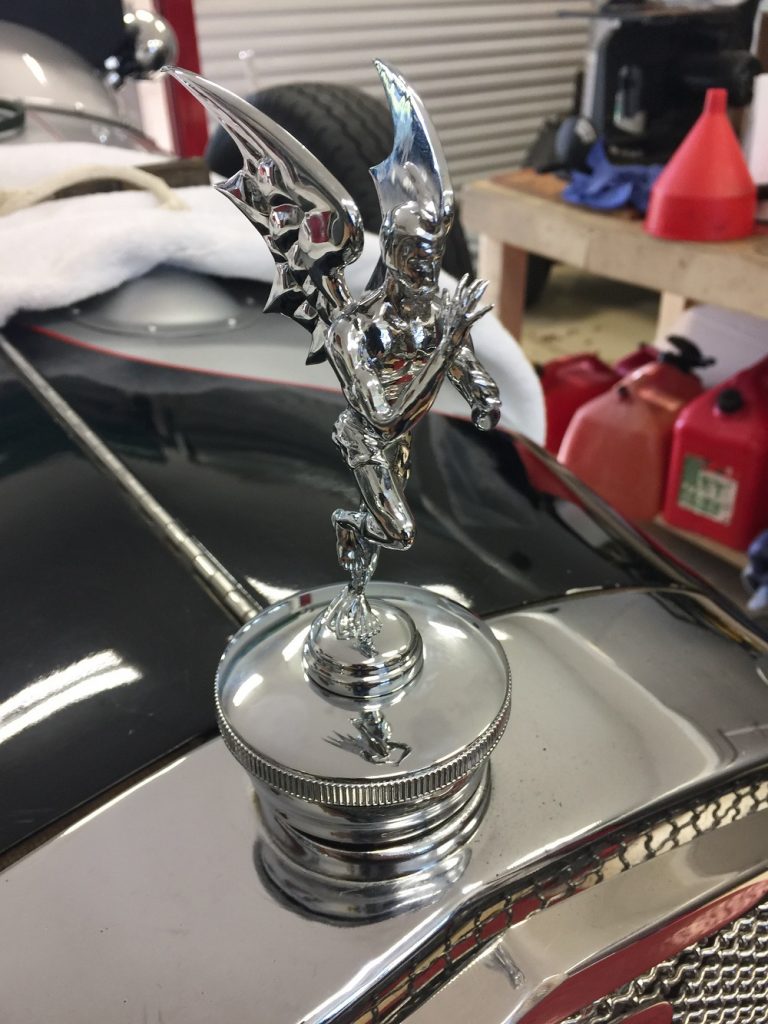
When the time came to turn his model into 3D printed reality, Chris had to choose a material. He definitely wanted it to be chrome-plated and he knew that it had to be metal of some sort, because he was going to need to drill-tap the bottom of the ornament to mount it on top of the radiator cap. After browsing the i.materialise website, brass seemed to be the ideal option in regards to size and detail retention – and since we offer a chrome-plated brass finish, it was definitely a no-brainer!
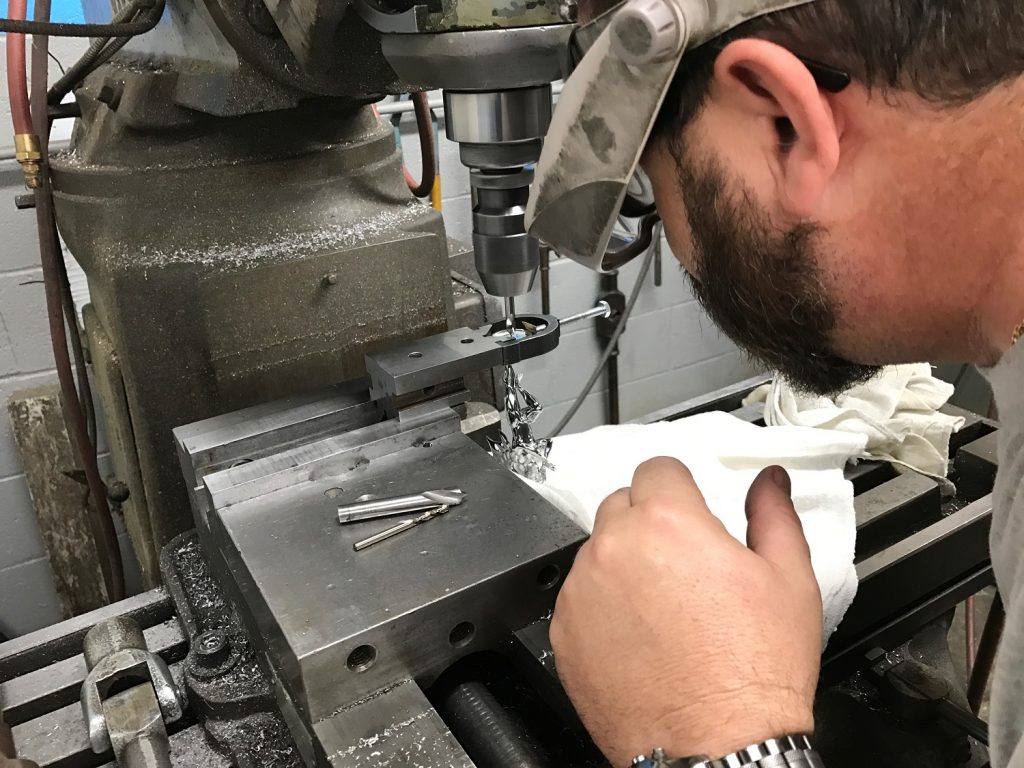
Pete Eins, who is tapping the bottom of the 3D printed ornament
There were two main advantages Chris found to 3D printing this hood ornament. First of all, 3D printing allowed him to create his model in a digital 3D environment, which he was more comfortable with compared to hand sculpting. And moreover, he would have had to compromise quite a bit of detail, quality and overall finish if he had opted to do it any other way than 3D printing.
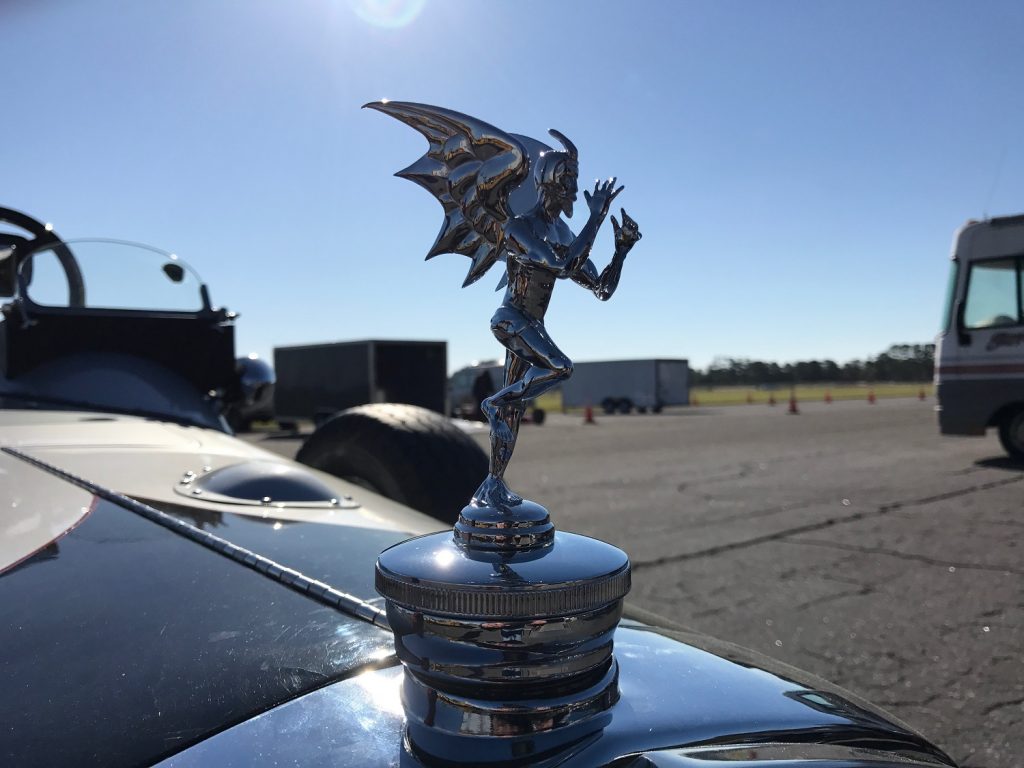
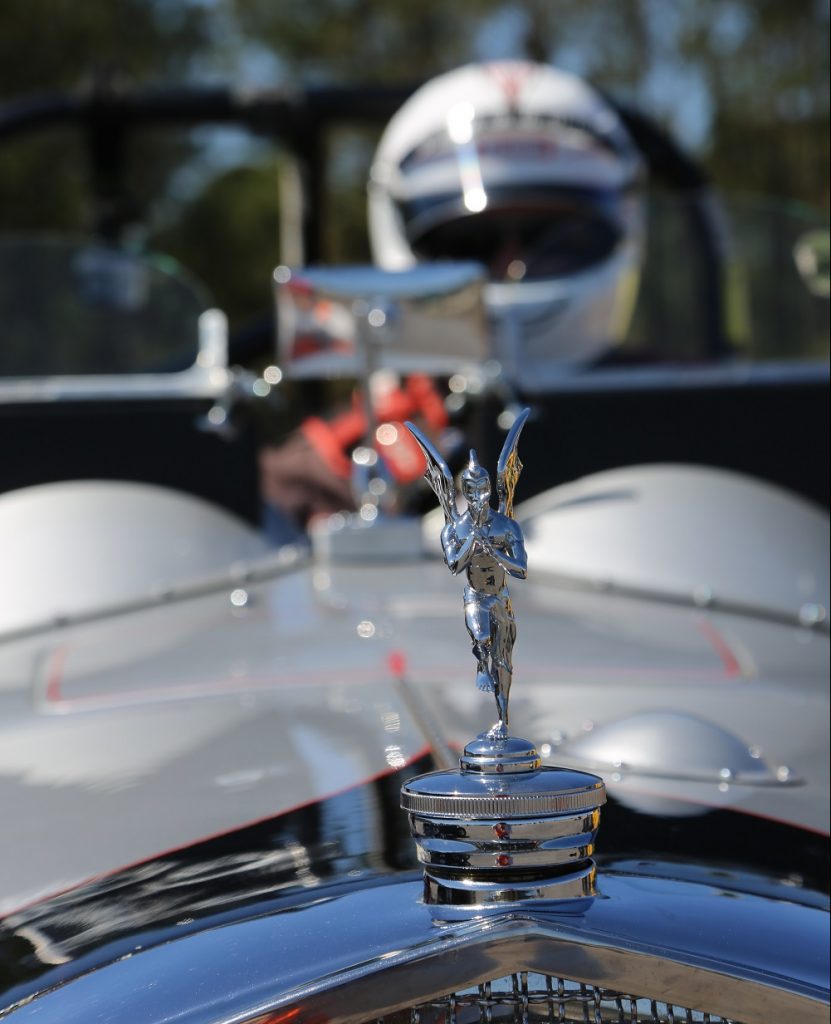
So, what about the final result? A few weekends ago, Chris’s father-in-law debuted the new hood ornament at the Amelia Island Vintage Grand Prix and it yielded an overwhelmingly positive reaction from everyone; little kids, mechanics, drivers, automotive enthusiasts and photographers couldn’t help but notice the unique ornament. When they found out it was 3D printed, they were absolutely floored!
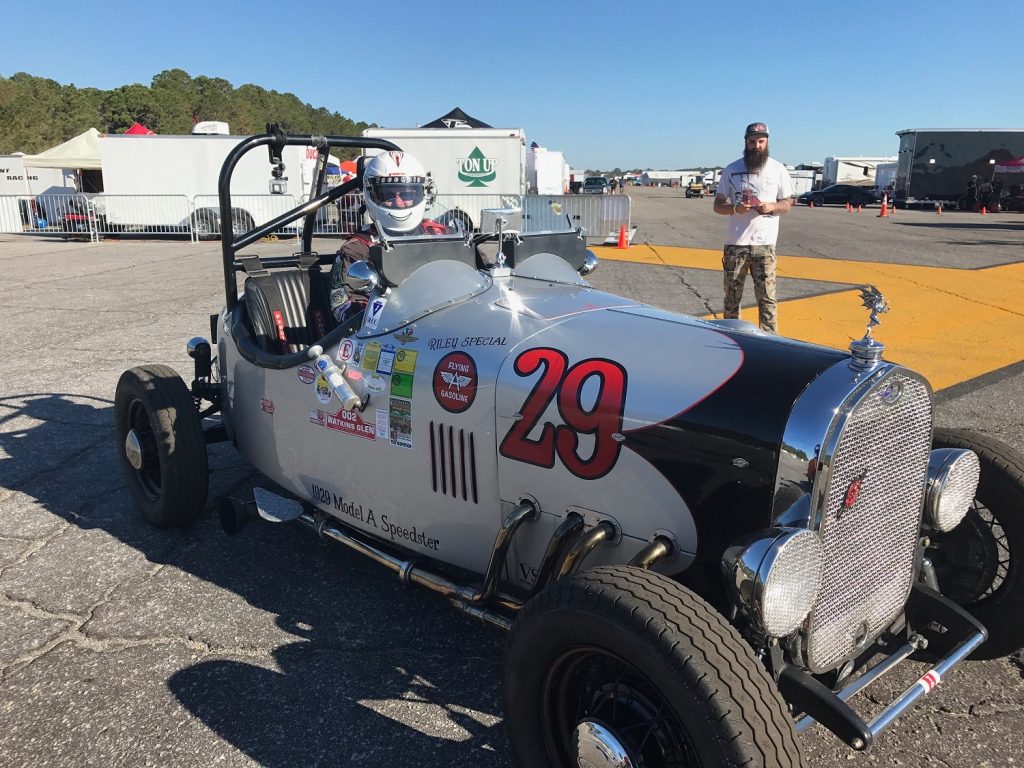
Vintage car with the hood ornament, Chris and his father-in-law
Interested in getting a high-quality 3D print yourself? Simply upload your 3D file here, choose from our large selection of 3D printing materials, and let us take care of printing your object on our professional 3D printers.