MagicaVoxel 3D Printing Tutorial: 3D Design for Beginners
3D design can be somewhat intimidating if you have never used 3D design software before. At i.materialise, we love getting newcomers to 3D printing started in this fascinating world. That’s why today we’re bringing you a 3D design tutorial for beginners.
Get started with 3D design with this MagicaVoxel tutorial.
MagicaVoxel is a voxel-based modeler. A voxel is a cube that can be used to create 3D designs in a very simple and intuitive way, almost like a virtual Lego set.
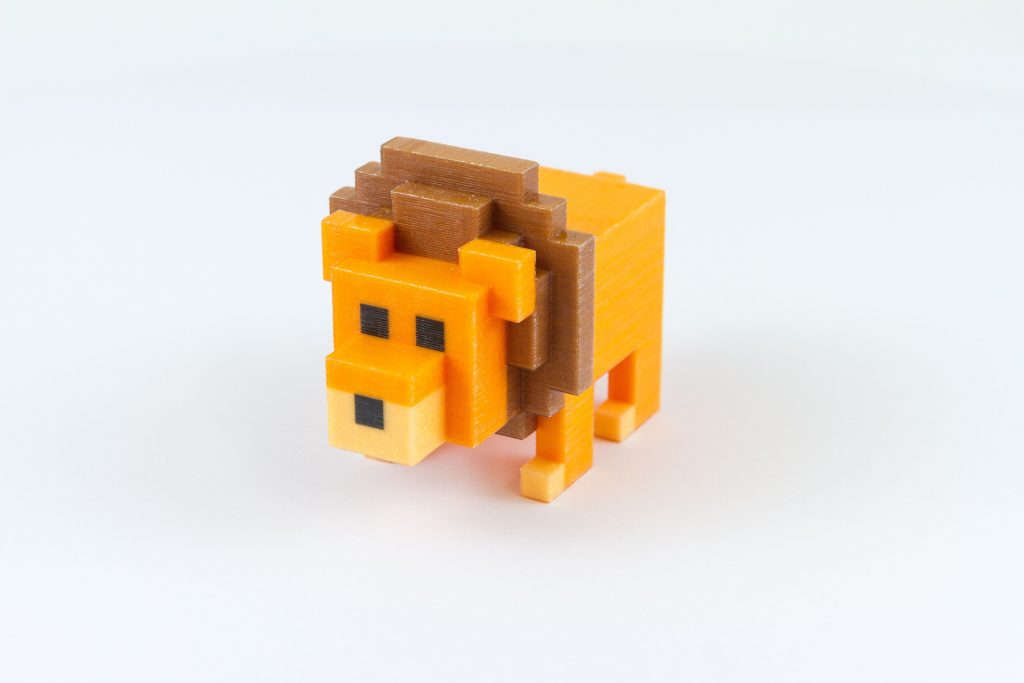
By using MagicaVoxel, we created and 3D-printed a figurine in our new Multicolor+. From an empty screen to a finished figure, you can do it too! Just follow this 3D design tutorial in MagicaVoxel and become the king of the 3D design jungle!
As we said, MagicaVoxel is perfect for beginners because it doesn’t have complicated tools or functions. In this tutorial we are going to use three basic commands: Attach, Erase and Paint. You can find the buttons in the upper left-hand corner of your screen.
Ready? Go!
Now that you have seen how to 3D design a figurine it’s your turn to do it! Once your files are ready, export them in ply format and upload them to our 3D printing platform to see your creations come alive.
Impressed by the brighter colors of the voxel lion? That’s our new full-color 3D printing material: Multicolor+. Discover here how you can get the perfect Multicolor+ 3D prints.
Discover all the possibilities of 3D design for beginners with this free design programs to get you started with 3D printing.
Show us your MagicaVoxel creations on social media with the hashtag #imaterialise.
Tutorial by Bert De Niel