A 3D Modeling Software for Beginners: How to Create Your First 3D Print with 3DSlash
Thinking about creating your first 3D printable object but don’t know exactly where to start? Then this step-by-step tutorial for the most beginner-friendly 3D modeling software is just what you need. You will learn how to create your first 3D print without buying or downloading a 3D modeling software program: welcome to the world of 3D design app 3DSlash!
The idea behind 3DSlash is simple: to provide users with the most efficient, easy and fun way to create 3D models or rework existing 3D files and scans. To get started, all you need to do is to visit 3DSlash’s website and you’re ready to go!
1. 3DSlash: Overview of the 3D Modeling App
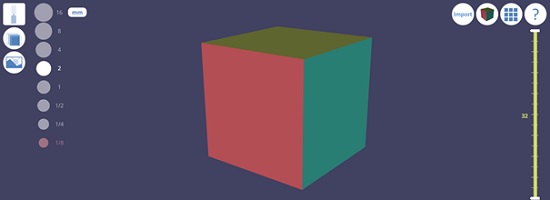
It all starts with a simple default 3D model. Left-click on the screen and drag your cursor in order to rotate this cube and see it from different angles. Use your mouse wheel to zoom in and out.
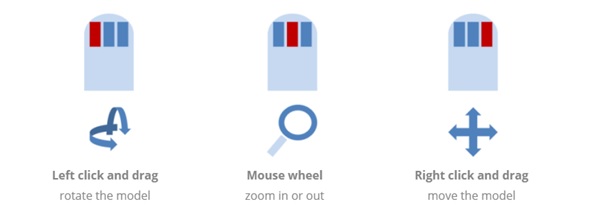
Basic mouse controls for 3DSlash
But 3DSlash is all about slashing and editing the cubes that are right in front of your eyes. You’ll notice that you can select different tools in the top left corner of your screen. To start with, click the icon and choose the hammer. You can then select the size of this tool (from 1/8th of a millimeter to 16mm). Make a selection and click on the blocks in front of you to see the effect.
Start screen of 3DSlash
2. Using Basic Modeling Tools in 3DSlash
As you will see in the video below, the main tools you will be using are:
- Hammer: removes one cube at a time
- Trowel: rebuilds one cube at a time
- Chisel: removes entire slices of cubes
- Wood paste: rebuilds entire slices of cubes
- Drill: removes a piece
Basically it’s all about removing or rebuilding cubes – so it’s somewhat similar to Minecraft. The chisel and the drill are only faster ways of working than using the hammer, the wood paste is a faster way to do what the trowel does.
3. Getting the Right Dimensions
As already mentioned, you can then select the size of each tool at the left hand side. It ranges from 16mm to 1/8th of a millimeter.
By default 3DSlash is set to mm. By clicking on the ‘mm’ button this can be changed to inches or cm. You can also change the total size of your working space in the same menu (see image below).
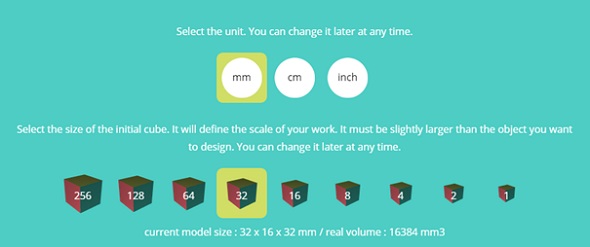
3DSlash lets you easily choose dimensions and sizes.
4. Adding Surface Pictures
3DSlash lets you apply images to the surfaces of your object. This might make it easier to create a 3D model as you only need to follow the shape of your image. Using images is especially useful if you have a plan or sketch of what you want to create.
To upload and apply a picture, click the image button at the right hand side. You can then upload and select up to three images (for the different faces of the cube).
Besides, 3DSlash lets you import existing STL files that you can edit. Simply click on the ‘import’ button at the top right corner to insert an existing 3D model.
5. Using Different Layers
You have probably already noticed the three bars on the side of your screen (two horizontal bars on the bottom, one vertical line on the right).
By changing the position of the controllers on each bar you can temporarily de-select certain parts of your 3D model. This is useful if you want to carry out a procedure that should not affect your entire model.
With the bar on the right hand side for example, you can de-select a certain ‘bottom layer’. This layer will be faded out and won’t be touched by any slashing operations you’ll be carrying out (see image below).
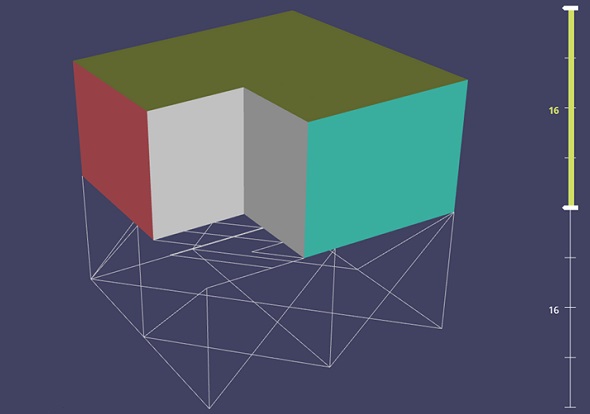
Layers let you select and de-select parts of your 3D model.
6. Using Advanced Tools
In the downloadable 3DSlash version you use some more sophisticated functions that aren’t available in the browser-based version. These include tools such as push & pull, lines & curves, copy & paste and others. You will also be able to start from advanced shapes such as spheres or cylinders.
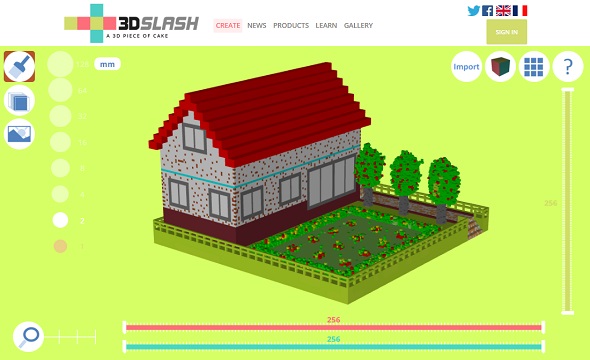
6. 3D Printing Your Object
If your object is ready to be 3D printed, click on the grid button on the top right corner. You will see several options to share, save or print your object. By selecting the logo of the online 3D printing service i.materialise, you will be directed to our website where you can choose the material of your choice and check the price for your 3D print.
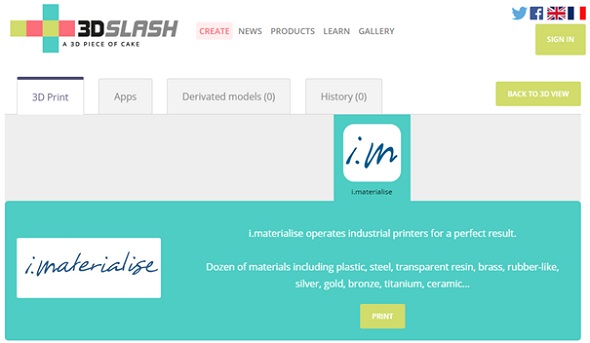
You can easily print 3DSlash models with i.materialise
Are you interested in other beginner-friendly 3D modeling apps? Try our tutorials for Wizegem or Jweel for creating personalized 3D printed jewelry or learn here how to create your first 3D model in popular (and free) 3D modeling software SketchUp. Have you already managed to create a 3D model for which you’d like to know the price for a professional 3D print? Upload the file here and receive your price quote immediately.