Tutorial Summer: from idea to kick ass design
After reading how to choose a material for your 3D printing design you’re now ready to bring your design to life. Bert, our Product Designer, will lead you to the right direction!
 Bert: “An important step in bringing your idea into reality is the design guide. Designing something that isn’t printable can be pretty frustrating; so in order to avoid this we have listed all the design rules for each material down in their design guides.”
“To make things more clear I’ll give you an example: since I love cycling and I cycle to work every day, I wanted to create something to protect my pants from getting dirty. So I thought about the design, followed my 3D printing guide and it turned out polyamide would be the best material to design in.”
“Then I read the design guide of that material. Even though I know the basics about each material more or less, refreshing my knowledge by looking into the design guides in details is something I highly recommend. It will save you so much time afterwards because you don’t have to redesign it to make it complaint with the design rules. From my experience it’s easier to design with the rules in mind on beforehand than trying to adapt your initial design to become printable afterwards.”
DESIGN
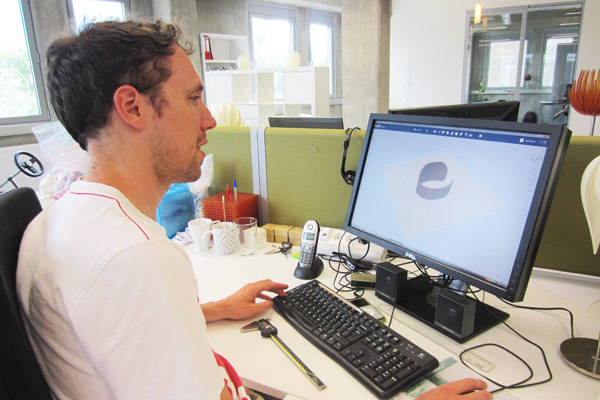
“Designing might take a few iterations to become the object you’ve been thinking of. To start off, I usually place a box with the dimensions of the printing size of the material I’ve picked earlier. This avoids issues of exceeding the printing size of a specific material. To design my bike strap I used Autodesk 123D Design, an easy to use browser based CAD software.”
 “Another tip is to model a ruff model first to get an idea of the price of a 3D printed model. Make a closed volume that has the general shape and dimensions and then make an upload to our 3D print lab. By doing this, you get a quick estimation of the price you can expect (and you see an immediate price of other materials as well, if you’re still hesitating). When you‘re happy with the price estimation, you can start design more into detail. The startup cost which applies to some materials and the bounding box size will stay the same if you kept the same outer size.”
“During the design process, I sometimes print out a 2D view of my model just to get a better understanding of the size in real life. It might appear to be something silly but it helps in a lot of case to verify dimensions and proportions without making an 3D print itself.”
UPLOAD
“Once I’m happy with the design, it’s time to take the last steps by uploading my model. You can upload quite some formats on our website. You can find a list of them in our File optimization guide. This guide will also teach you some basics about exporting your files correctly as well as point out some common mistakes that happened during exporting. When the file is uploaded and analyzed, I can select material, color and finish and place the order.”

A 3D printed bike strap in red dyed polyamide.
AND THEN?
“Depending on the production process, you’ll receive your ordered models after a specific lead time, which is shown on the material pages. Once you received your package -and did a little happy dance- you can share your newborn design with the world. You can show it and sell it in our gallery!”