123D Design Tutorial: How to use Autodesk 123D Design for 3D Printing
Update: Autodesk has discontinued this app. It is no longer available for download.
In this Autodesk 123D Design tutorial you will learn the basics of this great 3D modeling software. You’ll learn how to come up with an idea, how to turn your idea into a 3D model, and how to turn this 3D model into 3D printed reality. Let’s get started with this video tutorial by Ben Heck.
Autodesk 123D Design is one of the most popular 3D modeling programs for beginners and advanced 3D designers. 123D Design is good for creating functional parts and geometric designs like smartphone cases and train models. Creating organic shapes like a human face, a monster, or a tree will be difficult, however. And by the way: 123D Design is free to use – you can simply download it on Autodesk’s official 123D Design website.
Enough background information about 123D Design, now let’s get started with this video tutorial. In this video, Ben Heck will continue his quest to teach beginners more about 3D printing. If you’ve been wanting to know how 3D printing works and how you can create your first 3D model, this could be a perfect tutorial to help you get started. In this video Ben will designs a simple Raspberry Pi case step by step using the Autodesk 123D Design software.
123D Design Video Tutorial
Starting point: create a rough drawing
Before getting started on his computer, Ben draws a rough sketch of what he will be creating later. This sketch helps to keep in mind the overall picture and is a good reference point when getting stuck in the modeling process. No matter if your 3D design a Raspberry Pi case or any other object, a sketch in hand is always a good idea.
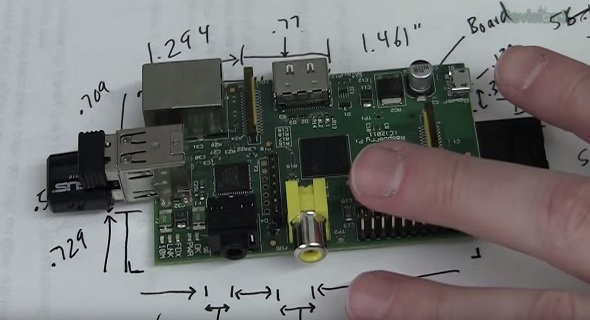
A sketch is a good starting point for your 3D model.
Install Autodesk 123D Design
Autodesk 123D Design is now available as a free 3D modeling software. Installing it is easy. Just go to Autodesk’s 123D Design website and download the program. It’s even available as Mac and iPad versions.
Once you start the software, the bird-eyes view might be the best idea for creating your 2D sketch. Take a look at the cube on the top right corner and select the ‘top’ view.
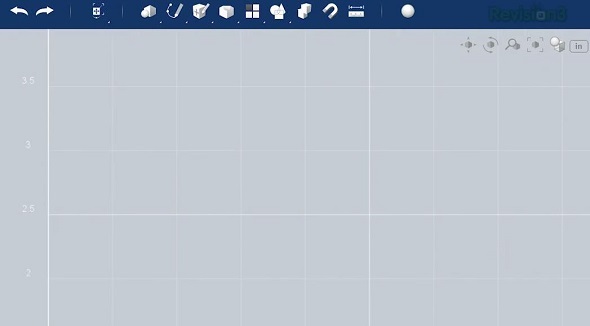
The ‘top’ view gives you a good 2D overview.
Draw a sketch in Autodesk 123D Design
Before creating a real 3D object, Ben draws the basic shape of his object in 2D. Like this, Ben can create a good replica of his original hand-drawn sketch.
By the way: 123D Design also lets you import .SVG images. In this case you can start modeling based on an imported sketch.
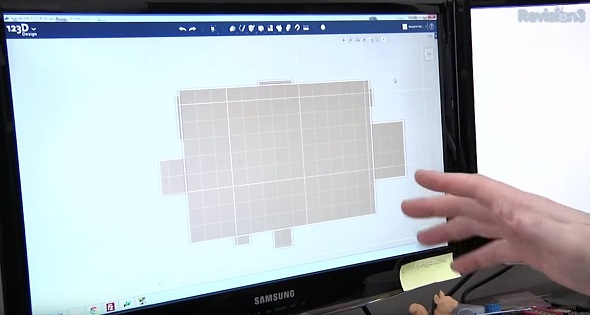
Creating an accurate drawing is simple in 123D Design.
Extrude sketch to a solid
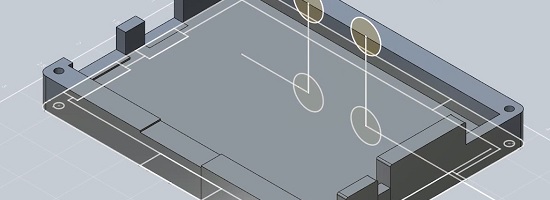
Once the drawing in 2D is done, Ben extrudes the two dimensional shapes in order to receive a real 3D design. He also adds additional features and holes (for example for the screws) in this 3D view.
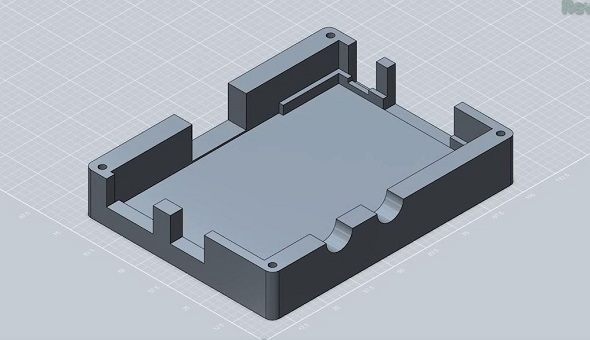
2D to 3D: Ben creates a 3D model.
3D print your design
Autodesk 123D Design lets you export your design as a .STL file. This file is the most common format for 3D printing. If you don’t own a printer yourself or if you need a high quality 3D print from an industrial printer, you can use our online 3D printing service. Simply upload your file here, choose your favorite material, and see the price of your 3D print immediately. We will then take care of printing your design and shipping it to your doorstep.
Assemble your 3D printed design
Once you received your 3D printed parts, the last step is to assemble them (if necessary). And voila: you just designed your first 3D model and created your first 3D print!
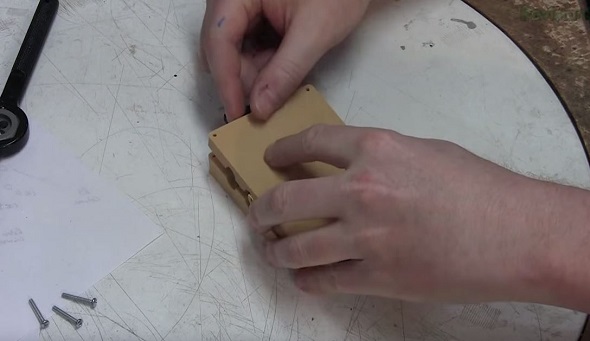
The last step: assembling the pieces.
If you’re new to the world of 3D printing and 3D modeling, check out this blog post about the 5 most common modeling mistakes to avoid. Also learn the basics of the different 3D printing technologies in this blog post. If your design is ready for 3D printing take a look at our 3D printing services on our main website or discover our 3D printing materials here.
Recommended Articles
No related posts.


