Tinkercad 3D Printing Tutorial: How to Create Your First 3D Print
Autodesk’s Tinkercad app is probably the easiest, most accessible and most fun 3D modeling application for creating your first 3D print. No previous 3D modeling experience needed, and best of all: this 3D design app is totally free. So let’s create our first 3D print in less than 30 minutes with this beginner-friendly Tinkercad tutorial!
1. Getting Started with Tinkercad
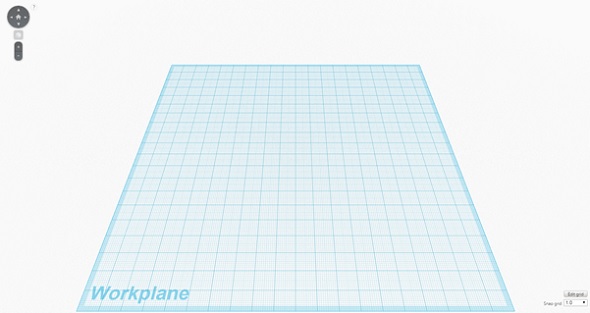
To get started, hop over to Tinkercad’s website. After creating an account you can directly access the browser-based app. Tinkercad will automatically start with its first tutorial. It’s recommended to follow these instructions – but you can always skip them by clicking on the ‘exit lesson’ button at the top. Choose ‘start a new project’ to get to your empty workplane.
From here, Tinkercad follows a ‘LEGO’ approach. You will mostly work with pre-defined shapes and geometric structures. You will end up adding these together or subtracting them in order to create holes or hollow objects.
The best way to get started is to click on ‘Geometric’ on the right-hand side.
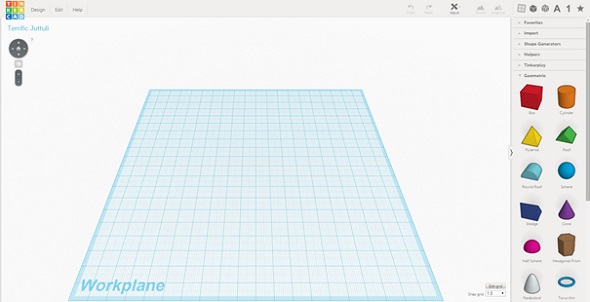
Select geometric objects from the right-hand side.
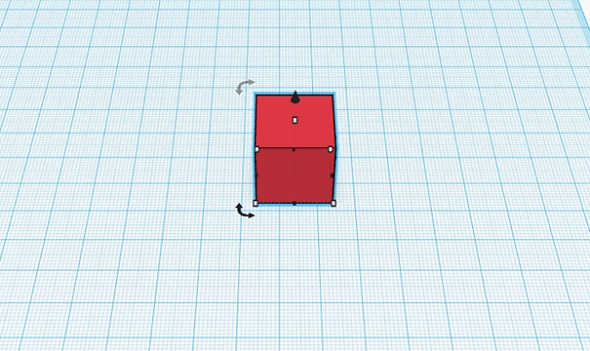
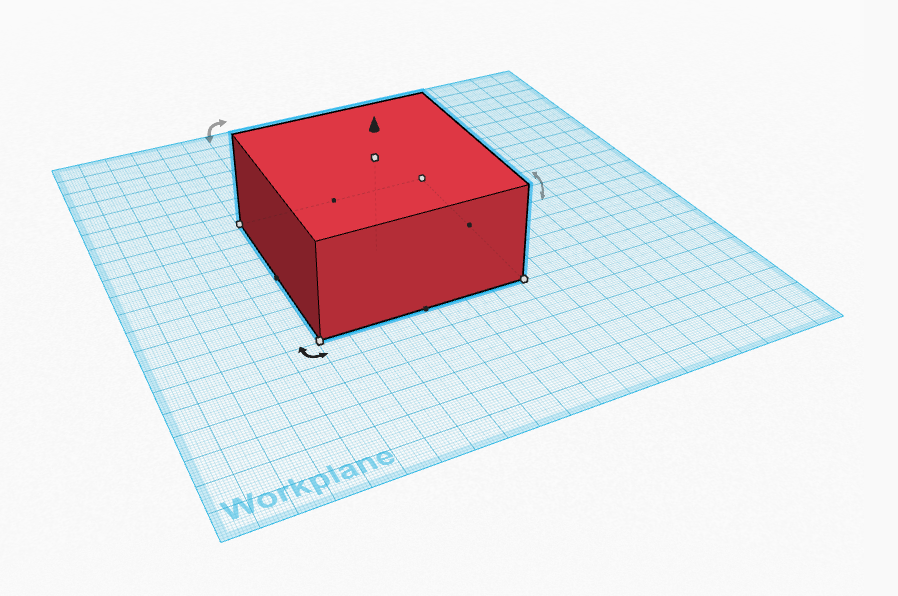
Using the toolbar on the right-hand side, you can create basic geometric shapes such as boxes, pyramids, spheres, etc.. To start with, we select a box. Simply drag and drop the box from the menu to the workplane.
Once placed on your workplace, you can see a number of arrows and dots on and around your box (if your box is selected: if not, click on it now). To get a better view of the box we will zoom in with our mouse wheel. You can then turn the angle of your view with the right mouse button, and navigate around your workplane by holding down the mouse wheel (not zooming in or out, but simply keeping it pressed).
2. Changing Sizes and Shapes in Tinkercad
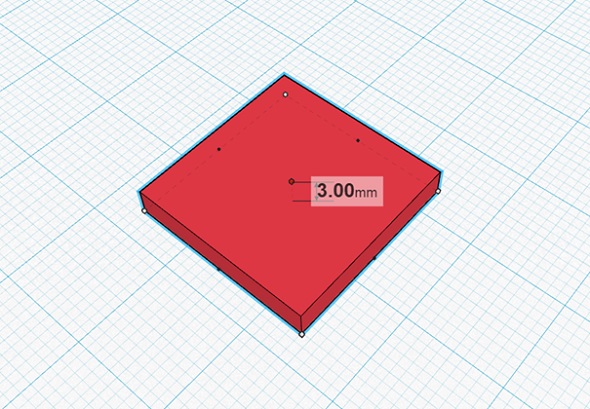
By default, our box is 20mm high. For this tutorial, we want to create a basic suitcase label with a height of 3mm. Click on the little white box on the top surface and pull it down to 3mm.
Did something not work as planned? Simply click on the ‘Undo’ button at the top of the screen to get back to the previous stage.
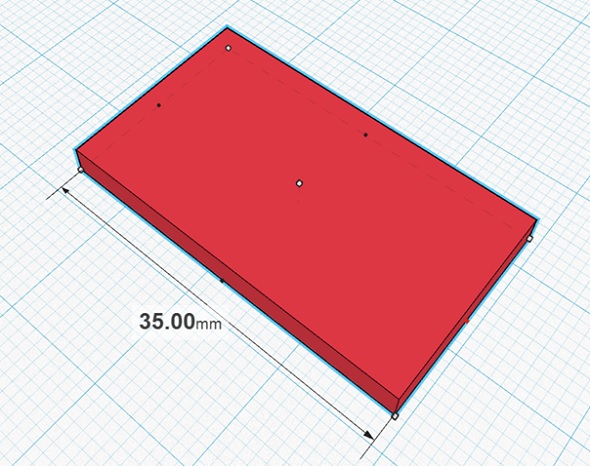
Next, we want our label to be more rectangular. To do this, we click on one of the black little dots at the sides of the red box. Pulling and pushing on these dots changes the size of the object. Let’s pull our object to a length of 35mm.
3. Adding, Turning & Grouping Elements in Tinkercad
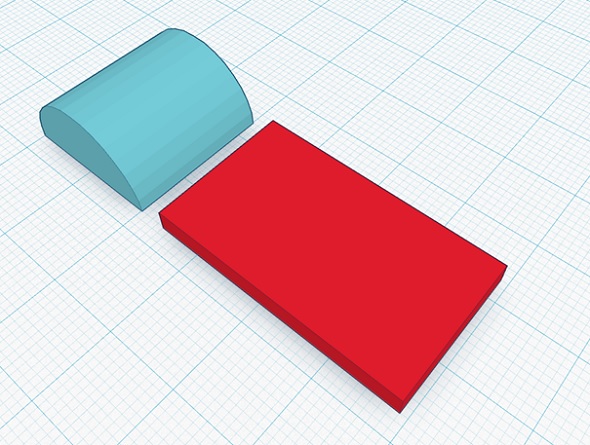
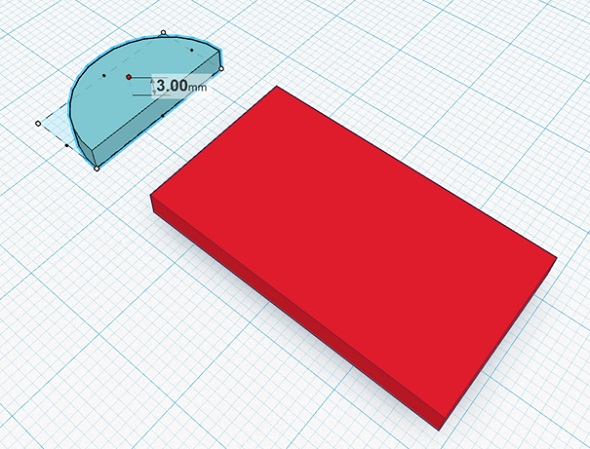
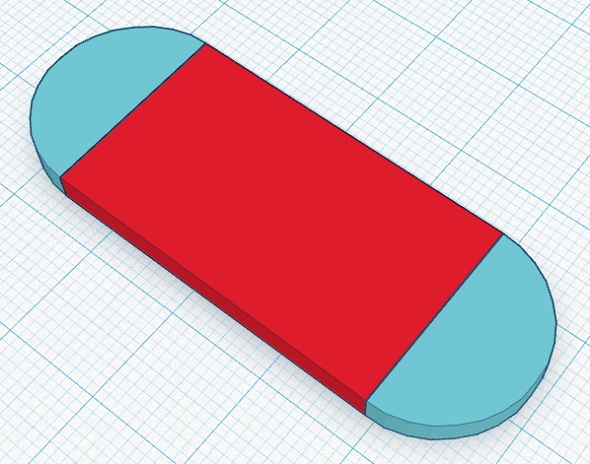
Next, we will add some rounded ends to this box. Therefore, we will drag and drop a ‘round roof’ on the workplane. You can find the round roof at the right-hand side next to the other geometric shapes.
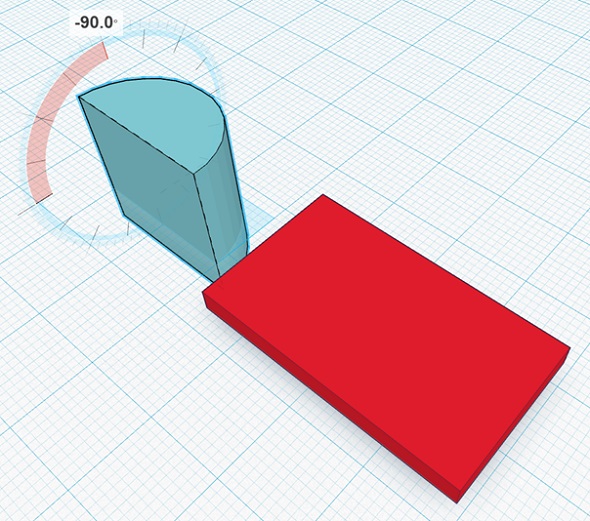
Since the rounded roof is upside down, we first need to turn it. So we select the right turning arrows next to the object and turn it 90 degrees. Can’t see any arrows to turn your object? Then you need to select it first (simply click on the object).
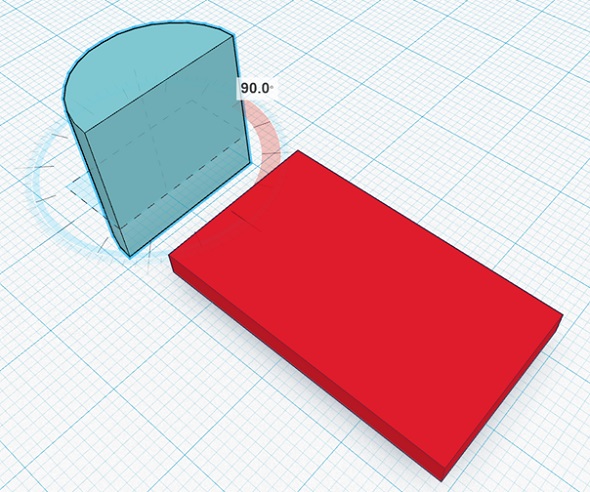
Since the rounded roof is still not pointing in the right direction, we need to turn it again for 90 degrees on another axis.
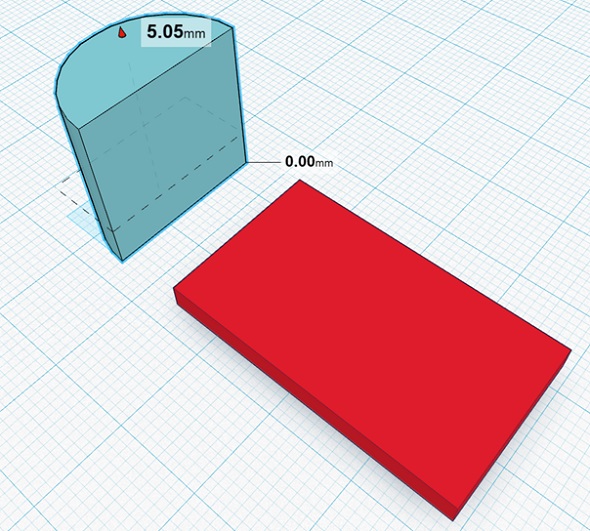
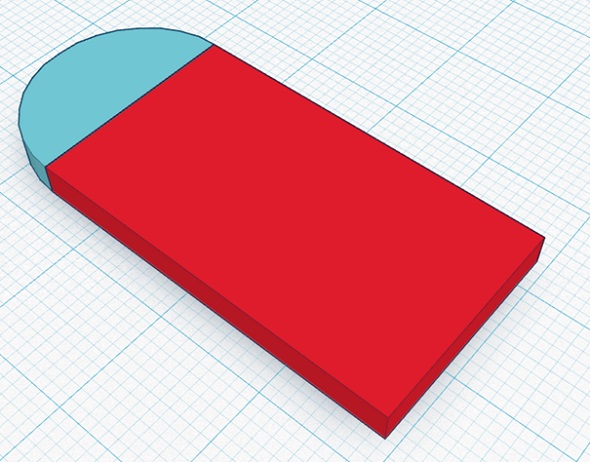
That’s more like it! However, you will see that a part of the rounded roof is below the workplane. In order to connect the roof with our original red box perfectly, we need to pull it up first. Click on the little cone icon above the rounded roof and get it up until its bottom surface hits the workplane (the value will be 0mm).
Of course, the object is still too high. Just as we did with the box before, we can click on the little white cube on the top of the rounded roof and decrease its height to 3mm.
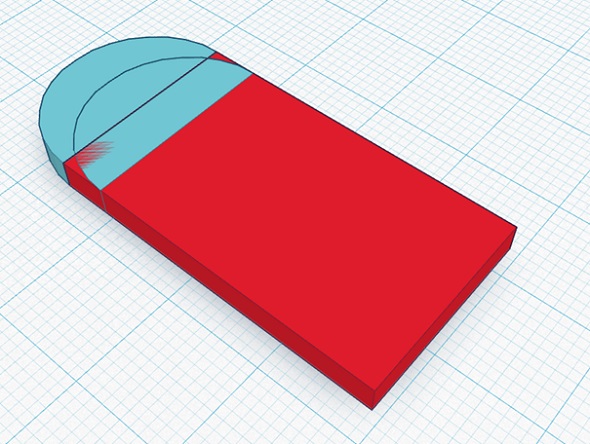
Now that looks much better, doesn’t it? But we still need to move the objects into the right position. Drag and drop the rounded corner right next to the box for a perfect fit.
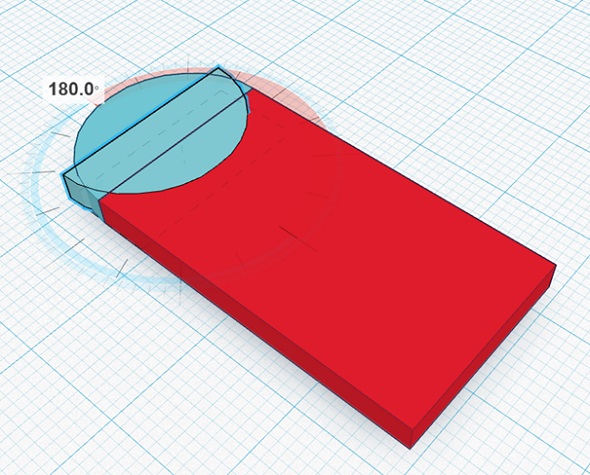
And now we need to do the same thing for the other side of the box. In order to make things easier, we can simply copy & paste our existing rounded roof. Select the rounded roof, press CTRL+C and then press CTRL+V. A copy will appear right next to it.
So, let’s turn this copy by 180 degrees…
… and move it into the right spot.
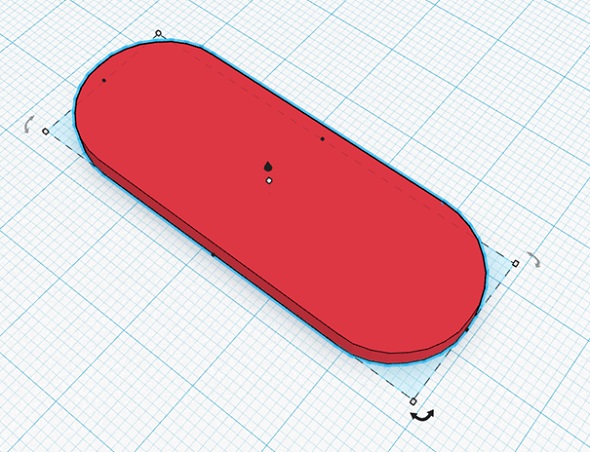
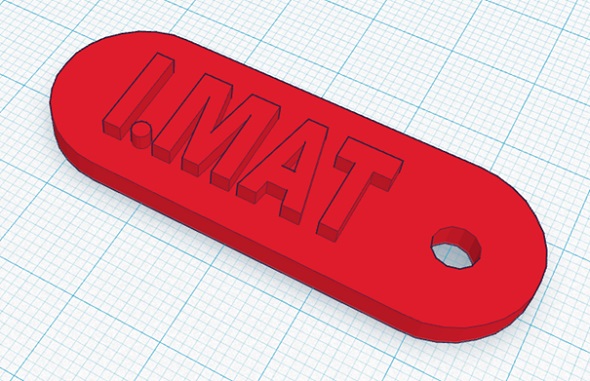
Voila! The basic shape of the label is ready. Time to group these three items together. Select them all with your mouse and click on the ‘Group’ item on the top right corner. Your three elements will now be shown as one object. When you decide to change the size or height of the object, you don’t have to do this for each and every element separately anymore. You can always ungroup the object into several elements again by clicking the ‘Ungroup’ button.
4. Creating Holes in Tinkercad
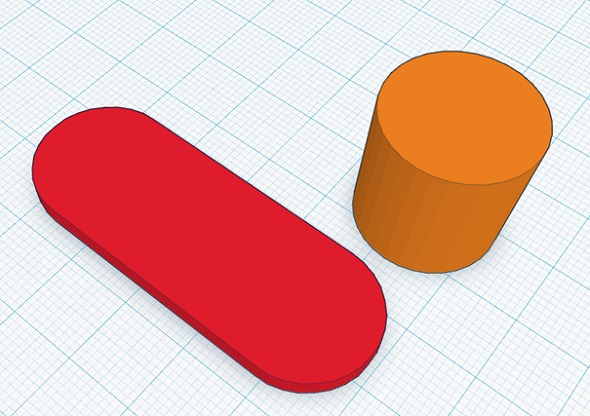
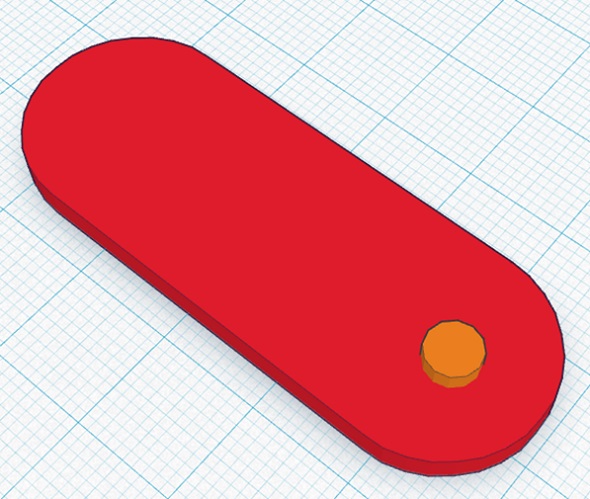
Tinkercad is not only about adding different shapes together – it’s also about subtracting them from each other. Perfect for us, since our label still needs a hole. So let’s drag and drop the cylinder shape onto our workplane.
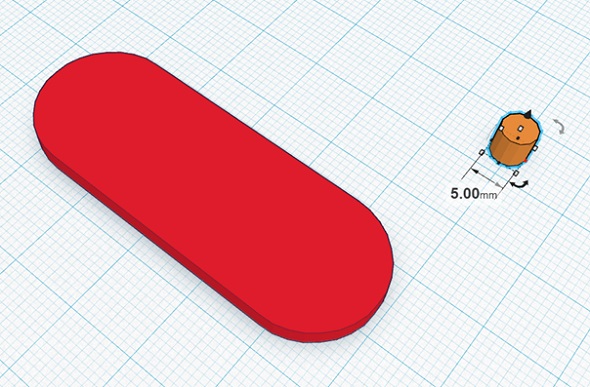
It’s still far too big. Let’s change its size to 5mm x 5mm x 5mm (pro tip: you can hold down the Shift key when changing the size of one dimension and Tinkercad will automatically change the size of the other two dimensions as well).
Now the cylinder has got a perfect size. Time to move it to the right location!
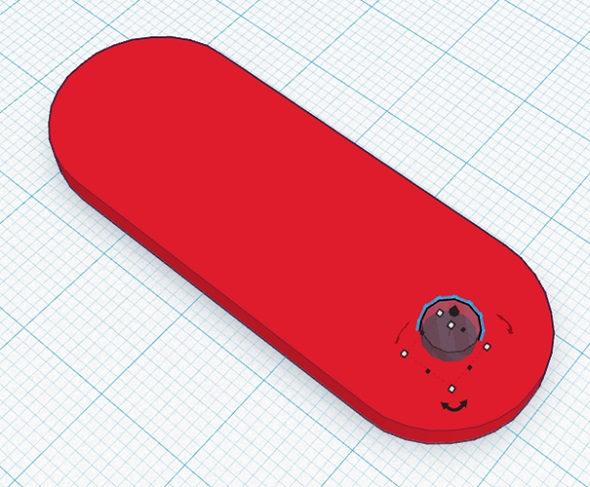
The cylinder is in the right place, but it’s not a hole yet. Click on the cylinder and select ‘Hole’ from the little pop-up window at the top right.
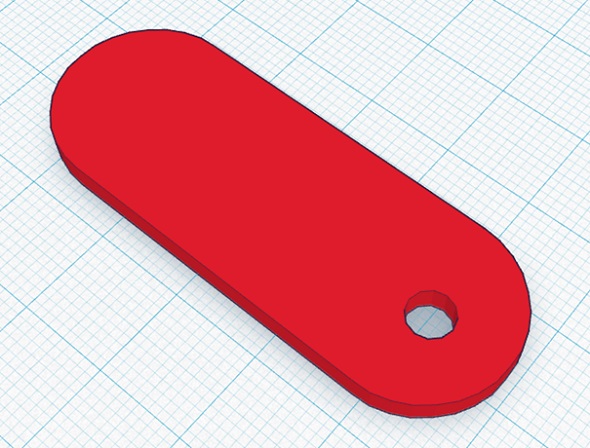
That’s exactly what we’re looking for. Let’s group the elements together by selecting both the hole and the label and by clicking on ‘Group’.
5. Changing the Workplane in Tinkercad
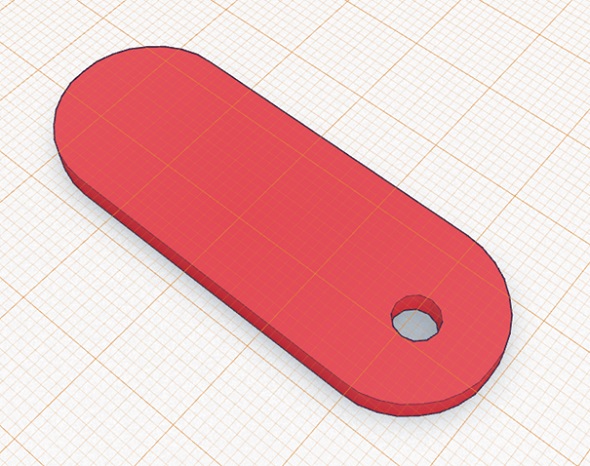
Now let’s personalize the label by writing our initials on there. First let’s tell Tinkercad that from now on, we don’t want to place new elements on the workplane, but on our label. For doing so, we need to press the W key and click on top of the label.
Voila, the new workplane will be on top of the label (it also changed its color from blue to orange). To get back to the original workplane, simply press W and click anywhere in the empty space on your screen. But for now, let’s leave it as it is.
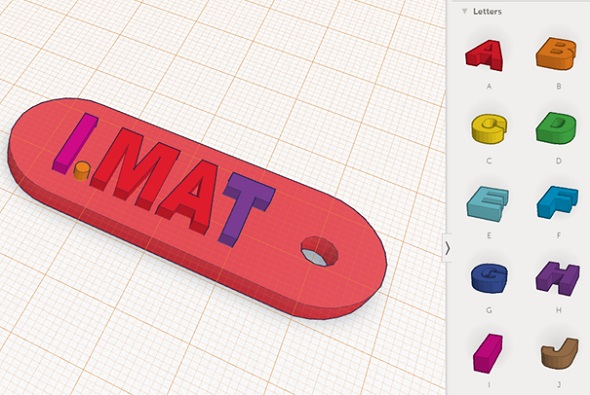
Leave the ‘Geometric’ section on the right-hand side and change to ‘Letters’. Place your initials on the label and adjust the size.
Once again, let’s select all elements and group them together. Then we set the workplane back to its original position (press W and click anywhere in the empty space).
6. 3D Printing with Tinkercad
That’s it! And it just took a few minutes! So let’s send it to the printers. Click on the Tinkercad logo and the top left corner (no worries, your object is automatically saved).
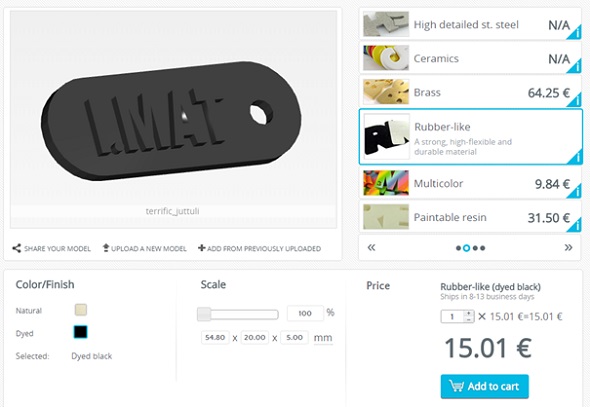
Your new object will appear on your dashboard. You can either continue to edit it (by clicking on ‘Tinker This’), or download a 3D printable file (.STL, .OBJ for instance). You can then upload your file onto i.materialise’s 3D printing service where you can select your material (I think this would work great in rubber-like) and adjust the size of your 3D print.
This wasn’t all that difficult, was it? So go tinkering and create a 3D printable model – Tinkercad is definitely a great app to start with. And it’s more powerful than many people think. Take a look at this blog post in order to see some stunning examples of 3D printed objects created in Tinkercad. Did you already create a 3D file? Upload it here and order your print in any of 100+ materials and finishes!
Recommended Articles
No related posts.


