Magics Essentials Tutorial: How To Prep Your Files Like A Pro
Importing design file without any errors is an art form. There’s been a lot of time we’ve wasted on fixing printing errors and details after converting a design to STL. And then still getting a frustrating message that “computer says no.”
Sound familiar? You’re not alone: more than 50% of models are not ready for printing once imported to STL format.
What if that step of getting your design print-ready could be that much easier and faster? What if you could make your prints cheaper?
Take the pain out of 3D printing by using three steps to prepare your files for printing like a pro using Magics Essentials – made by i.materialise’s parent company, Materialise.
Step 1: Fix errors easily
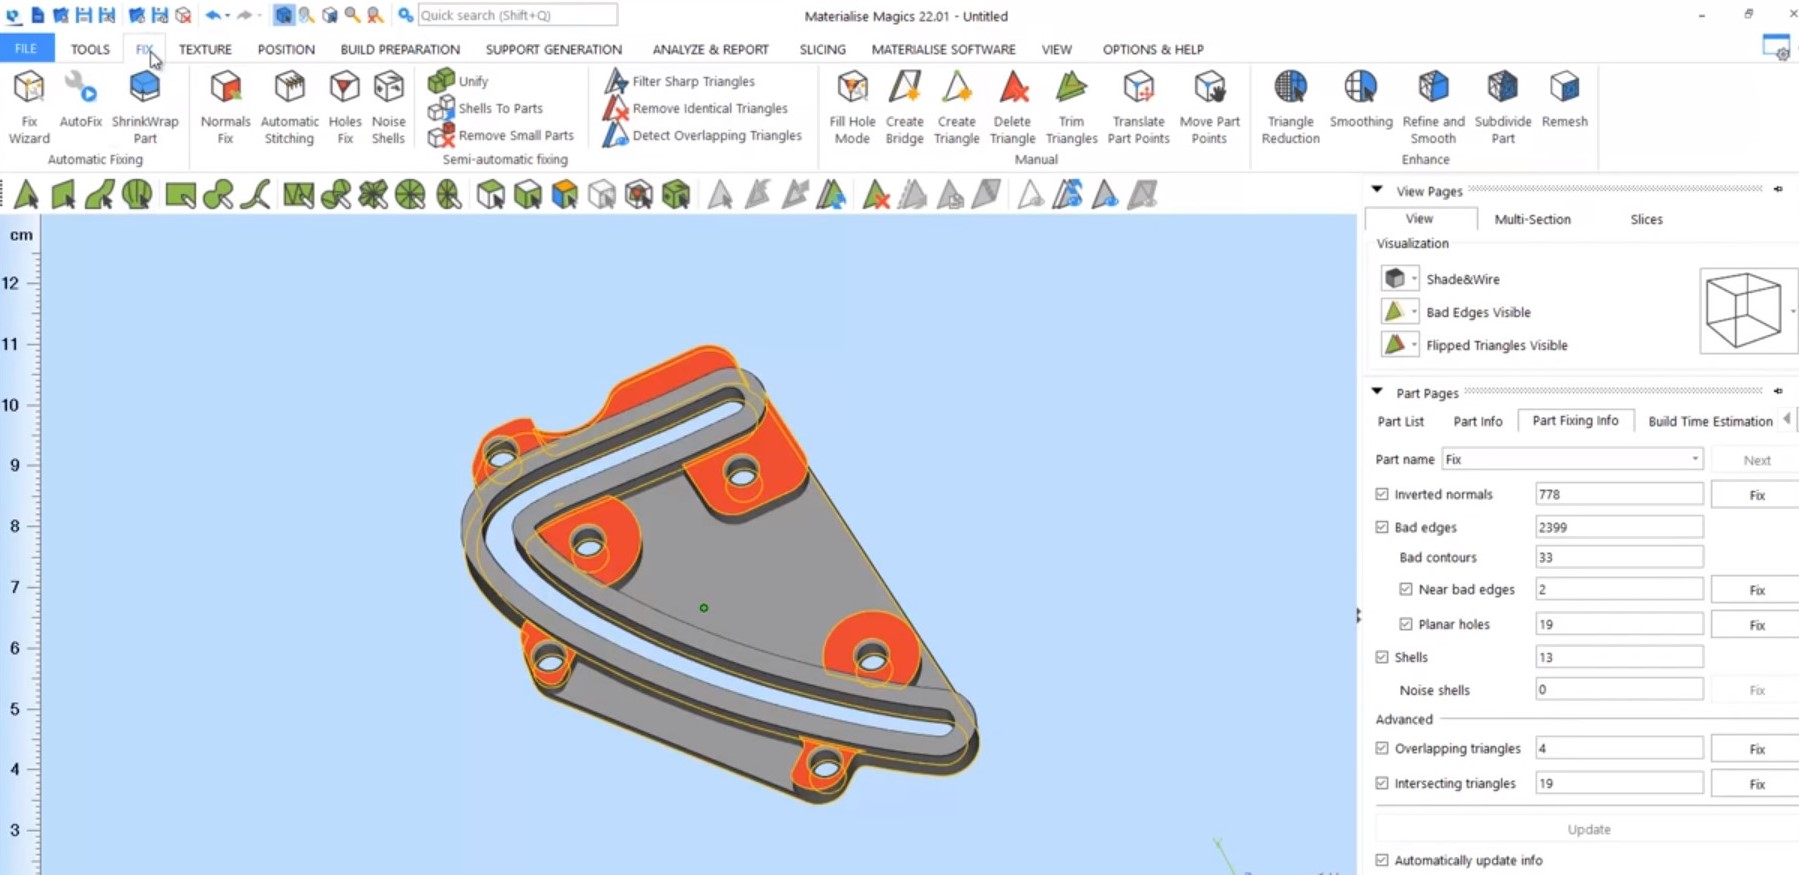
Magics Essentials has two functions to help you quickly identify and correct errors that we’re all plagued with, including disjointed, misaligned, or overlapping pieces. You’ll find both tools in the “Fix” ribbon in Magics Essentials.

At the top of your window, select the “Fix” ribbon to find “Shrink Wrap,” the “Fix Wizard” and “Auto-fix” at the top right.
- AutoFix and Fix Wizard: These tools give you full control to automatically or manually fix errors. They find all the errors for you, and either fix them straight-away (Autofix) or help you choose how you’d like to fix them (FixWizard). In FixWizard, you can select which types of errors the software should fix by itself, allowing you to focus on the important ones – or you can just let it show you the problems, and you can adjust the details by hand, finetuning the fixes as you go.
- ShrinkWrap: ShrinkWrap does what it says on the tin: it applies a film around your parts to smooth out and remove any imperfections. This tool is particularly useful if you’ve scanned a 3D model, or you’re printing a design made up of several parts. Just press the button, and voilà all the errors are magically fixed.
To see how to use these tools, check out this tutorial.
Step 2: Perfect colors and textures
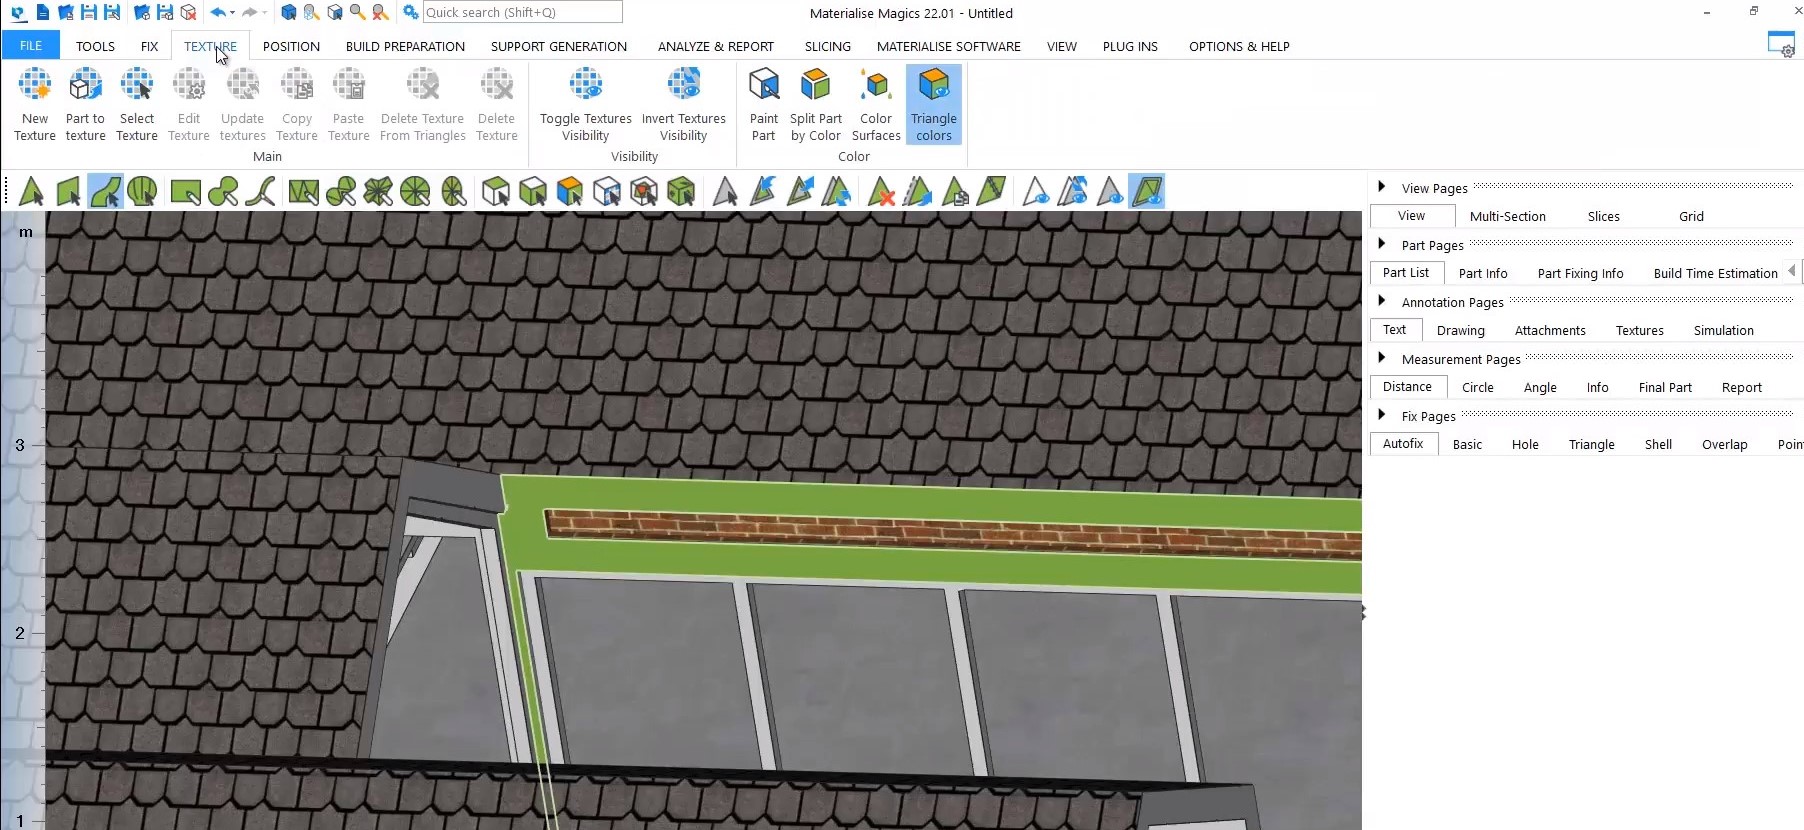
One great thing about Magics Essentials is that you can map the colors and textures directly from your CAD file – just make sure to check the two boxes when you import. This can save you tons of time when you’re working with a multi-colored design. But remember, this is only applicable if you want to print in plastics. You’ll find all the options to finesse these aspects in the “Textures” ribbon:
Check out this video to see it in action.
And in case you’re curious, you can check out the full i.materialise range of plastics and color printing options. Between the tools and the materials, you can truly create the look, feel, and function to bring you design to life.
Step 3: Optimize for printing
Now you’ve waved some digital wands and got your design almost ready to print, you can think about the last few practicalities of your print.
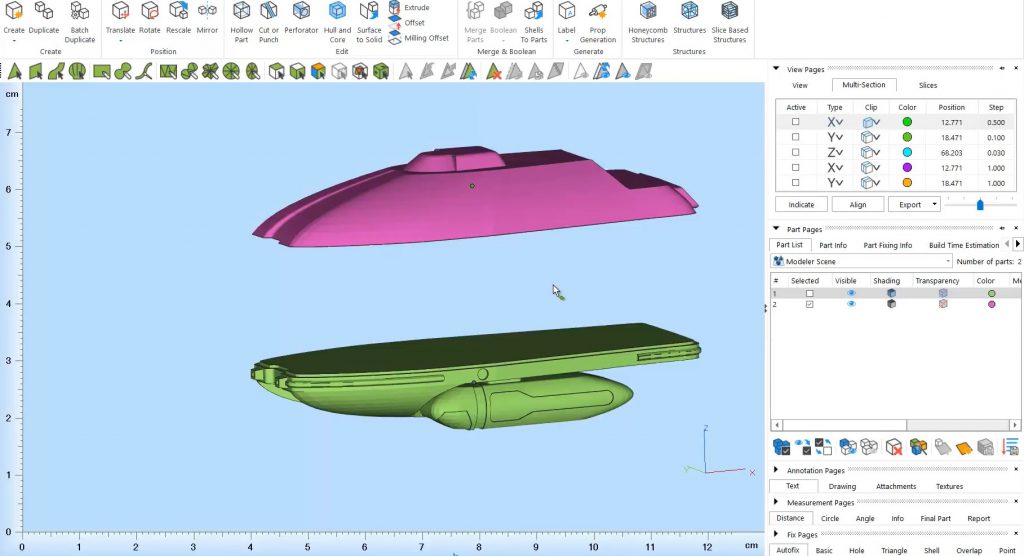
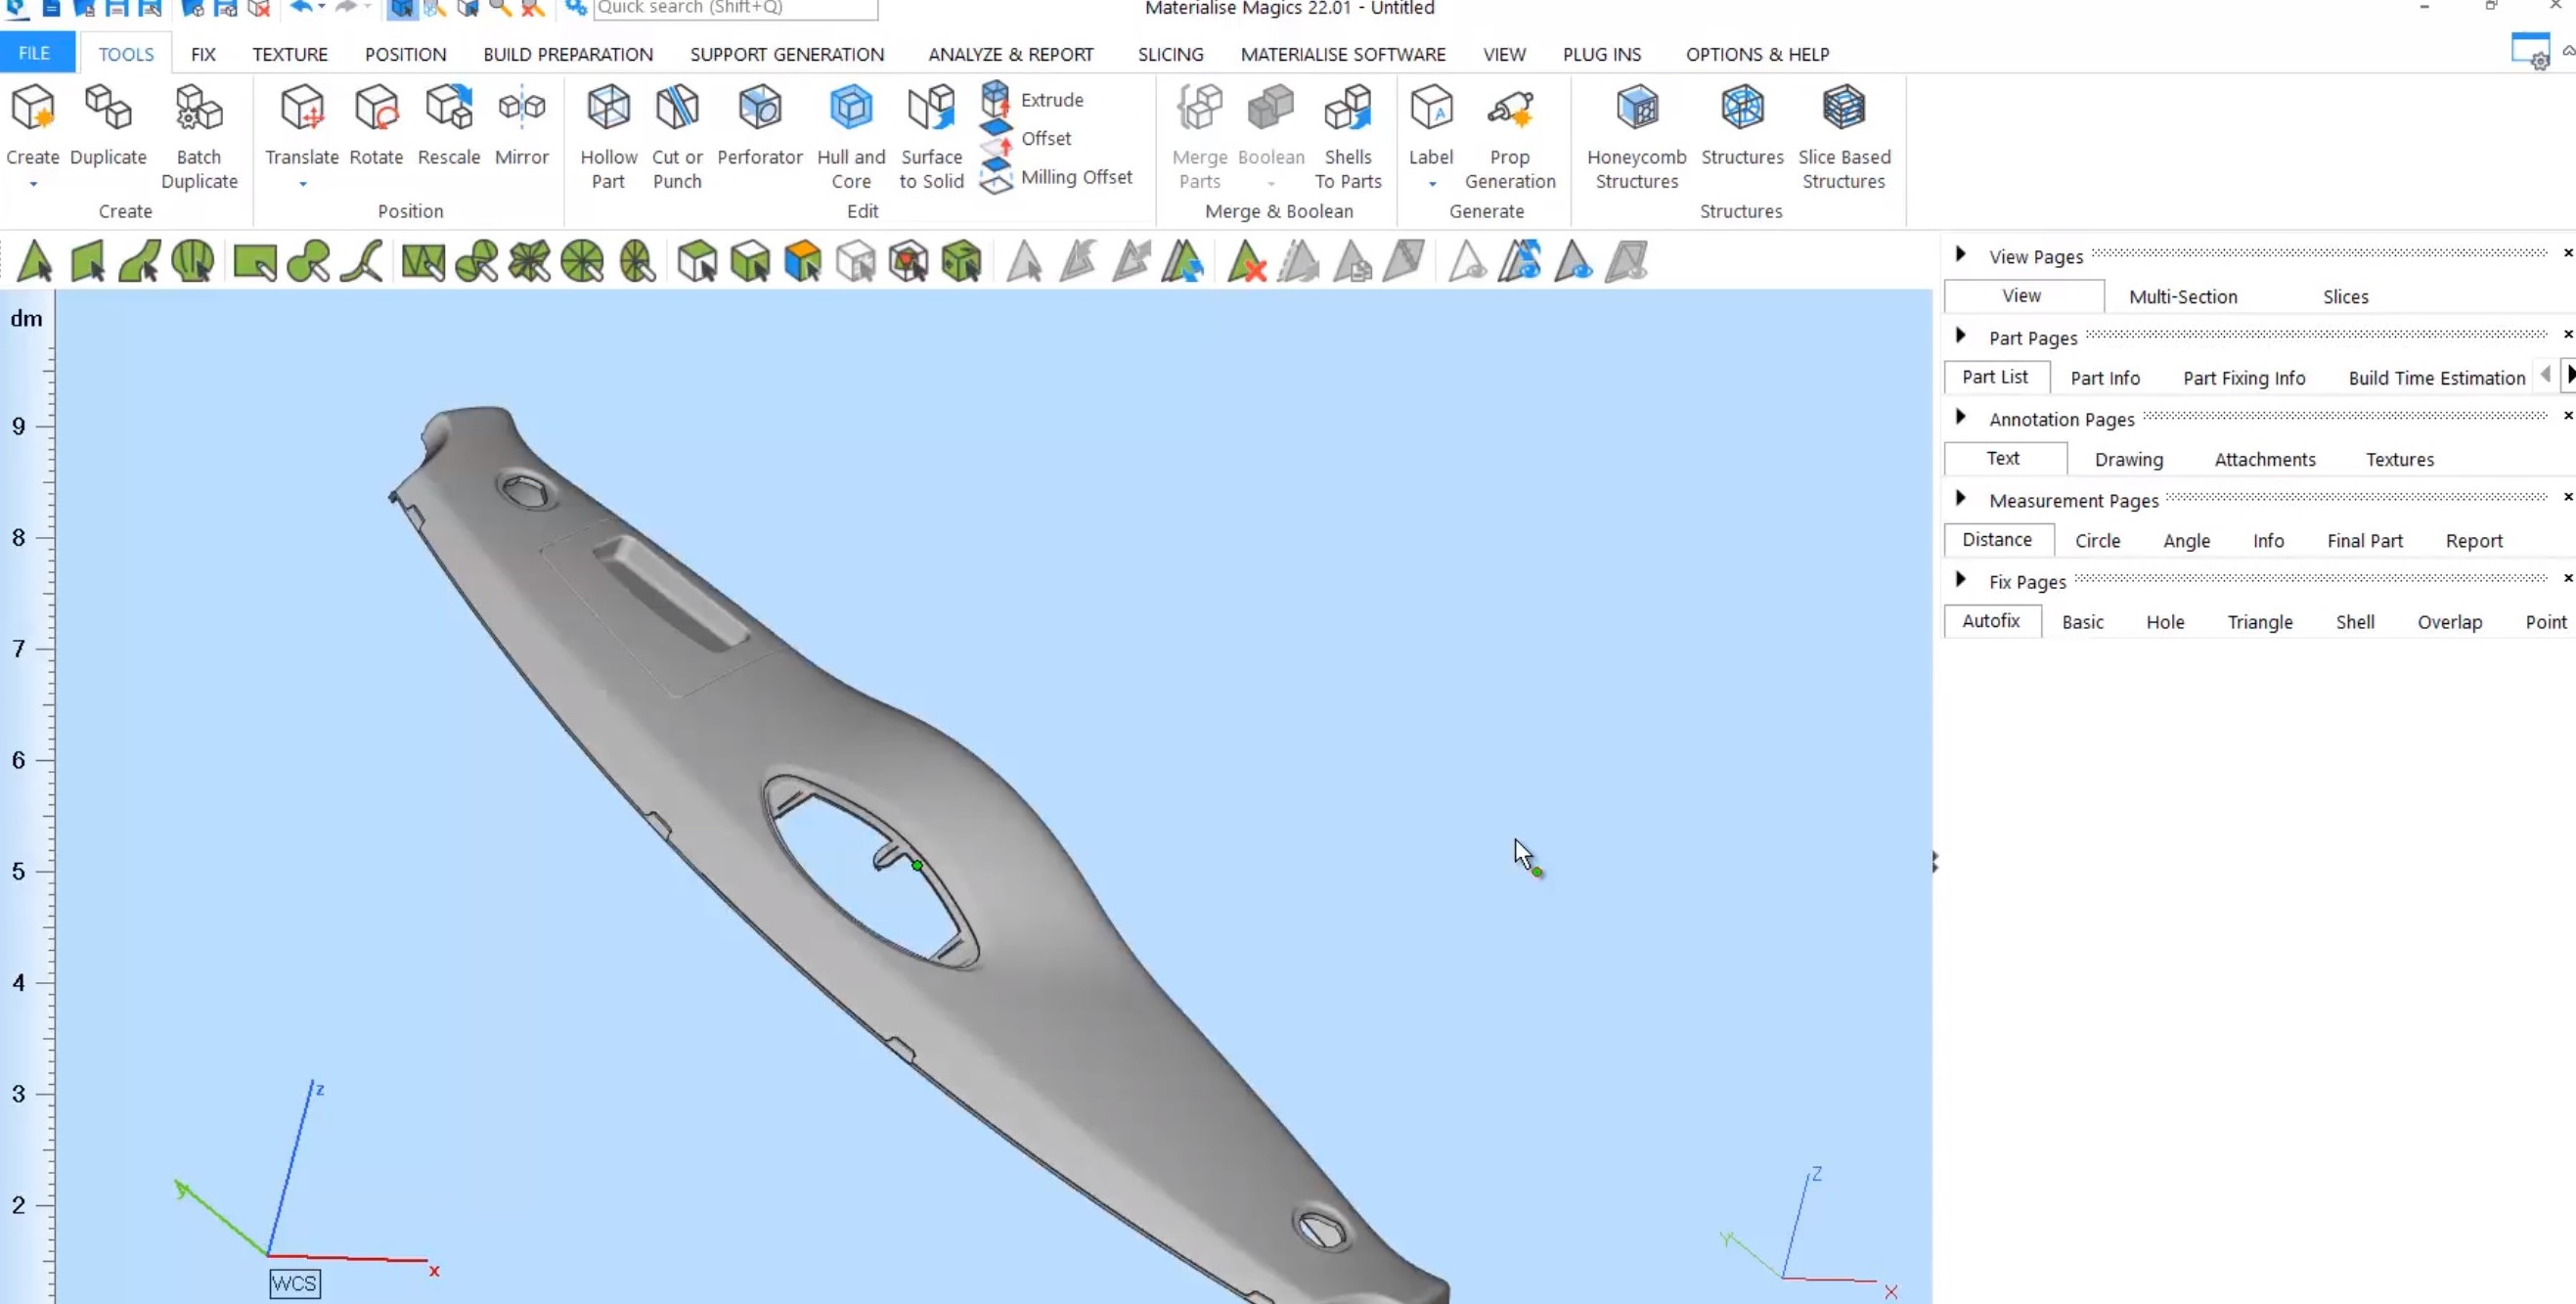
For this last step, you’ll be working in the “Tools” ribbon.
Here, there are two particularly important key features:
- Cutting: Maybe it’s a large item, and you’d like to cut it into pieces so it’s faster to print, or even so that it’ll fit through letterboxes when you send it to your customers. For that, you’ll want to use the cutting options. Check out the tutorial here to learn about all the options for cutting and re-building your pieces, using straight cuts, puzzle-style teeth, pin and hole combinations and so many more.
- Hollowing: So maybe, you’re a little bit shocked by the price or weight of the final piece. No worries – you can use nifty tools to hollow out your design entirely or keep just a honeycomb structure inside. Either way, this will make your object lighter and cheaper because it’s faster to print and uses less material. Watch how to apply a honeycomb structure to your part here.
And there you have it. Three key steps, intuitive tools and time saved. Now press “upload” and check out as usual on the i.materialise website.
Just think, using these steps, you can spend more time doing the things you love – whether that’s sculpting amazing pieces or solving problems for your customers in the blink of an eye.
And don’t worry if you haven’t got Magics Essentials yet – try out the software free on a 30-day trial, then if you love it as much as we think you will, here’s 30% off your first purchase: YOURLUCKYDAY
Click here to get the free trial from the Magics Essentials webpage!
Please read these conditions for more details:
- This offer is limited in time and only valid for 15 days, starting on the day the blog post is published.
- To benefit from the offer, you need to subscribe to the free trial of the yearly subscription of Essentials.
- This offer is only applicable to the yearly subscription plan.
- Price of €89/month is applicable for the first year only. The total promotional price of €1.068 will be deducted at the end of the trial period. When the subscription is renewed the full price as displayed on the website will be applicable.
- Only for new customers of Magics Essentials
Recommended Articles
No related posts.


