How to Share And Embed Your 3D Design Using Sketchfab
There is now a free, interactive, and comparatively safe way to share your 3D design with friends: Sketchfab. What YouTube is to video, Sketchfab is to 3D files. Alban Denoyel launched Sketchfab after noting that many of us share 3D designs via grainy screenshots, large rendered images, or by unsafely sending out our file. Sketchfab provides a neat alternative: it allows you to share an interactive, fast-loading rendered view of your 3D model – without allowing viewers to download or illegally distribute your file.
Uploading Your 3D Model to Sketchfab.com
Once you register for a Sketchfab.com account, upload your 3D design file by clicking the blue “Upload” button. Files can also be uploaded (i.e. exported) from inside your 3D design software, including AutoCAD, Blender, Maya, ZBrush, Solidworks, and Lightwave.
Files can even be uploaded with their original colors, textures and materials (i.e. maps). The easiest way is to export from inside your 3D design software. But if you prefer to click that pretty blue Upload button, just remember to zip together your texture (a .png or a .jpg image file), your material (an .mtl file), and your 3D file (usually .stl, .obj, .dae, .blend, etc.) and then upload them all together. But exporting color files from inside your software is way faster.
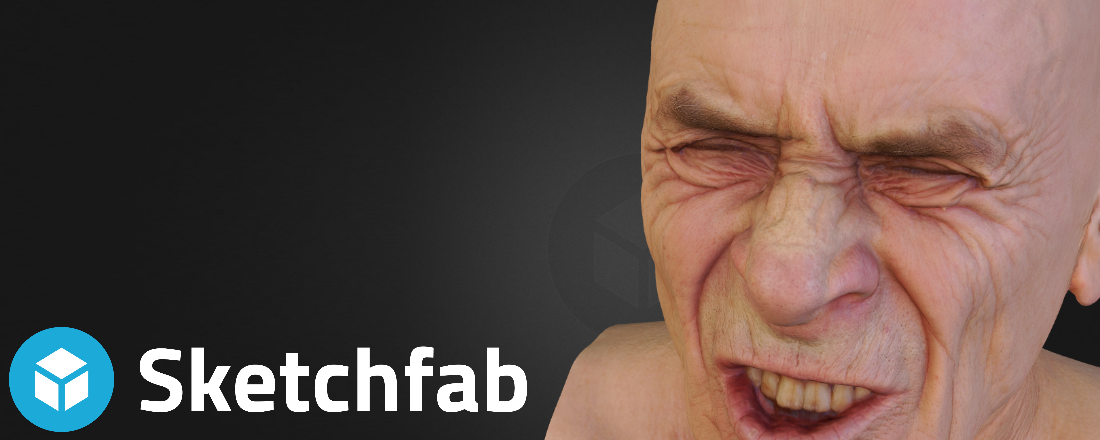
Being able to load color map data is useful for facial scans. Without color and texture, the pores on this elderly man’s face would be almost invisible. This facial scan is by Ten24 of 3DScanStore.com.
Rendering Your 3D Model in the Sketchfab App
After you upload your file, you can choose how you want your 3D model to be rendered. Click on the “Settings” button below the preview window, and then click “3D Settings.”
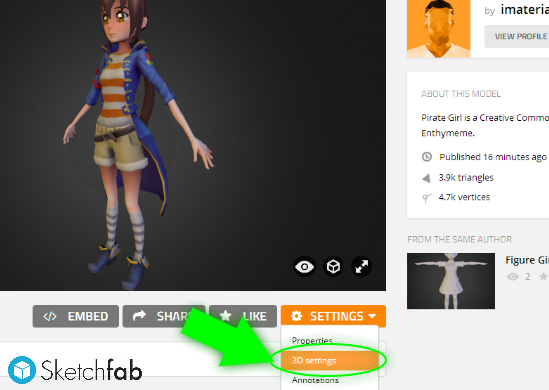
Careful not to confuse the “Settings” dropdown menu with the “Rendering Options” 3D cube button. Pictured is Sketchfab user Enthymeme’s “Pirate Girl.”
In the “Settings” menu, you can set color, transparency, shading, how much light the model reflects, how much light it emmits, how glossy its surface is, and how much of its environment it reflects.
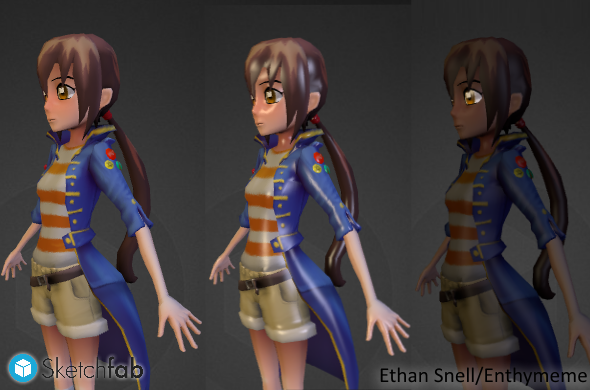
Rendering can radically change a model’s appearance. You can set up your model to render different parts separately. For the Pirate Girl render model at the far right, we darkened every part except for her eyes.
Finally, choose a 3D environment to place your model in. From velvety dark gradient backgrounds to tropical beaches, each environment can be separately adjusted for lighting, reflection, and so on…
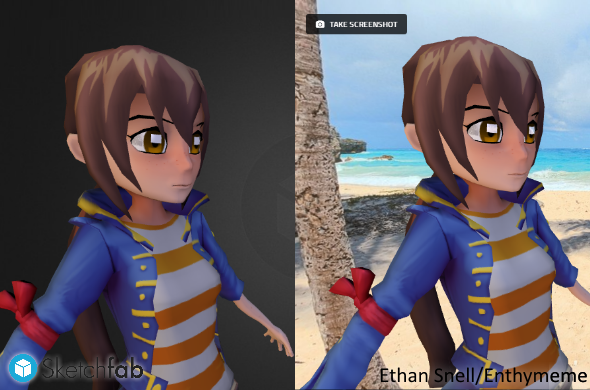
There are many interactive 3D backgrounds to choose from. They are 3D, and move with your model.
When you’ve finished rendering, click the blue “Save Settings” button and then hit “Exit.”
How to Embed Your Sketchfab 3D Model
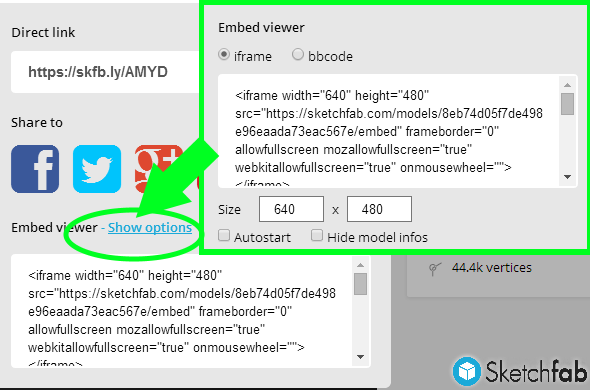
Sketchfab has many ways to embed and share your designs: Facebook, Twitter, HTML code, BB code, etc.
There are a few different ways to share your model.
- To directly link to your model, click the “Embed” button below the Sketchfab site’s preview window. A short link address is listed there.
- “Embed” also contains a box with HTML code to paste into your blog posts or portfolio site. If you click “Embed” and then click “sub-options,” you can also set the size of your view window… And get the code to post on forums or blogs.
- For those of us using Facebook, Twitter, and Pinterest, just click “Share”.
- If you have a shop on i.materialise you can also display your design via the Sketchfab “3D View” option now:
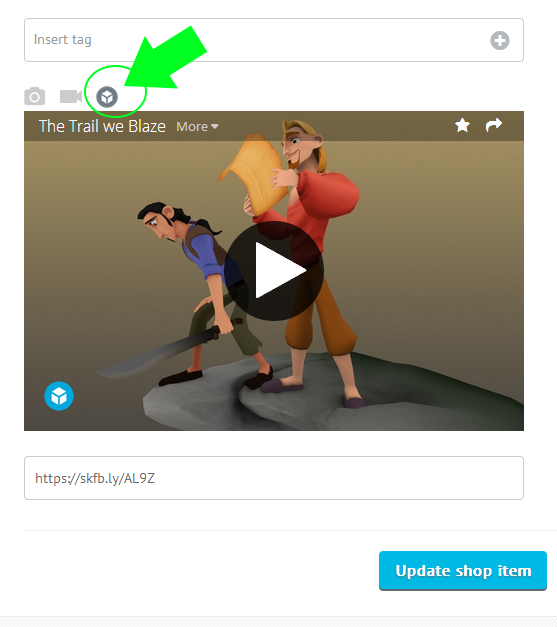
You can display Sketchfab in your i.materialise web shop. This design is by Sketchfab user electronicfox. He does low-poly and high poly modeling work, and can be reached here.
Now you know how to upload and share your designs with Sketchfab the easy way! Are you also interested in 3D printing them? Then our 3D printing service is just what you have been searching for. Upload your design here and see your prices in 18 different 3D printing materials instantly.
Recommended Articles
No related posts.


