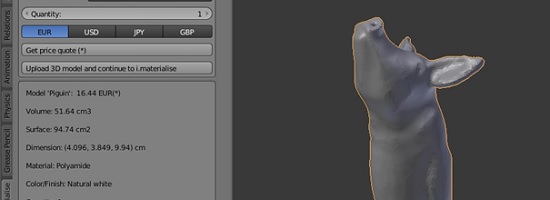
Introducing a New Blender Plugin for 3D Printing
Blender is one of the most popular 3D modeling programs used by the 3D printing community (see here). That’s why we decided to make the lives of Blender artists a bit easier. As of today, Blender users can connect their design software with our 3D printing service in just a few clicks.
The i.materialise Plugin for Blender
The plugin basically gives you instant access to i.materialise within Blender. Once installed you can get real-time information on the printing price of your design in 100+ 3D printing materials and finishes.
Downloading and Installing the Blender Plugin
You can find the brand new Blender plugin here. In order to install the plugin, right-click on the link and save the .zip file. Don’t unzip this file, you need it in the .zip format.
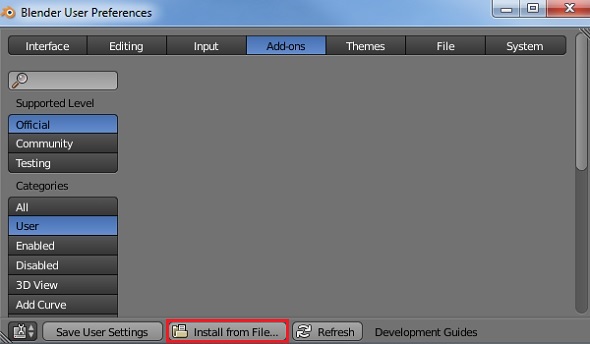
In Blender, open the user preferences (Ctrl + Alt + U), select ‘Add-ons’, and click on ‘Install from File’. Then navigate to the file you just downloaded and select it.
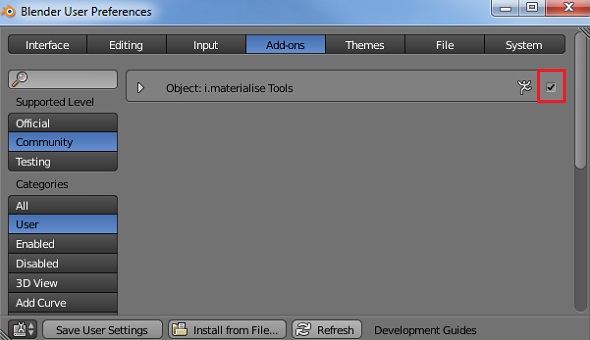
It should now appear in the list. Make sure to tick the little box next to it in order to enable it.
If you want this plugin to be enabled every time you use Blender, click ‘Save User Settings’ at the bottom.
How to use the Blender Plugin
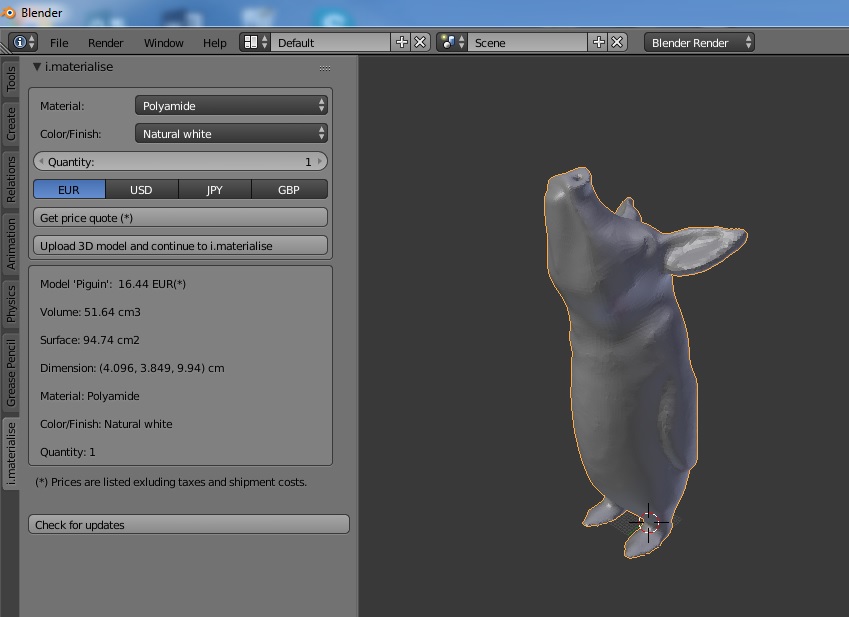
Once installed, the i.materialise plugin will appear on a new tab on the left side. Click on it and select your 3D printing material and finish. You’ll get a real-time price quote for printing your 3D model as well as information about the size, volume and surface of your future 3D print.
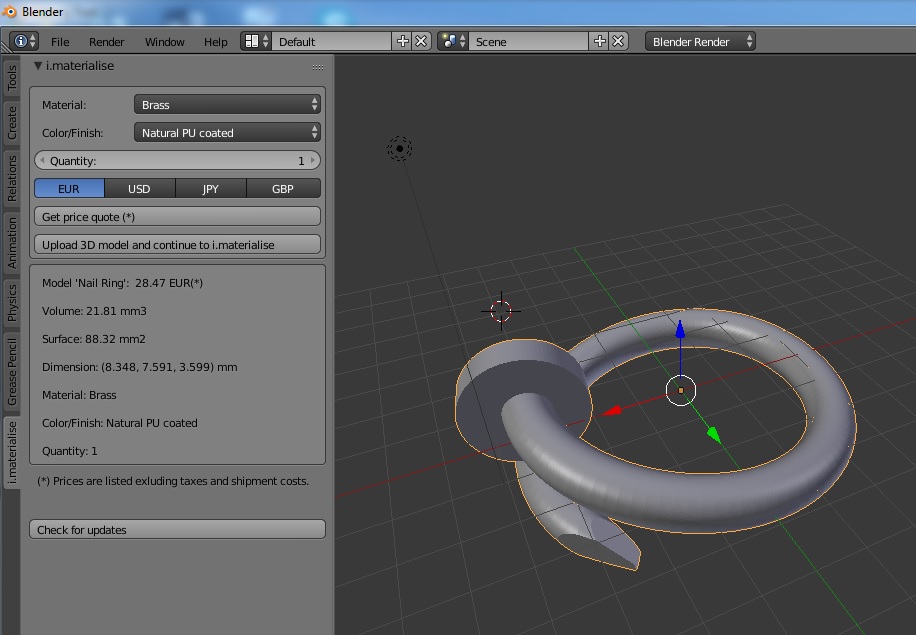
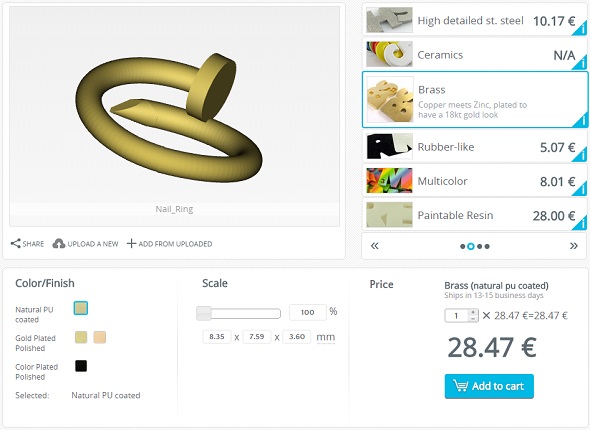
Design: Nail Ring by Julia Winn
If you’re satisfied with your selection, click on ‘Upload 3D model and continue to i.materialise’ which will bring you and your design to our website where you can seal the deal!
Interested in more Blender articles? Learn how to prepare your Blender design for 3D printing in this video tutorial. Just got started with Blender? Then this beginner-friendly how-to will help you to create your first stunning 3D model.
Recommended Articles
No related posts.


