Autodesk’s Meshmixer 2.4 Now Connected with i.materialise
Many of you must have already heard of Meshmixer, the ultimate tool for 3D mashups. With this app, anyone can mash, mix, sculpt, stamp or paint 3D designs super easily, starting from over 10,000 models in the Gallery. The latest Meshmixer 2.4 was just released from Autodesk with some great new features. But the hottest thing about version 2.4 is definitely this: now it’s integrated with our API that provides instant pricing and directs you to the shopping cart on i.materialise! Want to see how it works? Here’s a step-by-step guide of Meshmixer 2.4 for you!
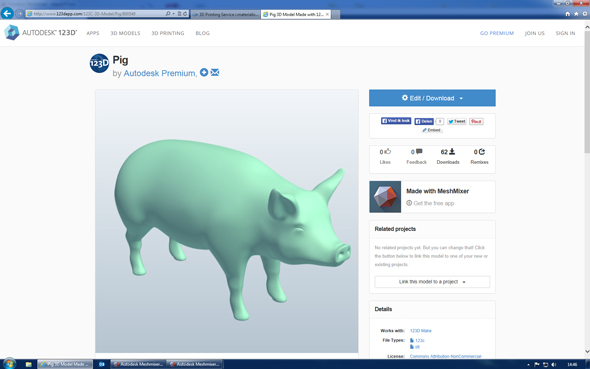
Choose a Model
Meshmixer is said to be one of the most user-friendly apps to design 3D sculptures and figurines. Especially if you’re a beginner, choosing a model from the gallery will be the easiest way to get started.
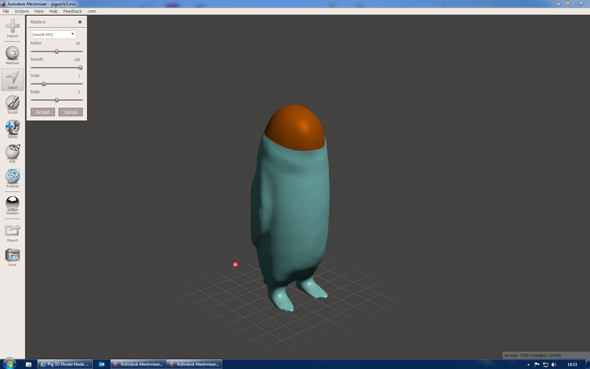
Mashup
Choose another model to mashup. For example, I imported a model of a penguin and removed its head.
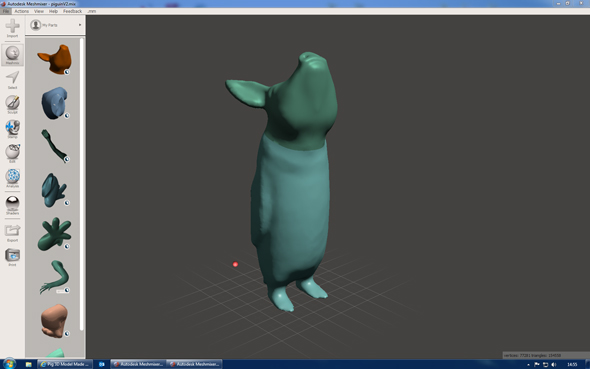
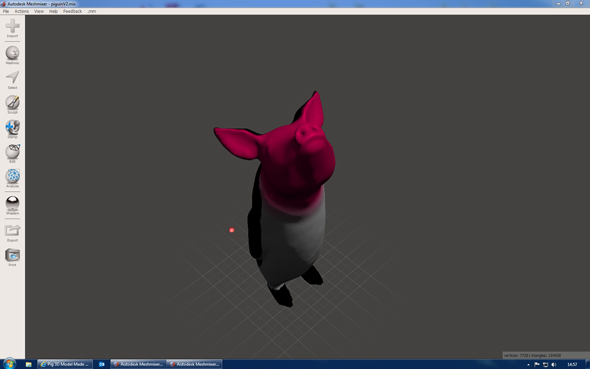
If you combine the headless penguin and the pig’s head taken from the gallery, this is what you get.
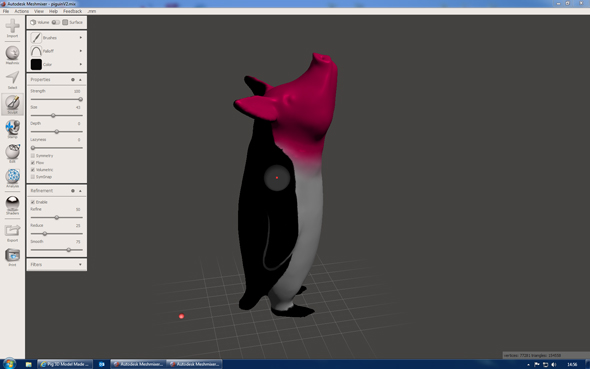
Paint and Sculpt
Splash your designs with color by using a variety of brush and stenciling effects. With the sculpture function, you can also mold and refine surfaces of your model like virtual clay.
3D Print
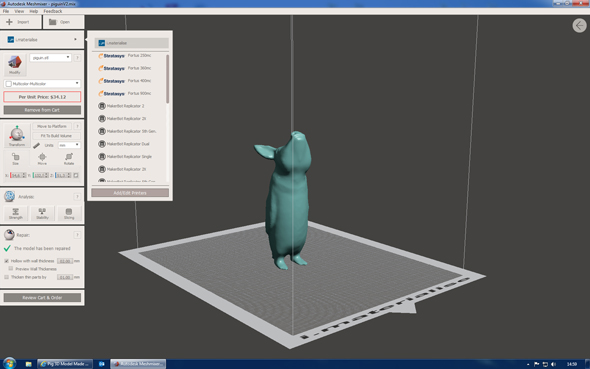
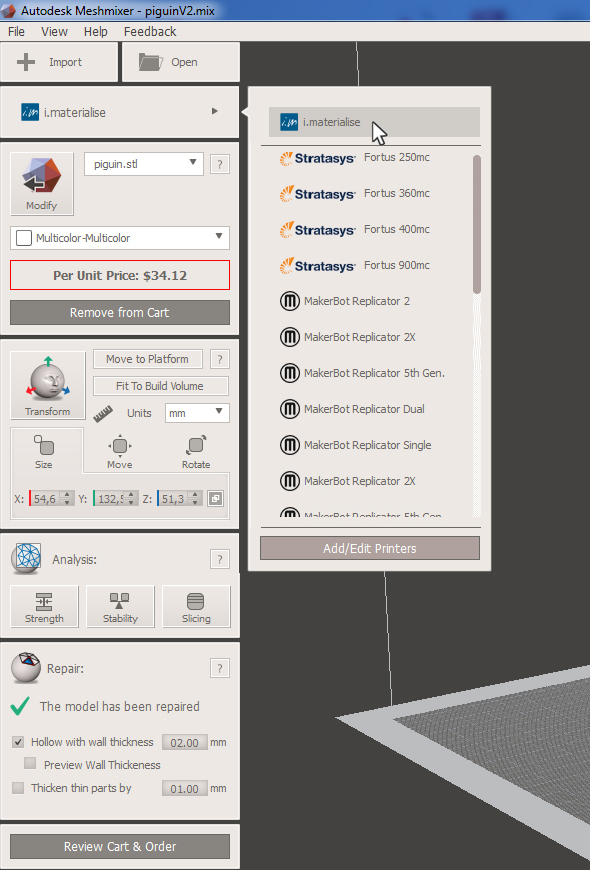
When you’re done designing your model, it’s time to 3D print it! Once you click the print button on your bottom left, you will jump to this page, where you can see how the new Meshmixer is beautifully integrated with our API. By clicking the logo of i.materialise, you’ll be able to choose any of our materials except for resin. You can adjust the size of your model, and hollow or thicken it if necessary. The price of your model will be automatically calculated according to its material and size. If your model has something that needs to be fixed before printing, you can try an automatic repair function. It is also possible to order multiple models at once.
This tutorial video shows the 3D printing process even more in detail. There is a playlist of “Autodesk Meshmixer 101” on YouTube so you can check other tutorial videos too!
Checkout
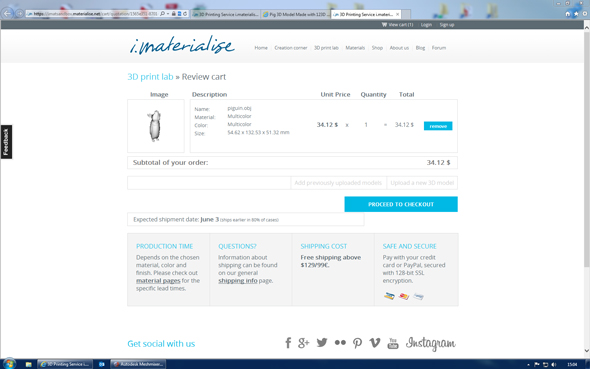
After your design is successfully sent to i.materialise, a shopping cart appears in your browser. All you have to do is to follow the normal checkout process.
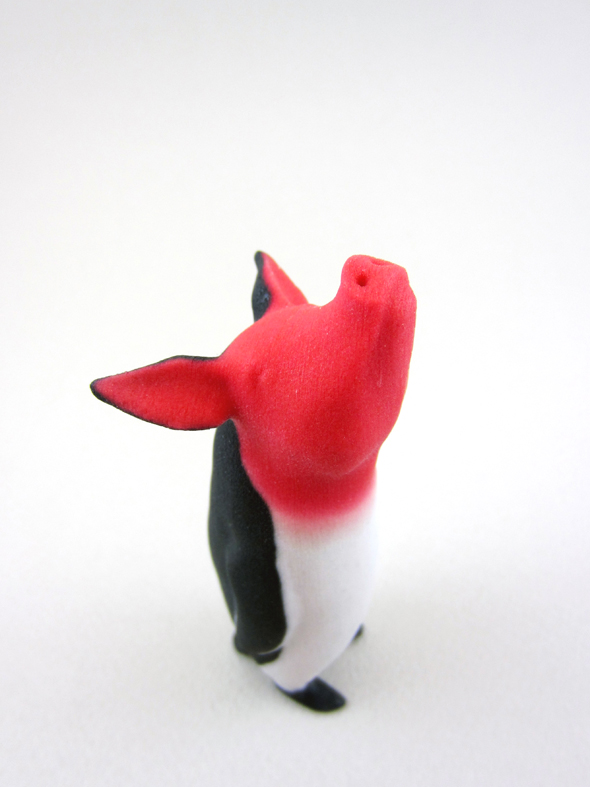
And here’s the “piguin” designed on Meshmixer and printed at i.materialise!
We’re very excited to offer a new 3D printing experience with this new Meshmixer. Leon Tan, Sr. Product Marketing Manager of Autodesk Consumer Group says, “with this latest release of Meshmixer, we’re excited to offer tighter integration with i.materialise’s 3D printing services to our users. This not only provides designers with a more seamless design-to-print experience, it also opens up more possibilities thanks to the numerous materials and wide spectrum of colors and finishes i.materialise offers.”
You can download Meshmixer 2.4 here. Hope you enjoy Meshmixing and 3D printing at i.materialise!
Recommended Articles
No related posts.


