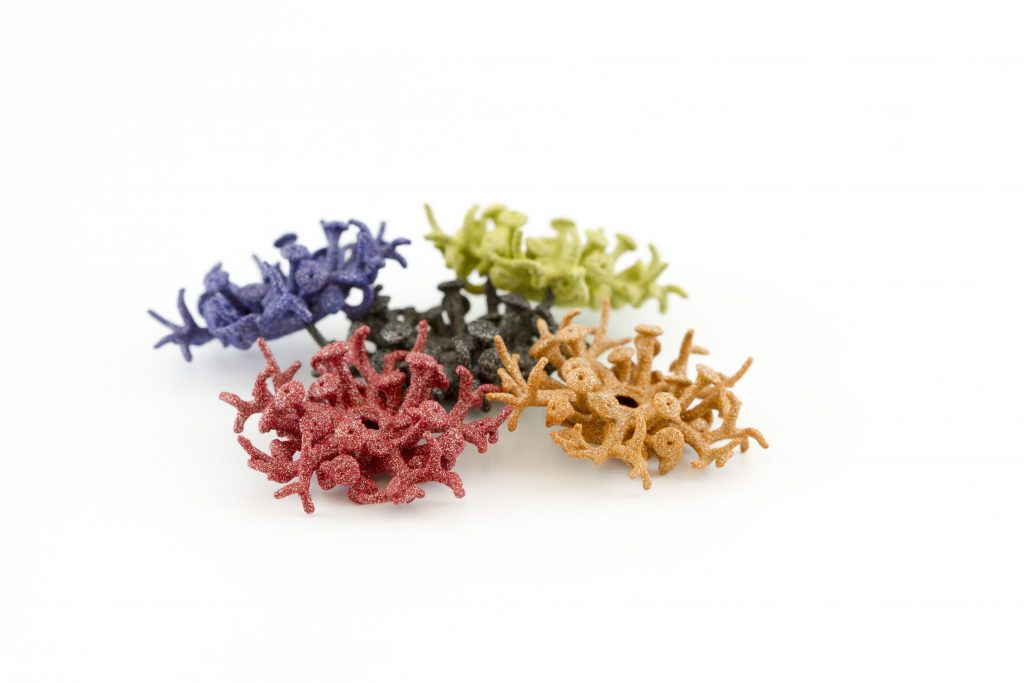
How 3D Printing In Alumide Really Works
Is it plastic? Is it a metal? Alumide is both at the same time! This 3D printing material combines the design flexibility of Polyamide (SLS) with the shine of aluminum. The final 3D prints are Polyamide (SLS) models with a metallic-looking surface. It’s your all-time favorite Polyamide with a sparkle!
Read on if you’ve always wondered how 3D printing in Alumide works and how you can get the perfect 3D prints.
Adding a sparkle to Polyamide
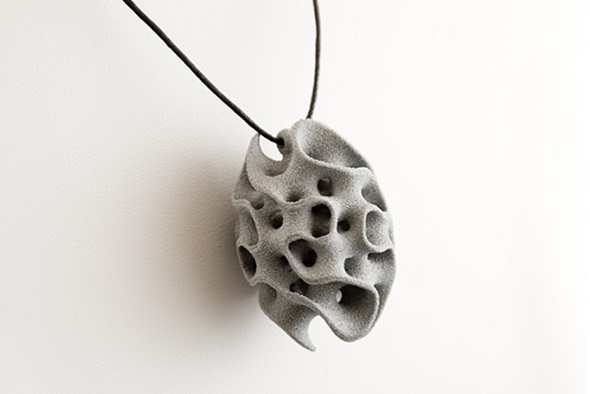
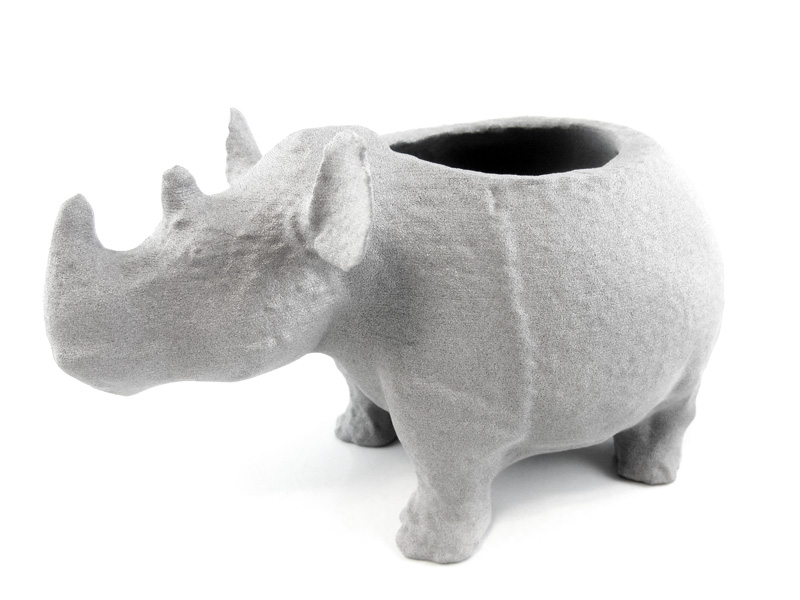
Alumide is a blend of Polyamide (SLS) with Aluminum powder. While the Polyamide provides properties of a rigid plastic material, the Aluminum gives off a matte and metallic-looking surface that can also resist high temperatures and is slightly porous.
The material is also ideal for 3D printing beginners as support structures are rarely needed and users can create complex geometries.
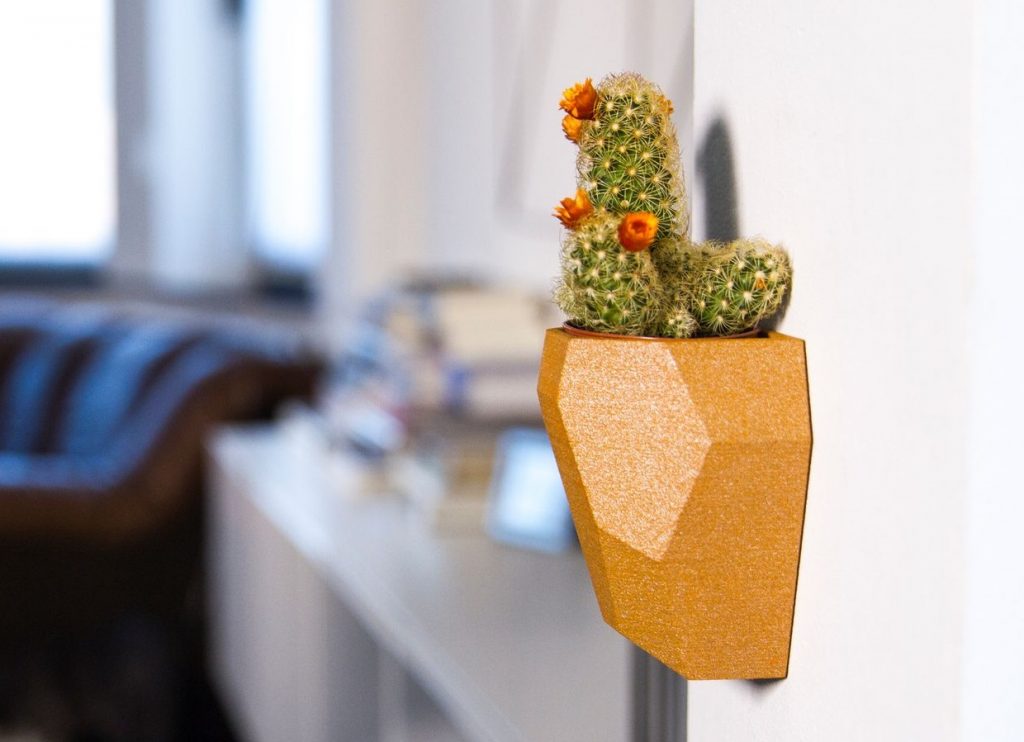
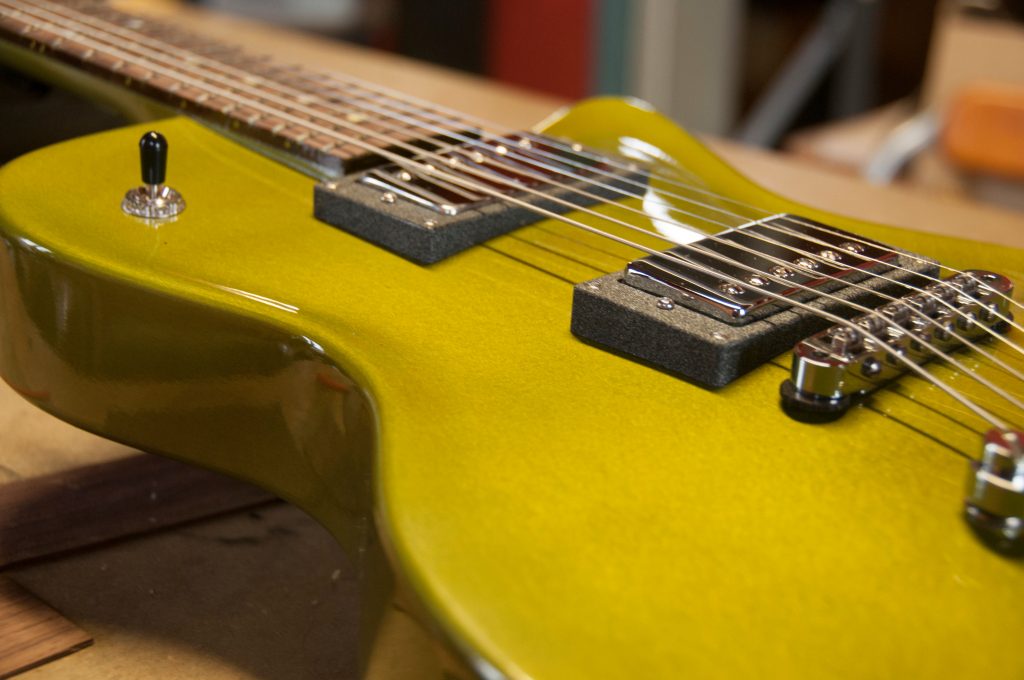
Prints in Alumide can have a natural finish, which is matte, grey, and sparkly, or they can be finished with one of our seven colors: Bordeaux, Brick Red, Rusty Orange, Moss Green, Sparkly Blue, Petrol Blue, and Asphalt Black. We bet you can’t resist these charming color names! Which one is your favorite?
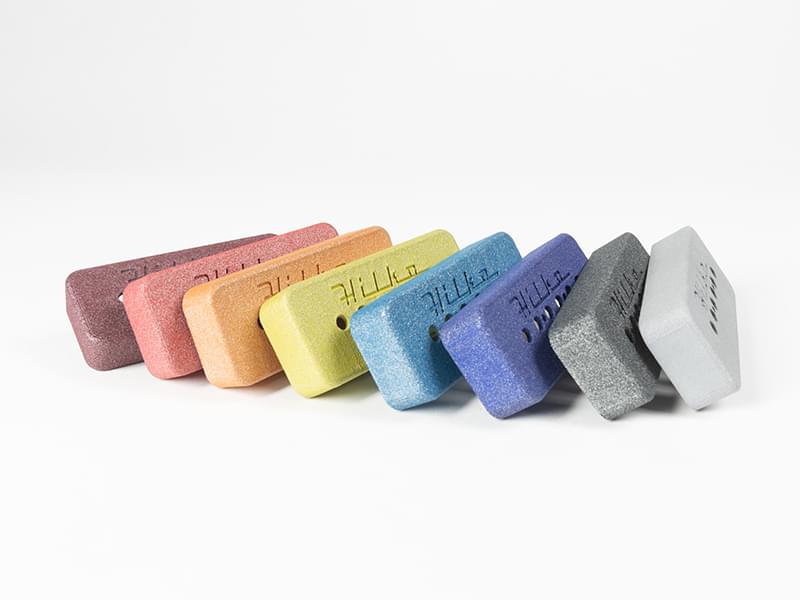
Alumide is available in many colors: Bordeaux, Brick Red, Rusty Orange, Moss Green, Sparkly Blue, Petrol Blue, Asphalt Black, and Natural. Soapbox by Hilko Nackaerts
The technology behind the glitz
Alumide is printed with Laser Sintering technology. It works by spreading a very thin layer of powder on the surface of the machine bed, and a laser successively melts thin lines in the powder that bond together to form the layers of the model. The print chamber is heated to just below the melting point of the powder so, at the end of the 3D printing process, you’ll have a big block of warm powder with printed models inside.
After a cool-down period, the last steps of the printing process are to dig out the parts, remove the loose powder, and clean the models.
At this point, the parts are ready if you chose a natural finish. If you opted for a color, your part will be dyed. In either case, your part will be shipped and delivered to you and ready for your amazement.
A picture (or a video) is worth a thousand words! Watch this video to understand how Laser Sintering works.
3D design tips for Alumide
When designing for 3D printing there are some design tips that you should consider in order to get a flawless 3D print in Alumide.
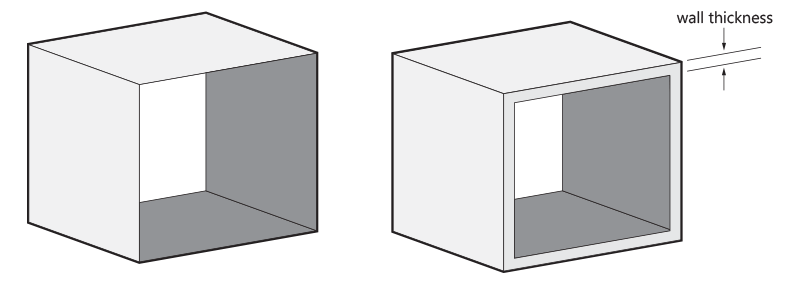
- Wall thickness: The minimum distance between one surface of the model and the opposite sheer surface must be at least 1mm. Thinner walls would make your model too fragile for the 3D printing process.
- Maximum size: Models can be 650x330x560mm for a natural finish, and 270x150x150mm for dyed models.
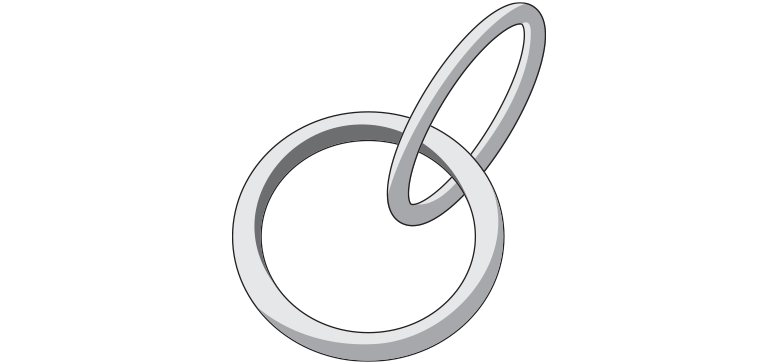
- Interlocking or enclosed parts: Polyamide makes it possible to print chains, interlinking parts, or parts within parts. The space between the rings should be at least 0.4mm.
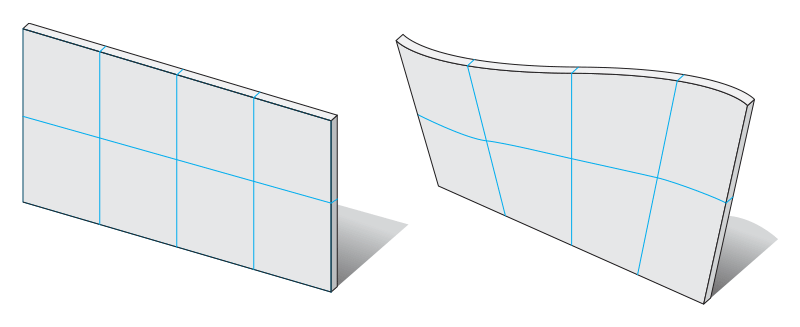
- Warping: During the 3D printing process, Alumide is exposed to high temperatures. That’s the reason why designing big flat plains should be avoided as models are subject to warping during the 3D printing process.
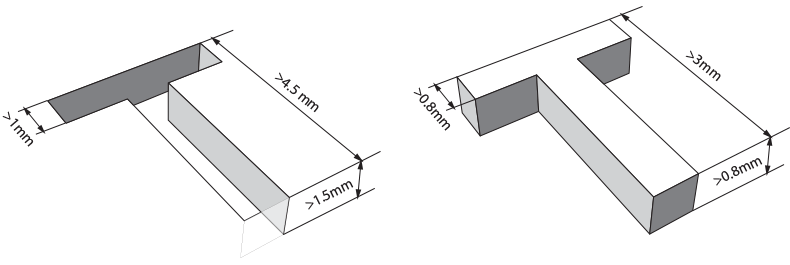
- Embossed and engraved details: Parts with embossed letters should be at least 1mm thick, 1.5 mm deep, and 4.5 mm high. The engraved letters themselves should have a minimum line thickness and depth of 0.8mm and an overall height of at least 3mm.
Read the Design Guides for Alumide on our website carefully in order to avoid surprises when you order your 3D prints online.
3D prints in Alumide that we love
The strength and freedom of design offered by Alumide and its metallic look unleash ultimate creativity for all types of designs including gadgets, decorative items, cases, and jewelry.
Do you want to explore the potential of Alumide? Get a real look and feel for this 3D printing material and its different finishes by ordering one of our sample kits!
When your files are ready, upload them to the i.materialise 3D printing platform and get an instant price quote for your model!
Recommended Articles
No related posts.


