3D Printing With Rhino: Preparing Your Rhinoceros 3D Model for 3D Printing
Rhinoceros, or short Rhino, is a powerful and versatile modeling software for creating 3D designs. When you’re looking to 3D print your Rhino model, some points are very important to keep in mind: it needs to be watertight, exported correctly, and have the right wall thicknesses. While this might sound complicated, Kyle Houchens, an expert at preparing a Rhino 3D model for 3D printing, will show you how it’s done. In this step-by-step video tutorial, he will show you what kind of models are perfect for 3D printing and how you can identify and fix common mistakes.
Kyle has years of experience in 3D modeling and will be your instructor in this video series. He is also the owner of ‘The Outside’, a digital design consultancy specialized in 3D modeling, photo-realistic rendering, and finding solutions to any design problem.
So let’s prep our Rhino3D model for 3D printing!
1: Checking if your 3D Model is Watertight in Rhino
Kyle introduces the concept of a watertight model. Sometimes it’s also called a manifold model. Creating a watertight model literally means that no water could flow out of the model if it was being filled up. Kyle compares a watertight model to a water balloon. If you fill up a water balloon with water and tie the top of it and no water comes out, then that’s watertight. For 3D printing, creating a watertight model is a very important step.
The best way to find out whether your 3D model is watertight or not is with the ‘select open poly-surfaces’, ‘select bad objects’, and ‘edge analysis’ tools. In this first video clip, Kyle explains why these tools are so essential for creating a 3D printable model.
2: Creating a Polygon Mesh with the Right Tolerance in Rhino
In Rhino, you create an NURBS model, however, 3D printers print Polygon meshes. NURBS is a mathematical model whereas Polygon meshes are a collection of vertices, edges, and faces that define the model.
Critical to controlling the quality of your 3D printable model is how the model is meshed. Kyle will talk about how to control the mesh output in Rhino to an STL file and how to set units and tolerances in order to ensure a high-quality 3D print.
There is more than one way to control the mesh settings. In the following video, Kyle covers some of the other mesh settings, including the ‘Check’ tool, which may be useful as you convert your models to a mesh for printing.
3: Advanced Mesh Repair: Fixing Non-Watertight 3D Models in Rhino
In the first video, we learned how to see if your 3D model is watertight or not. Now, Kyle has created a non-watertight model and shows you which strategies you can use to fix the model and make it watertight.
You’ll notice that there are multiple ways of making your object printable in the following video clip.
4: Setting Wall Thickness and Hollowing a 3D Model in Rhino
Not all models are supposed to be 3D printed solid. Instead, they might be hollow inside and have walls with a certain thickness. Setting a wall thickness is important for 3D printing – if surfaces are paper-thin a printer wouldn’t have any information about how thick or how thin the surface is supposed to be.
That’s why Kyle will show you how to create hollow 3D models with a certain wall thickness.
Should you create a hollow model or not? Kyle says that it depends mainly on the size of your model. A model of his car that is just a few centimeters or inches long will work perfectly fine as a solid model. However, if this model was a bigger size, printing it solid would increase 3D printing costs significantly and (depending on the material) might even risk deformation of the print.
As a 3D print gets larger, you may want to hollow out the part to use less material. Kyle shows his methods of creating hollow parts in this last video.
5: 3D Printing Your Rhino Model
Now that your mesh is ready to go to the printer, you can upload it to our website, choose a 3D printing material, and let us take care of printing it for you.
Before you order your print, make sure to make yourself familiar with the 3D printing material of your choice. Each and every material is different and requires different minimum wall thicknesses, minimal detail sizes, etc. We put together a selection of design guides for the most popular 3D printing materials that will help you to create a great 3D model.
If you still need more information, make sure to take a look at our tutorial on how to cut costs for your next 3D printing project and which 5 modeling mistakes you need to avoid.
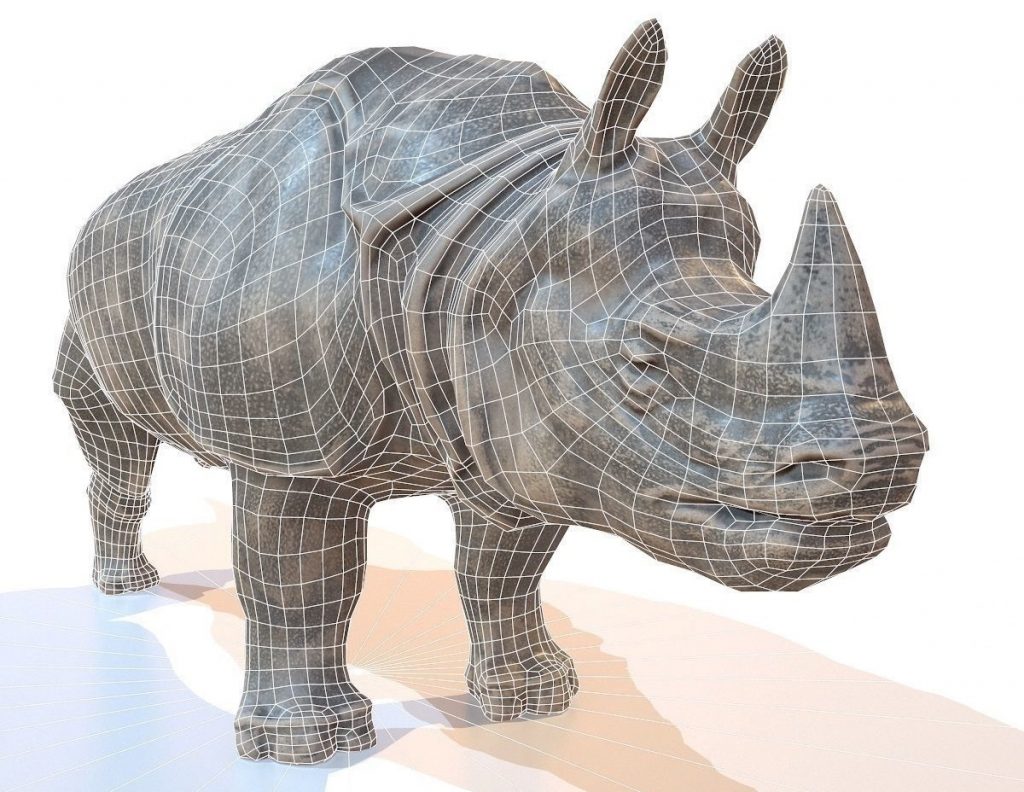
Featured image: Rhino 3D model by Mark Florquin.