3D Printing Historical Artifacts: Nils Anderssen Created a Perfect Replica of a 6th Century Sword
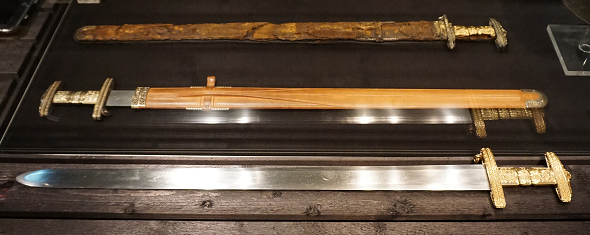
Looking at artifacts from the past often leaves us speechless about the skills and knowledge of craftsmen from earlier times. The early 6th century sword from Snartemo (Norway) is exactly one of these objects. So, if you are asked to recreate one today, how would you do that? Especially if you are not a professional goldsmith but a game developer?
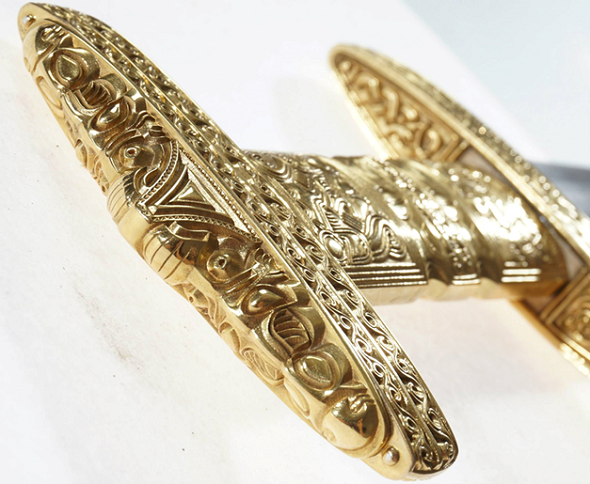
3D Printing Historical Artifacts: Nils Anderssen Created a Perfect Replica of a 6th Century Sword.
Meet Nils Anderssen, a teacher and game developer with an interest in recreating historical artifacts in his spare time. A couple of years ago he started experimenting with 3D printing and quickly saw the potential to use this experience to make accurate reproductions of historical artifacts.
He uploaded his work on his website nilscraft.no, which caught the attention of the National Museum of Art in Norway. The museum approached Nils a couple of months ago and asked him to create a replica of the sword from Snartemo under the condition that it should look and feel exactly like the original. Museum visitors will thus be able to touch a 3D print of a historical artifact and feel its real weight.
As Nils put it in his own words, “In contrast to the digital work on screens, this is something you can pick up, look at and use. This is something I find very rewarding.“
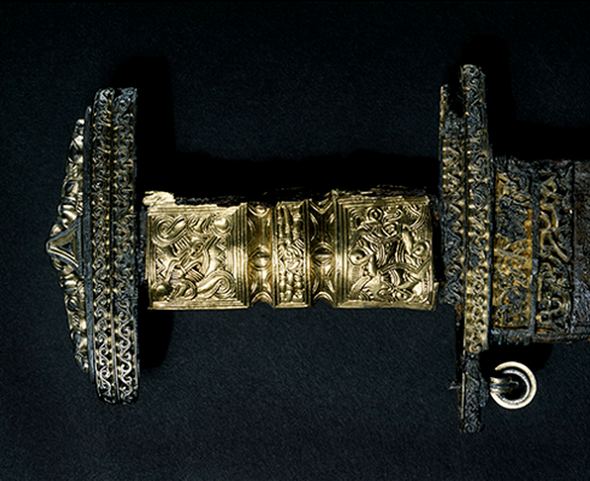
The original sword from the Museum of Cultural History, Norway. Photo by Eirik Irgens Johnsen.
Nils was not an experienced goldsmith and was not familiar with traditional modeling in wax, but since he had experience with 3D modeling software, he decided that he was able to take the project on. Based on some photos and measurements, Nils began to model the handle in 3D Studio Max using traditional polygon modeling techniques.
“In 3D Studio Max, I have good control over the thickness and size of the patterns and therefore avoided problems in printing. Also, there are lot of sharp edges that are easy to do in 3D Studio Max.”
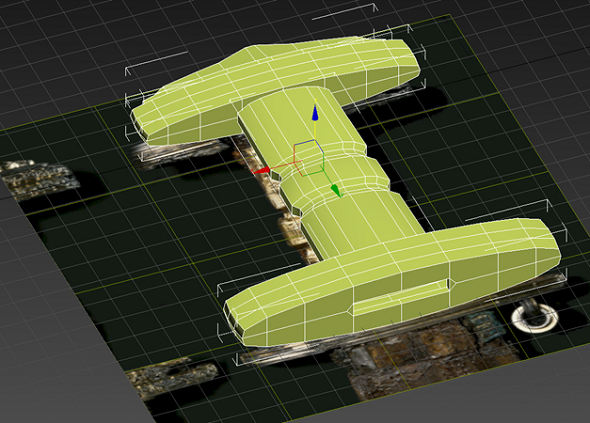
A very rough polygon model used for getting the right size and scale.
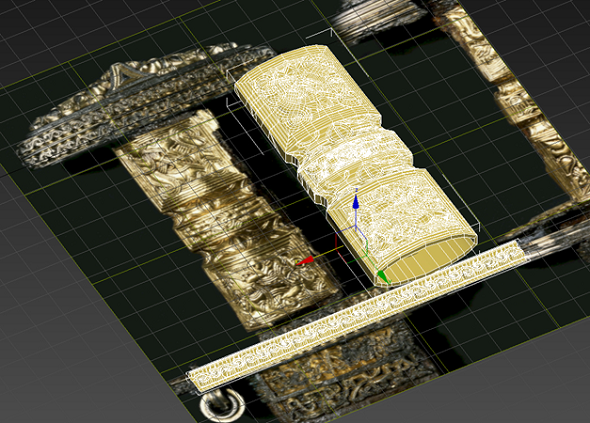
Nils then started adding details. For the lower guard he made a strip of the repeating pattern.
Here are Nils’ tips on using 3D Studio Max:
“The interface is cluttered and it can be a bit hard to find what you need. So for this project I almost exclusively used the basic features of the polygon modeling tools, namely the subdivide modifier and a little bit of the material editor (to add the picture to the background). I suggest that when trying to learn the software, only focus on the bits you need to use and ignore the rest. When you become comfortable with the tools, expand and experiment with the other features bit by bit.”
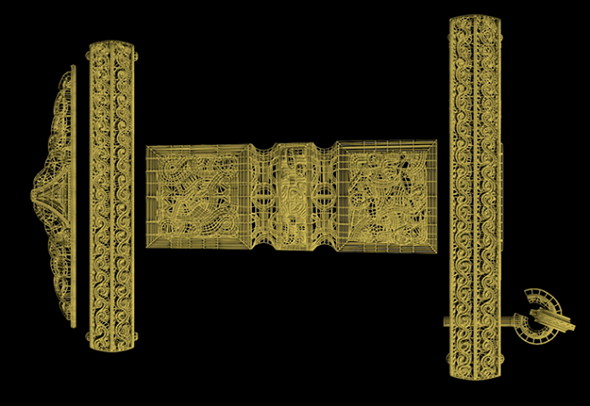
The completed 3D model before subdividing.
After modelling was done, Nils headed on to the 3D printing process in bronze:
“I used i.materialise for 3D printing. I decided on this after a quick test print where all the details came out flawlessly and the prints were delivered on time: an important aspect when working with a tight deadline. The maximum printing size is also higher than most other companies, which made this project possible.”
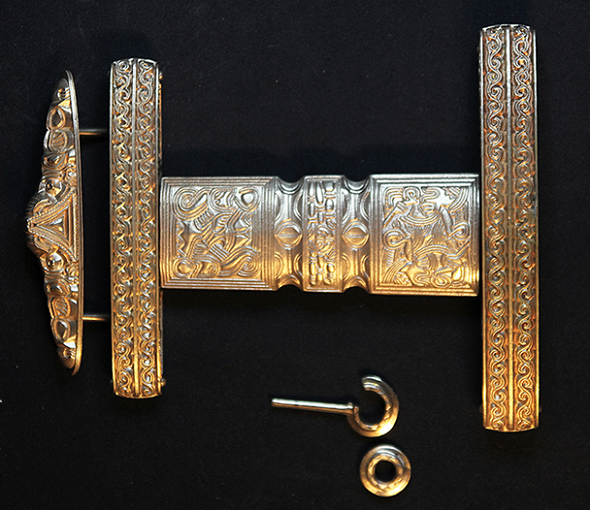
After getting the bronze pieces, Nils cleaned up the details, smoothed the surface, and had the part gilded.
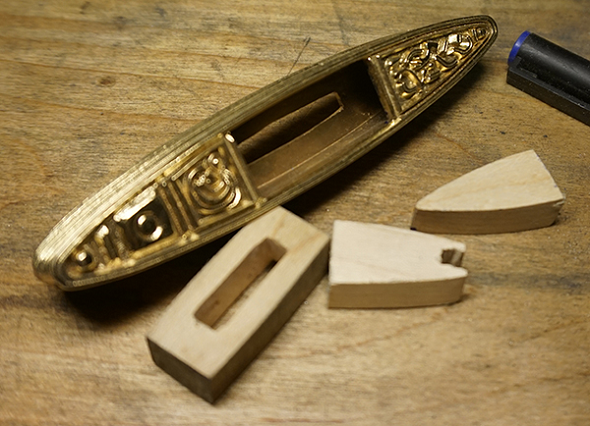
Nils designed the hilt so it would be hollow and he could fill it with pieces of wood in order to make the constriction more stable and easier to assemble.
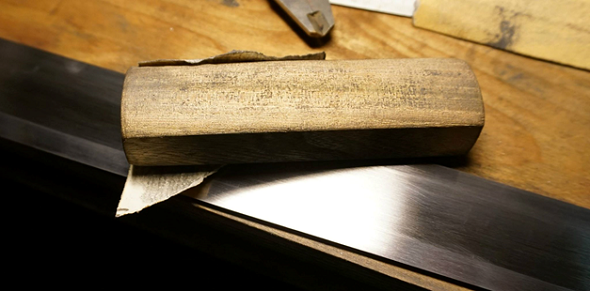
He then polished and attached the blade.
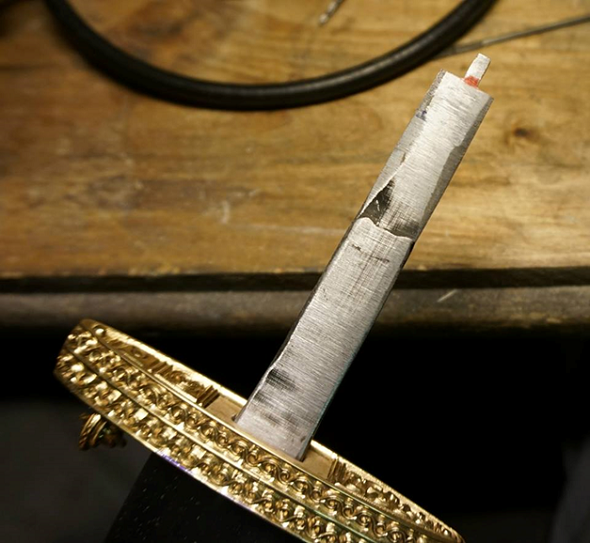
And started assembling the pieces.
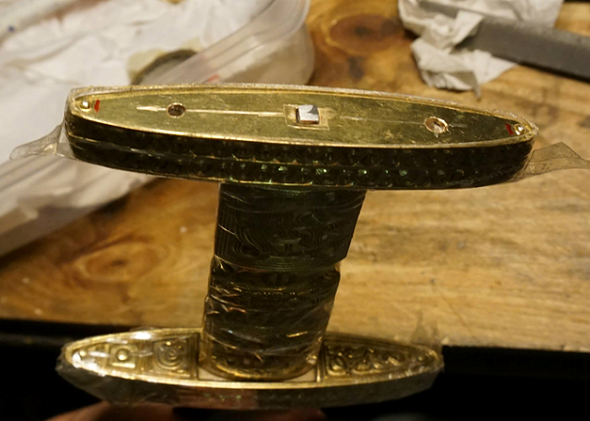
Until the handle was finally attached to the blade.
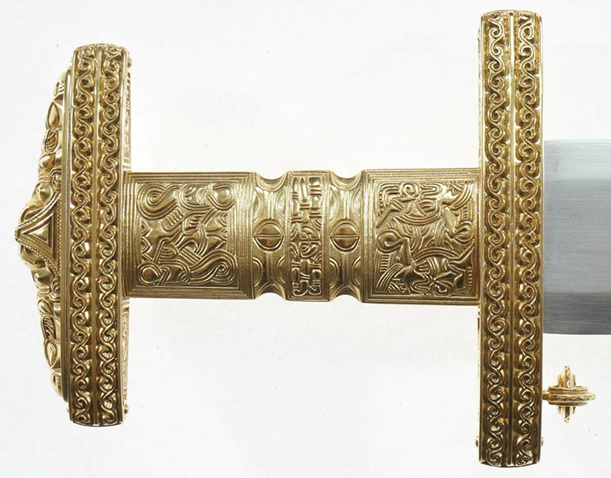
And voila: the final result in all its glory.
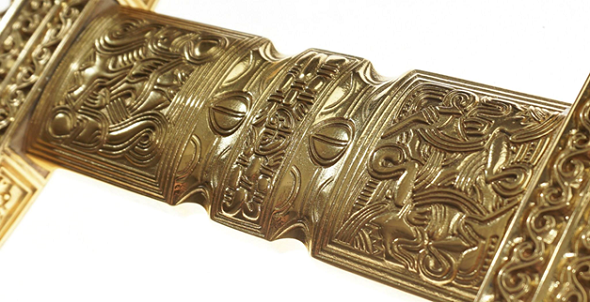
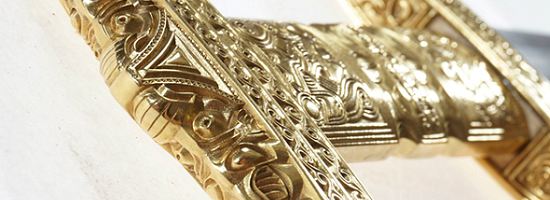
A close up of the repeating pattern.
“The whole project has been very interesting both as a learning experience and also to be able to use processes I already knew, but with more complexity. Right before I delivered the piece, I had the opportunity to take this photo of the original sword beside the 3D-printed copy.“
Nils Anderssen showed us that 3D printing can be used to create stunning replicas of historical artifacts. His example shows us that you don’t need to be a professional blacksmith to create amazing metal objects – a good idea, a 3D modeling software, and an online 3D printing service is all you need.
Recommended Articles
No related posts.


