Turning a Stick into a 3D Printed Bronze Stylus
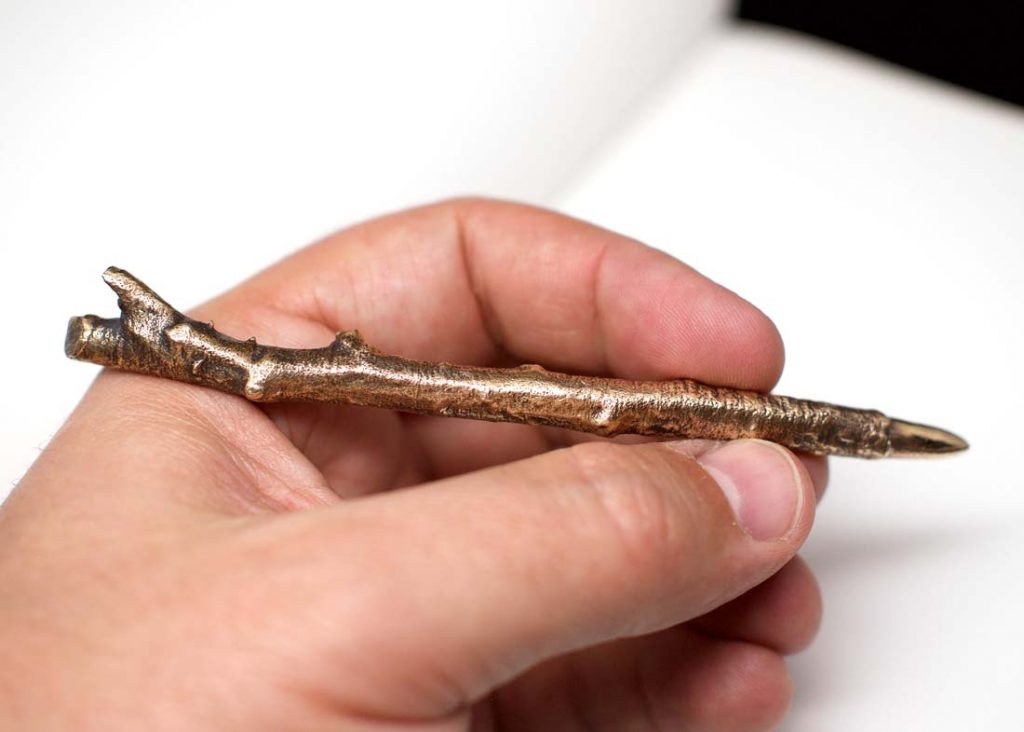
Jeremy Burnich discovered metalpoint sketching by accident – and soon after created a bronze stylus in the shape of a stick by using 3D printing. The design was modeled in Rhino and ZBrush and manufactured in 3D printed bronze by i.materialise.
Jeremy was in his backyard with his dog when he saw a small stick on the ground, held it in his hand like a pen, and knew in that moment what he wanted to create. Having created a silver stylus before, he wanted something inspired by nature for his second version and decided to turn a twig into a so-called inkless pen for sketching on stone paper.

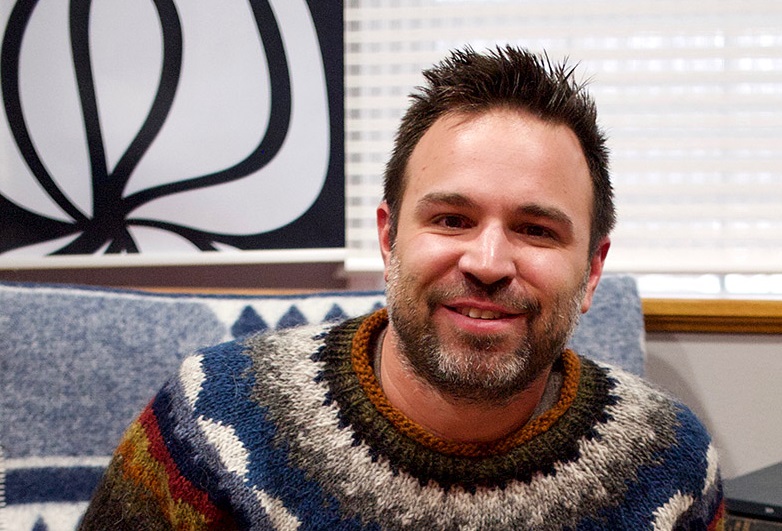
Jeremy Burnich became interested in metalpoint sketching and soon created a 3D-printed bronze stylus.
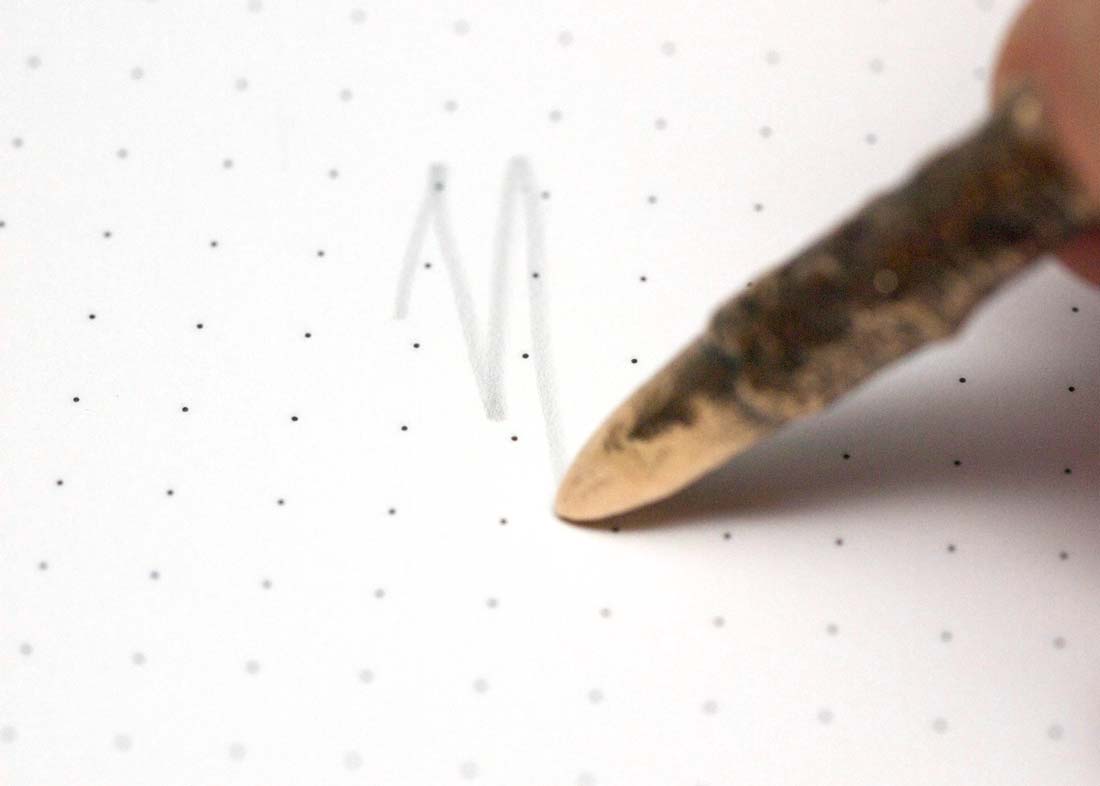
The idea to create these metal writing instruments came by accident, when Jeremy happened to brush his silver ring against a page in his stone paper notebook. Intrigued by the mark left behind, he investigated further and discovered that copper, bronze and aluminum foil had the same behavior.
This led him to discover metalpoint, where people, including Leonardo da Vinci, put a binding agent on a canvas to leave metallic traces behind:
Jeremy was proud to discover the use of stone paper for metalpoint, and soon had developed a silver stylus. His prototype required a lot of hammering, to the point where he wanted a less labor-intensive fabrication method for a second version.
He came up with a number of designs using different types of materials to try and capture what he had in mind for the stick-inspired stylus. However, in the end, he decided to move to bronze as the most optimal material and use 3D scanning to capture his unique vision and bring it to life.
“I wanted something that would look nice and was useful, and would be at the price point that I wanted,” he said. “It has to look a certain way and work, which precious metals allows for.”
He also didn’t like the feel of other materials, such as aluminum, and wanted to oxidize the metal to achieve a certain aesthetic: oxidizing the stylus brings out more detail of the intricate texture, and can be done by putting the stylus in a solution of sulfur and then polishing.
Finding the perfect twig scan
To turn the branch into a life-like bronze stylus, he found 3D printing to be the best solution. More specifically, he decided to use 3D scanning and have i.materialise do the casting. Searching for different branch and twig design options on Sketchfab, he turned to get help from around the world and settled on a twig that was scanned several years ago by K’s Design Lab in Chiyoda, Tokyo, Japan.
“I looked for branches that I thought would make good pens and hold nicely in your hand,” he said. However, he thought the bark was not detailed enough for his creation.
To make the model more realistic, he returned to his backyard in Pittsburgh and photographed a number of tree trunks and bark. He turned the textures and patterns on the bark into height maps, loaded them in ZBrush as brush alphas, and then sculpted realistic natural details, along with a rounded tip, on the scanned twig.
After he was done adjusting the 3D mesh, he exported the file and had i.materialise cast it in bronze and finish production.
“I have always had a really good experience working with i.materialise. They are really good at working with you in terms of specifications and on a person to person basis,” Jeremy said. “They are very willing to let me take that leap of faith, and assure that the designs will work and it will come out well.”
The stylus itself is 4.7 inches (120 millimeters). “i.materialise is willing to make the biggest, little pieces,” Jeremy said. “I was really pushing the limit and maximum that they allow.”
Just like baking a cake in the oven
The whole process, including the design process and production, took about two weeks.
When he first received the inkless pen, his first reaction was “this is awesome!” It looked just like a metal branch, and it worked – precisely what he envisioned.
“It was just like baking a cake in the oven, the only difference is this cake took two weeks!” he added.
Once it arrived, there was little post-production required. The last step was to oxidize in sulfur, in which he meticulously placed in the nooks and crannies of the bark texture to bring out the realistic details of the branch and bronze highlights on the sculpted bark. Then, the fully functioning bronze branch stylus and conversation-starting piece was complete.
Learn more about 3D printing in bronze on our dedicated material page. If you created a 3D file that is ready to be printed in any of our 19 other 3D printing materials, make sure to upload it via our online 3D printing service.
If you need more information about 3D modeling, make sure to take a look at our tutorial on how to cut costs for your next 3D printing project and which 5 modeling mistakes you need to avoid.
Recommended Articles
No related posts.


