Raspberry Pi blows life into the Bioscope
The Raspberry Pi (RPi) is produced to learn people how to program. Check out how Simon de Bakker and Jon Stam used it for their Bioscope!
The RPi, a single board computer (read: a tiny computer) was developed by the University of Cambridge and is now used for many creative designs. By keeping the price low ($25-$35), the Raspberry Pi Foundation wants to make it accessible to everyone. And it seems to work; on the day of the launch in february the distributing website crashed and the first 10.ooo RPi’s were sold out in just a few hours time. Since then the RPi is a real science sensation. Although it’s designed for educational purposes everyone finds its way to this little digital wonder. Just type the name in Google and you will find people using it for digital signage, games or as a cheap home cinema.
Why is it interesting for 3D printing? Well, the Raspberry Pi doesn’t come with a case, so that makes it great to combine with a customized 3D printed case like Jon Stam and Simon de Bakker did. A month ago we presented you their Bioscope: a digital movie viewer. If you take a closer look you see how they used the RPi for their project.

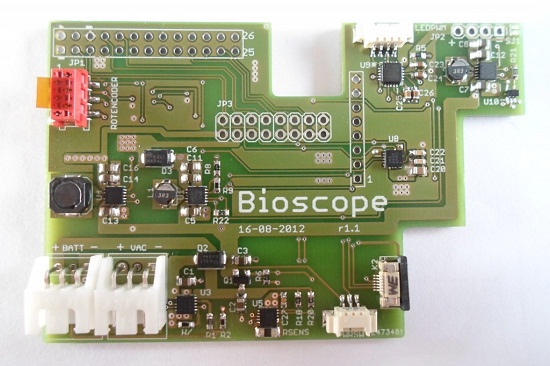
It provides the Raspberry Pi with 5V for the USB and High Definition Multimedia Interface, and 3.3V for normal operation. Further, it contains a 3rd auxiliary 3.3V supply which can be switched on and off by one of the GPIO pins (a generic chip that’s controlled by the user). The Li-Ion cell can be charged by the shield while still providing power to the Raspberry PI.
Features:
- 5V 800 mA SMPS
- 3.35V 1200 mA SMPS
- 3.3V 1200mA SMPS switchable by GPIO
- Li-Ion CC-CV charger
- thermal regulation while charging
- system side battery monitor: voltage, current, temperature
- 2 white LED PWM channels
- 3-axis accelerometer with programmable interrupt
- auxiliary connector for power, UART, I2C, SPI and several GPIOs
- connector for Greyhill rotary encoder
- connector for ON/OFF switch
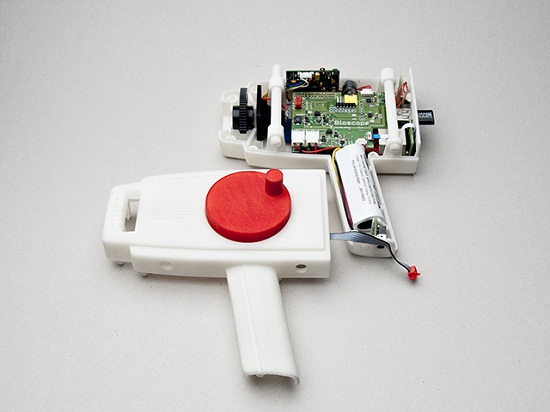
To complete their project and to cover it all up, the two guys had a little brainstorm about the cover and came up with a Fisherprice-like case. It’s 3D printed in polyamide and assembled with the RPi.
Keen on making your own Raspberry Pi project? Check out these DIY’s and don’t forget to design and print a matching case of course!


