ZBrush 3D Printing Tutorial: Preparing 3D Sculptures for 3D Printing
ZBrush is hands down the most popular and powerful digital sculpting software out there. That’s why this program is mainly used for designing figurines, sculptures, game characters, or any other design that needs an organic shape. Some users have trouble turning these 3D models into 3D prints – and that’s where we come in! In this hands-on tutorial, we will show you step-by-step how you can prepare your ZBrush models for 3D printing.
Tutorial Overview
3D printing a ZBrush model typically requires three steps:
- 1st step: It all starts with you sculpting your piece of art with ZBrush and then adjusting it for 3D printing. This includes checking wall thickness, merging objects together, and hollowing the model (if needed).
- 2nd step: After the modeling part is done, you can optimize your design with the freely available Decimation Master plugin. This will allow you to reduce your poly count while keeping a high level of detail.
- 3rd step: The last thing left for you to do is to export your design as a 3D printable file. With 3D Print Exporter you will be able to export your 3D model as an STL, WRL, or OBJ file.
So let’s look into this in some more detail now.
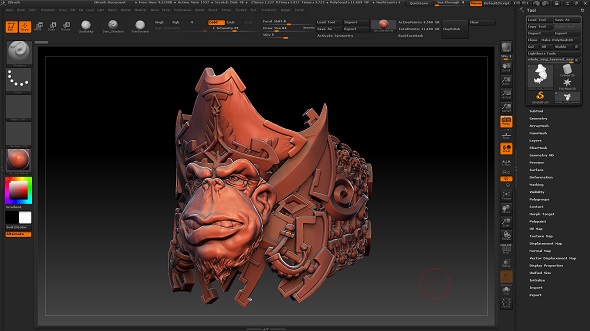
This “Ring Of The Monkey Pirate King” by Ben Dansie was 3D modeled in ZBrush and Blender…
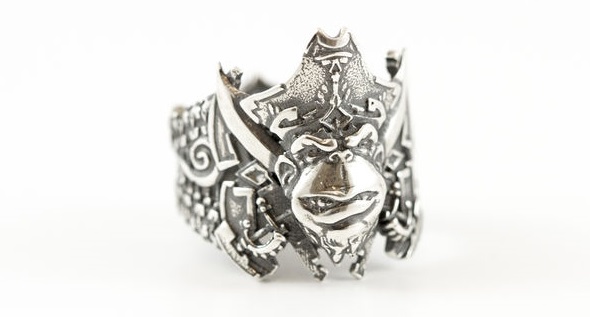
… and then turned into a stunning Sterling Silver 3D print.
1st Step: Preparing Your Design for 3D Printing
Before being able to print your model correctly, you will need to prepare your design and adjust some things here and there.
- Material Guidelines: If you know which material you want your 3D model to be printed in, be sure to learn more about the specific design rules for the material of your choice. You can find these restrictions for i.materialise’s materials right here.
- Watertight Model: Your 3D mesh needs to be watertight. Ask yourself the question: if I were to put water inside my model, would it flow out? If that’s the case, then you need to find those holes and close them. Sometimes this process is also called ‘creating a manifold model’. You can find more about this here.
- Wall Thickness: It’s important that your model sticks to the minimum wall thickness required for your material (learn more about minimum wall thickness here). You can check if your object conforms to the minimum wall thickness by using ZBrush’s transpose or move tool. You can learn how to use this tool in this explanation by 3DHubs.
- Merging & Hollowing: If your ZBrush model consists of several elements (SubTools), you could already combine them into one mesh by using the merging tool. Besides creating a single continuous mesh, Dynamesh can also help you to hollow out your design. Hollowing out your model might help you to cut down 3D printing costs. We’ve got a good summary about this right here.
Checking the four points mentioned above are vital for a great print. However, we also encourage you to do an overall check. Take a look at your handy file preparation checklist to ensure you will get the exact result that you wanted.
2nd Step: Optimize Your Design with the Decimation Master Plugin
Your ZBrush 3D model typically has an incredible level of detail – and is therefore also quite heavy. While this is perfectly fine when modeling within ZBrush, it can make things tricky when you want to export your file to different software or if you want to 3D print it. With i.materialise for example, your file size should not exceed 100 MB.
That’s where the freely available Decimation Master plugin comes into play. In a nutshell, this plugin allows you to greatly reduce the poly count of a model while preserving the high-resolution detail.
Don’t worry about losing detail information for your 3D print. Printers typically do not need any detail information that is smaller than 0.01 millimeters since they cannot print at this level of detail anyway. Avoid increasing the file resolution to more than 0.01 millimeters, however, in order to make sure that the triangles which make up your design won’t be visible. We have a dedicated tutorial about file resolution here, in case you want to learn more about this.
In the image below you can see an original ZBrush file with a poly count of 11,000,000 (left), and an optimized 3D model with a polygon count of 750,000. While this dramatically reduces the file size, the level of detail practically stays untouched.

11,000,000 vs. 750,000 polygons. Image by Pixologic.
3rd Step: Export Your Design as a 3D Printable File
The final step before 3D printing your ZBrush model is carried out by the 3D Print Exporter plugin, which is already included in the ZBrush 4R7 installer.
This plugin is very intuitive and only takes a few minutes to use.
- Open the plugin: With your model selected, open ZPlugin and select “3D Print Exporter” from the menu.
- Scale to preferred size: Click on “Update Size Ratios” to capture the ZTool’s bounding box size.
- Choose your units: millimeters or inches.
- Change one of the three sliders to define the size of your 3D print.
- Choose SubTools: Choose if you would like to export all SubTools, only the visible SubTools, or just the currently selected SubTool.
- Select file format: Finally, select the file format you want to export, i.e. STL, OBJ or WRL. If you choose WRL or OBJ, you can of course also export texture files.
Find out more about this plugin and how to use it on the 3D Print Exporter documentation.
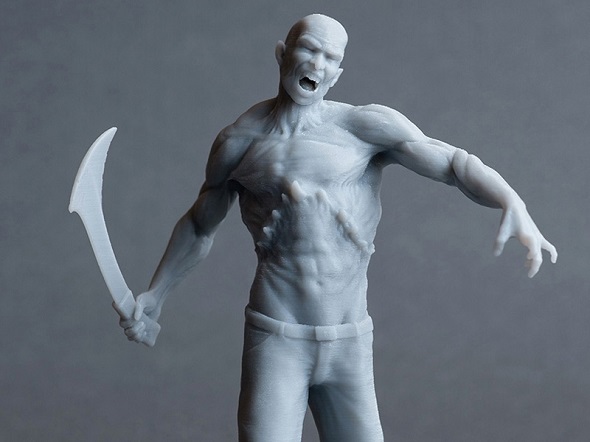
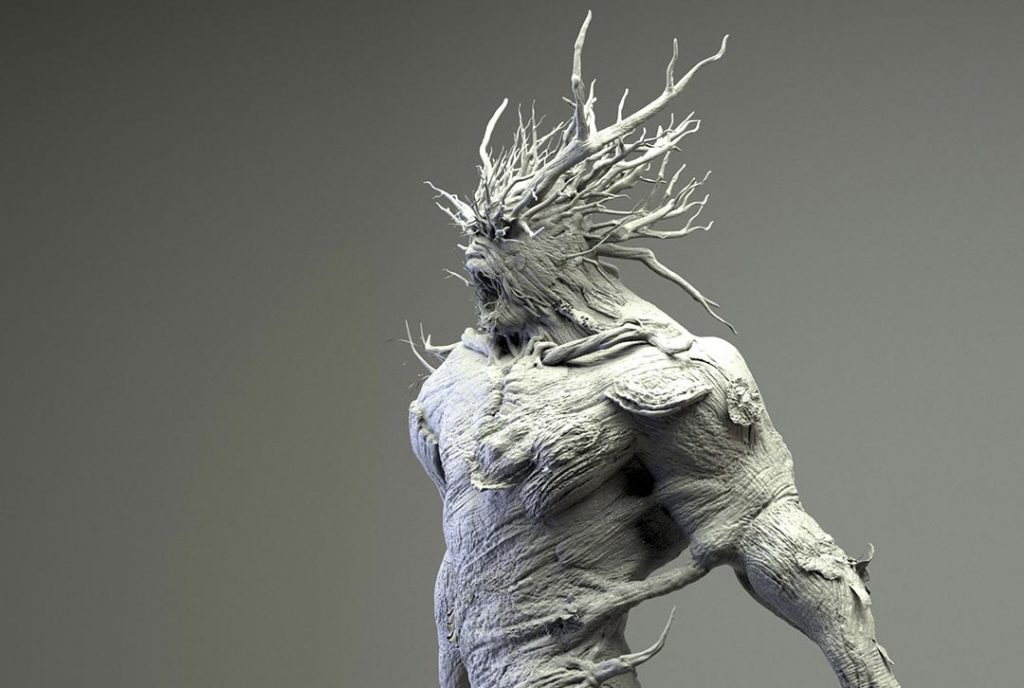
This zombie 3D print by Milos Tutus was created in ZBrush.
Now that you’ve got your printable 3D file, it’s all set to be sent to our printers. If you want a high-quality 3D print of your digital sculpts you can simply upload it here and you’ll see the price immediately. Make sure to visit our overview of all the materials that we offer as well – ZBrush users that use textures often choose the Multicolor+ material.
Featured image: 3D model by Andy Jones