Getting Started With 3D Printing: Which Technology Should You Choose?
Whether it’s on an industrial scale or a bit of DIY, 3D printing technology comes in all shapes and sizes. Wrapping your head around the different options and the advantages of each is one of the first steps to getting a great project off the ground. With this helpful guide, you’ll learn all you need to know for when the time comes to make your choice.
But first… why does it matter?
It’s an important question to start with. Essentially, the 3D printing technology you use to bring your design to life will depend on a number of other choices, including the material you want to use; the size of the item you’re creating; and whether you’re printing an individual piece or a complete model made of moving, interlocking parts all in one go. You’ll need to consider all that and more before you select one of the options below.
Filament-based 3D printing
Industrial-scale filament printers like ours use a technique known as Fused Deposition Modeling (FDM). It’s ideal for models made from ABS, a material that provides a strong, accurate print. In an FDM printer, a long plastic filament is fed through a spool to a nozzle, where the material is liquefied and ‘drawn’ on the platform before hardening immediately. This is repeated layer after layer until your model is complete.
The upside: ABS is great for functional applications. It matches 80% of the properties of real injected production material.
The downside: The surface quality of models produced with ABS is slightly rougher than with other materials.
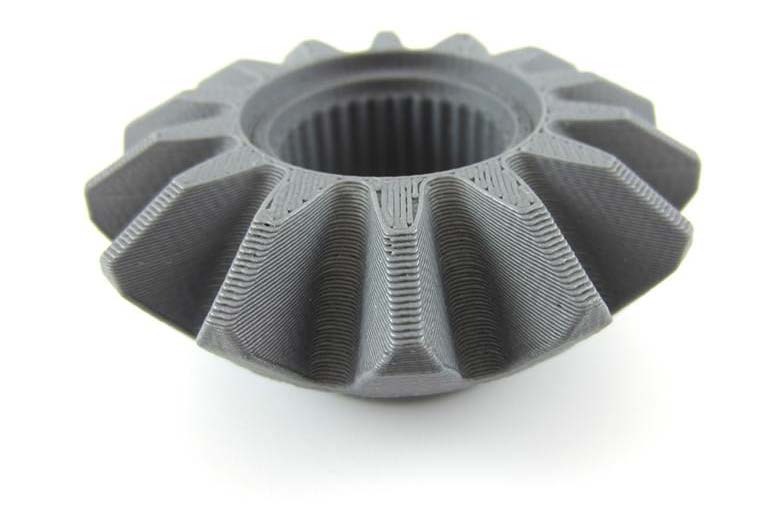
Fused Deposition Modeling uses ABS to provide a strong, accurate print.
Powder-based 3D printing
Several other techniques craft models in a bed of powdered material, though each has its unique differences.
Laser Sintering
Laser Sintering is perfect for materials like Polyamide, Alumide, Aluminum, and Titanium. The printer’s interior is heated until it almost reaches the melting point of your chosen powder, which is then spread out in a fine layer. A laser beam raises the temperature of the areas that need to be sintered together above the melting point, fusing them together to create your design!
Powder- and binder-based 3D printing
Materials like Steel and High-Detail Stainless Steel also rely on powder but are transformed using a technique that differs slightly from Laser Sintering. A thin layer of powder is rolled out on a platform before a binding agent is placed at specific points, printing a thin layer of your model that can bind to subsequent layers. It’s worth noting that this technique requires post-processing: Steel and High-Detail Stainless Steel are placed in an oven to fuse, while Steel models are also infused with Bronze for extra strength.
Multi Jet Fusion (MJF)
Like the previous technology, MJF is powder-based but does not use lasers. The powder bed is heated before a fusing agent is jetted onto the particles that need to be fused together, and a detailing agent is jetted around the contours to improve part resolution. While lamps pass over the powder bed’s surface, the jetted material captures the heat and helps distribute it evenly.
The upside: The powder acts as its own support structure, allowing for the creation of complex designs.
The downside: Powder-based printing can be less sustainable than other techniques.
A laser-sintered object is removed from its powder bed and dusted off.
Resin-based 3D printing
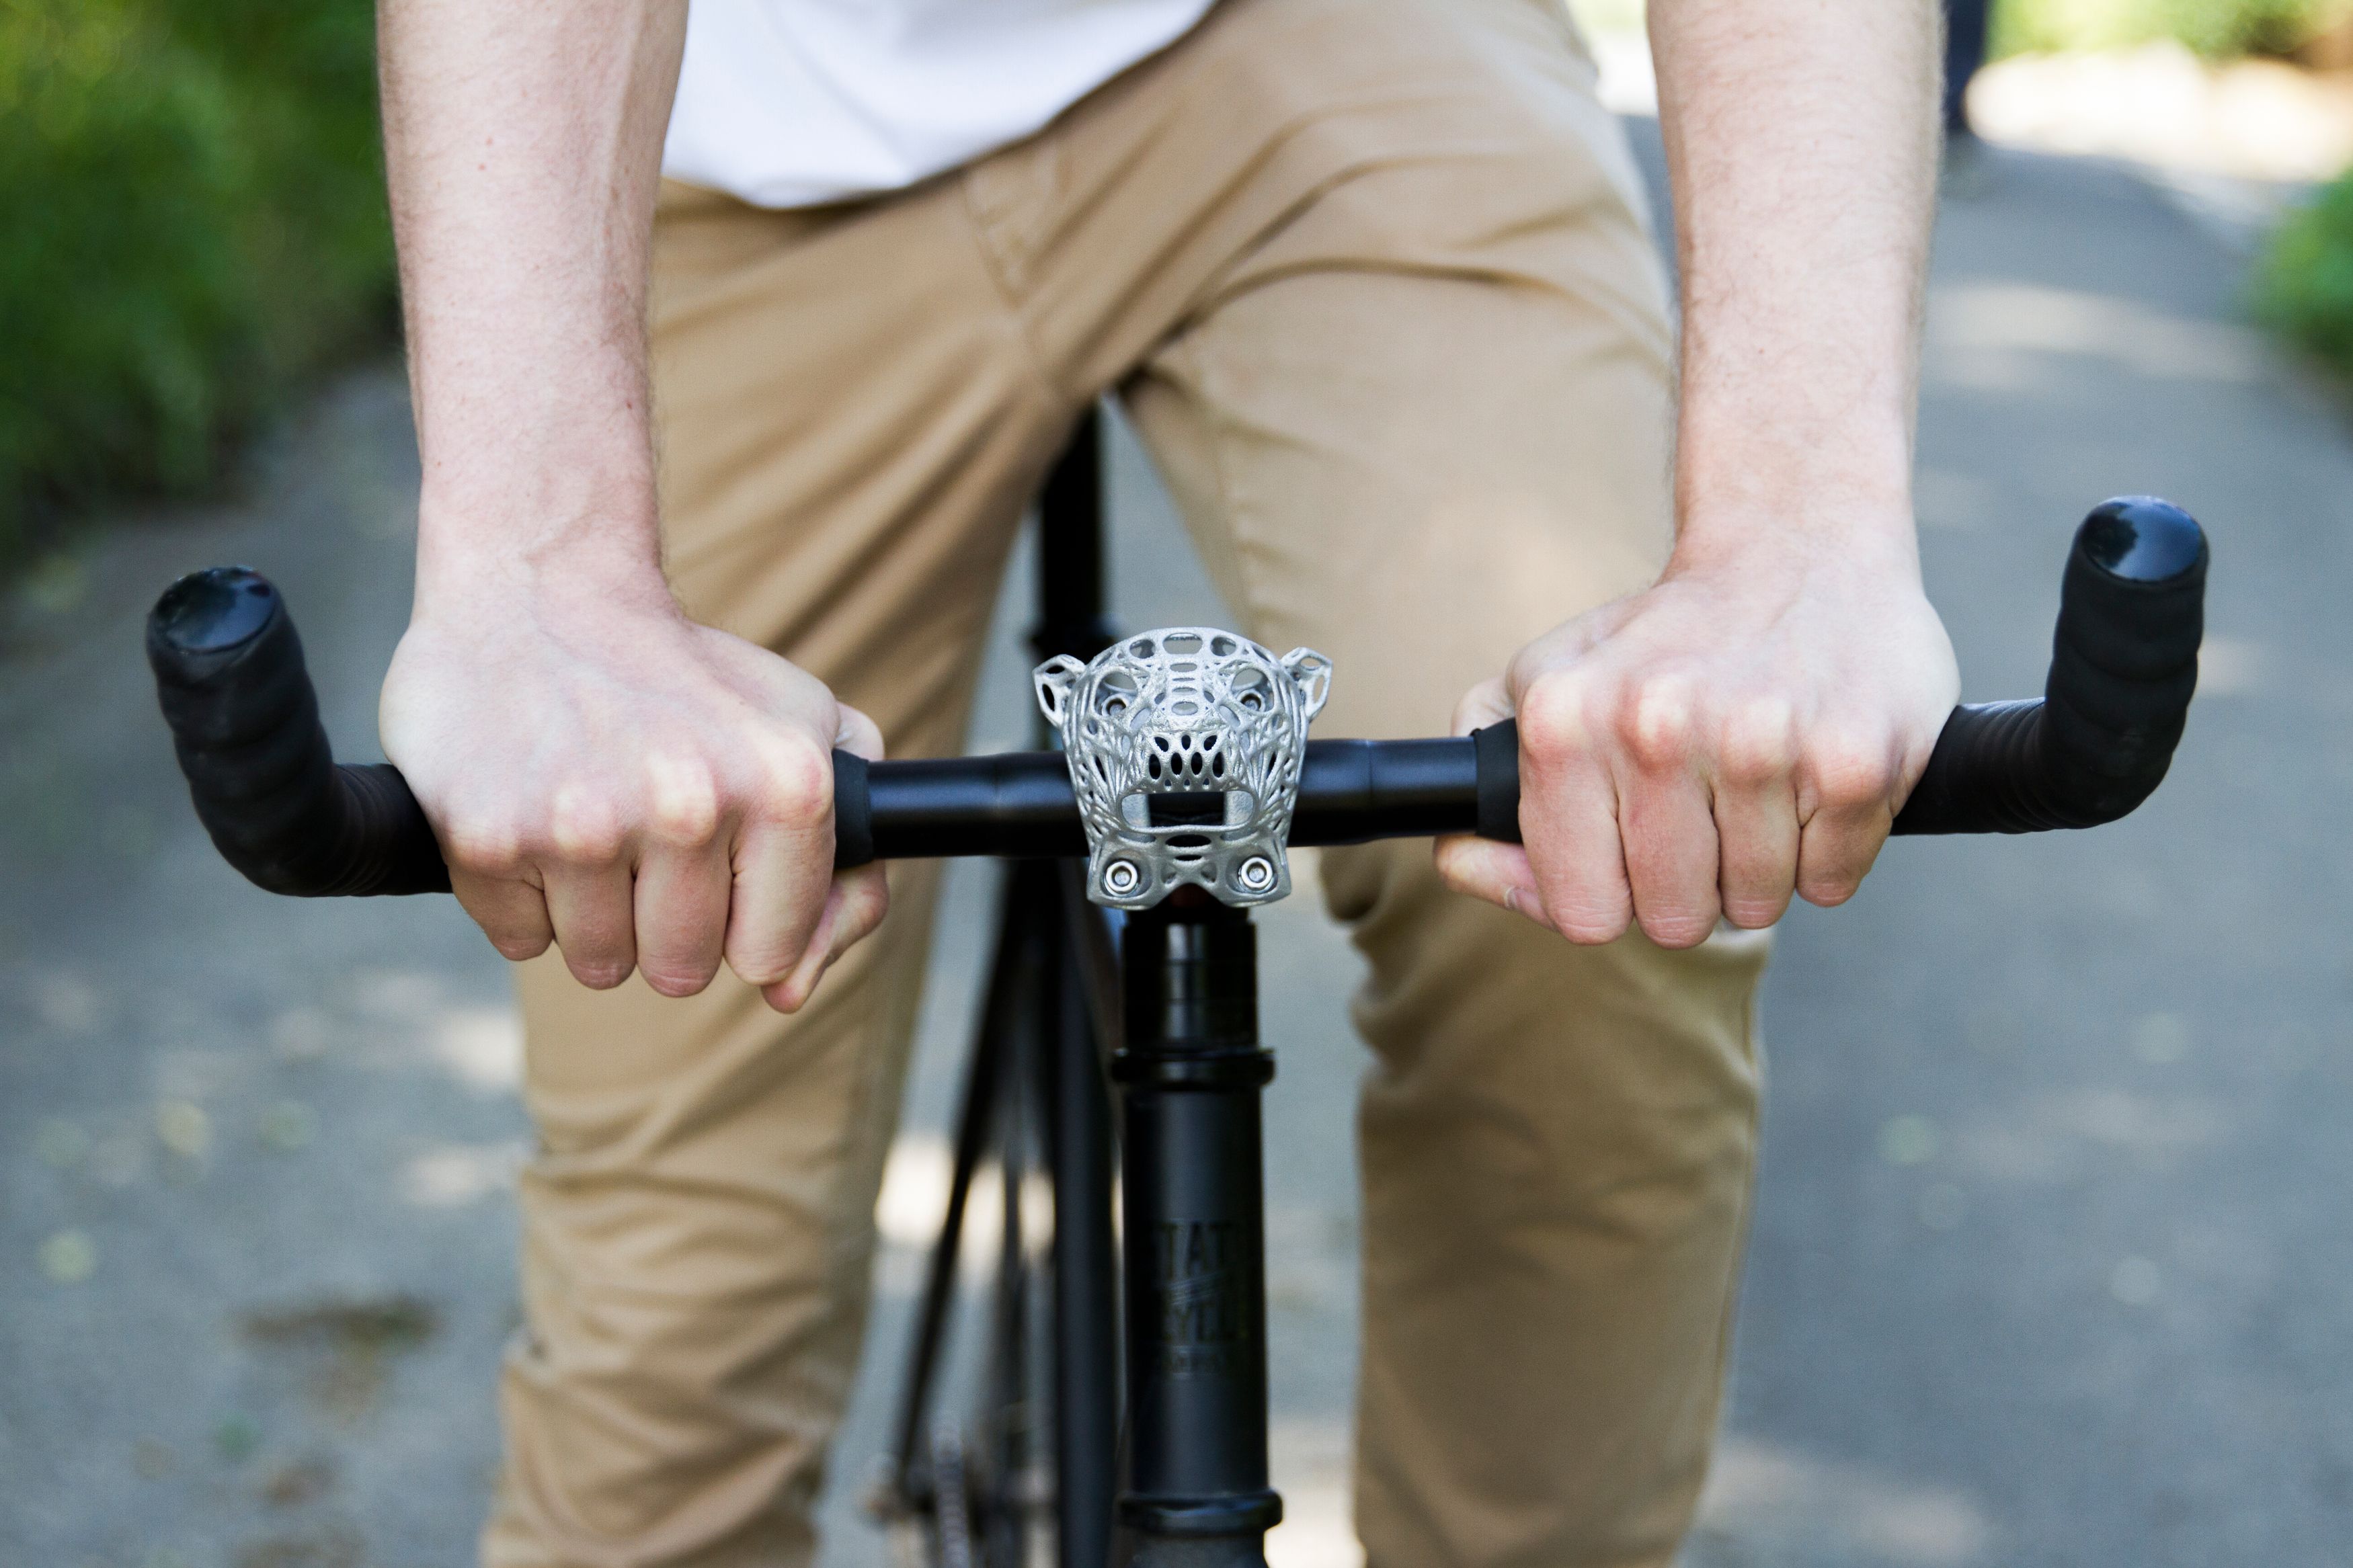
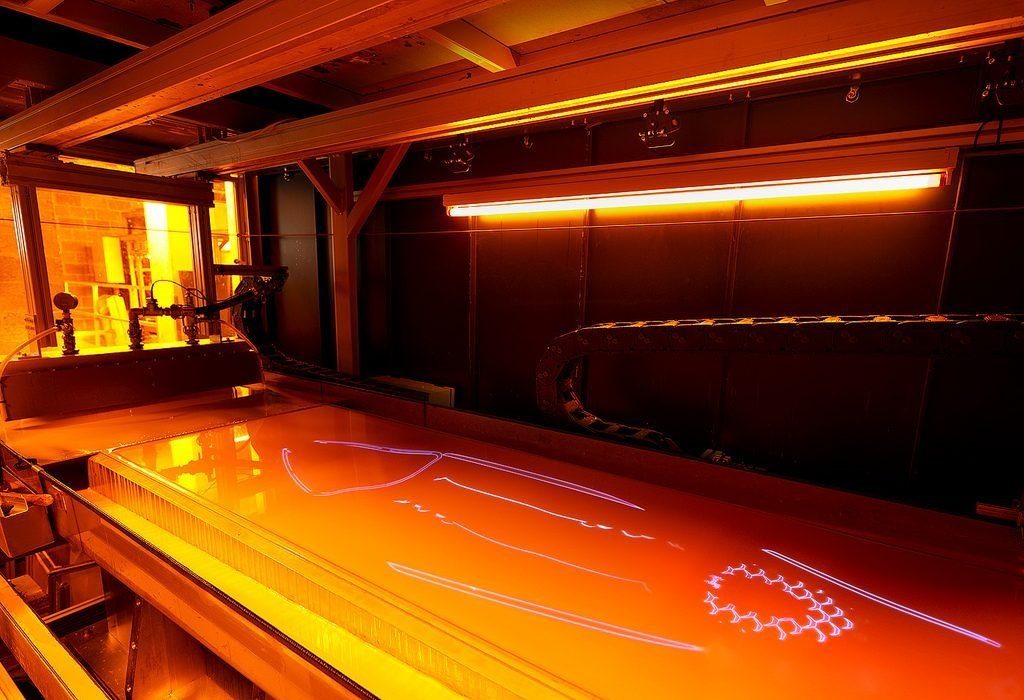
Stereolithography creates models out of UV-sensitive liquid resin, including Mammoth Resin, Transparent Resin, Standard Resin, and Gray Resin, and is great for bigger designs — our Mammoth Stereolithography Machines can print parts up to two meters long! In this process, a liquid polymer is spread over a platform in a large tank, where a UV laser hardens the area that will become the first layer of your 3D print. The platform is then lowered, and the next layer is drawn directly on top of the previous one.
The upside: This technology is great for printing bigger models, like bike frames!
The downside: Printing with liquid means we need to add support material. This can limit design freedom compared to Laser Sintering, for example.
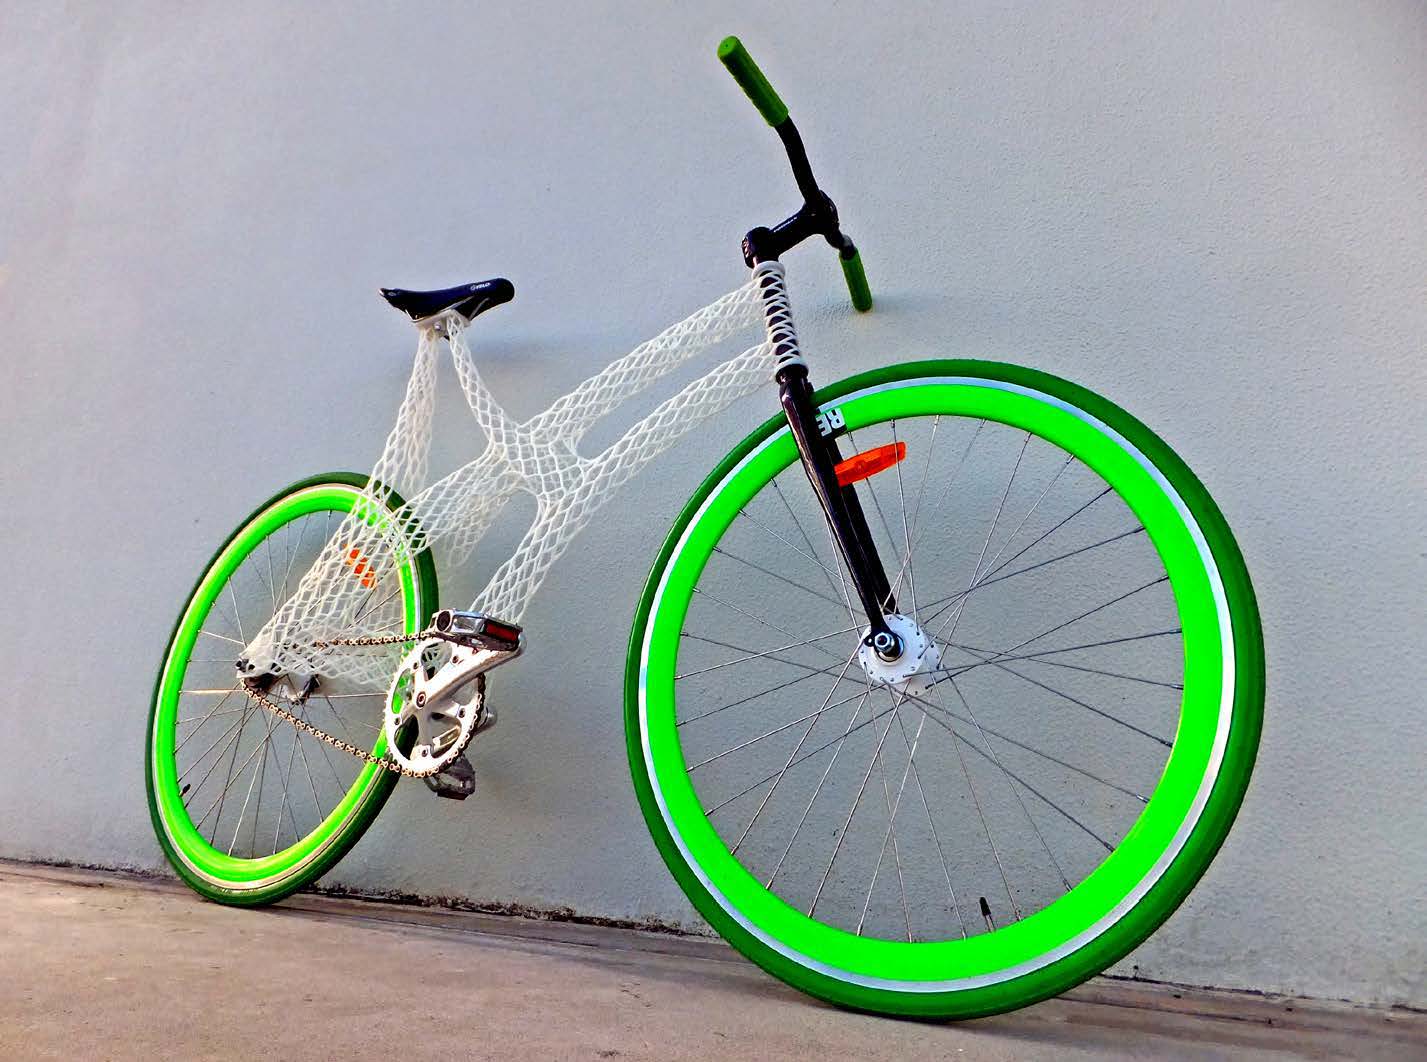
Large parts, like bike frames, can be printed through Stereolithography.
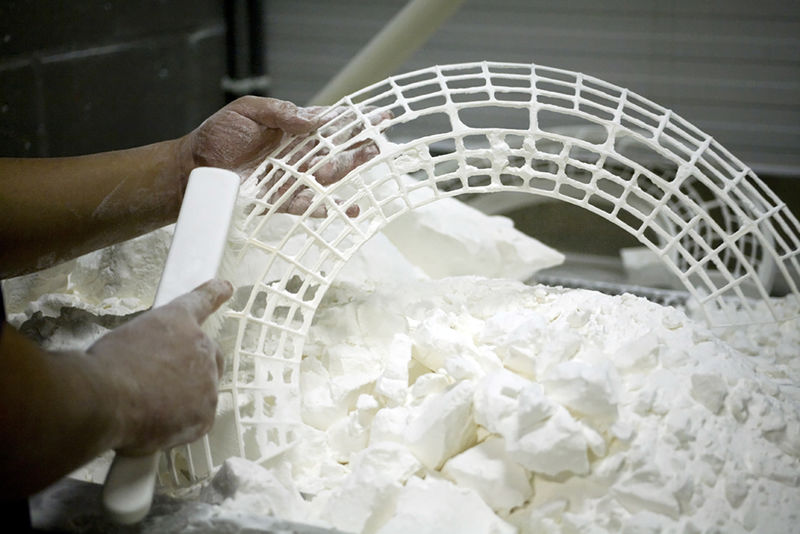
Lost-wax 3D printing and casting
Combining modern 3D printing technology and traditional metal casting methods, this technique is perfect for models made from precious metals like Gold, Silver, Bronze, Copper, and Brass. We begin by 3D printing a wax version of your model, complete with sprues (channels that allow liquid to flow into it), before placing it in a flask and covering it in fine plaster. This solidifies to form a mold, which is then placed into an oven and heated to remove the wax. We then pour in the molten metal of your choice, leave it to cool, break open the mold, then finish it off with a bit of filing, sanding, or sandblasting to create your preferred finish. Pretty cool!
The upside: It’s shiny. It’s cool. It combines the old and the new. What’s not to love?
The downside: Due to the nature of the process used in the production of gold models, interlocking or enclosed parts cannot be made.
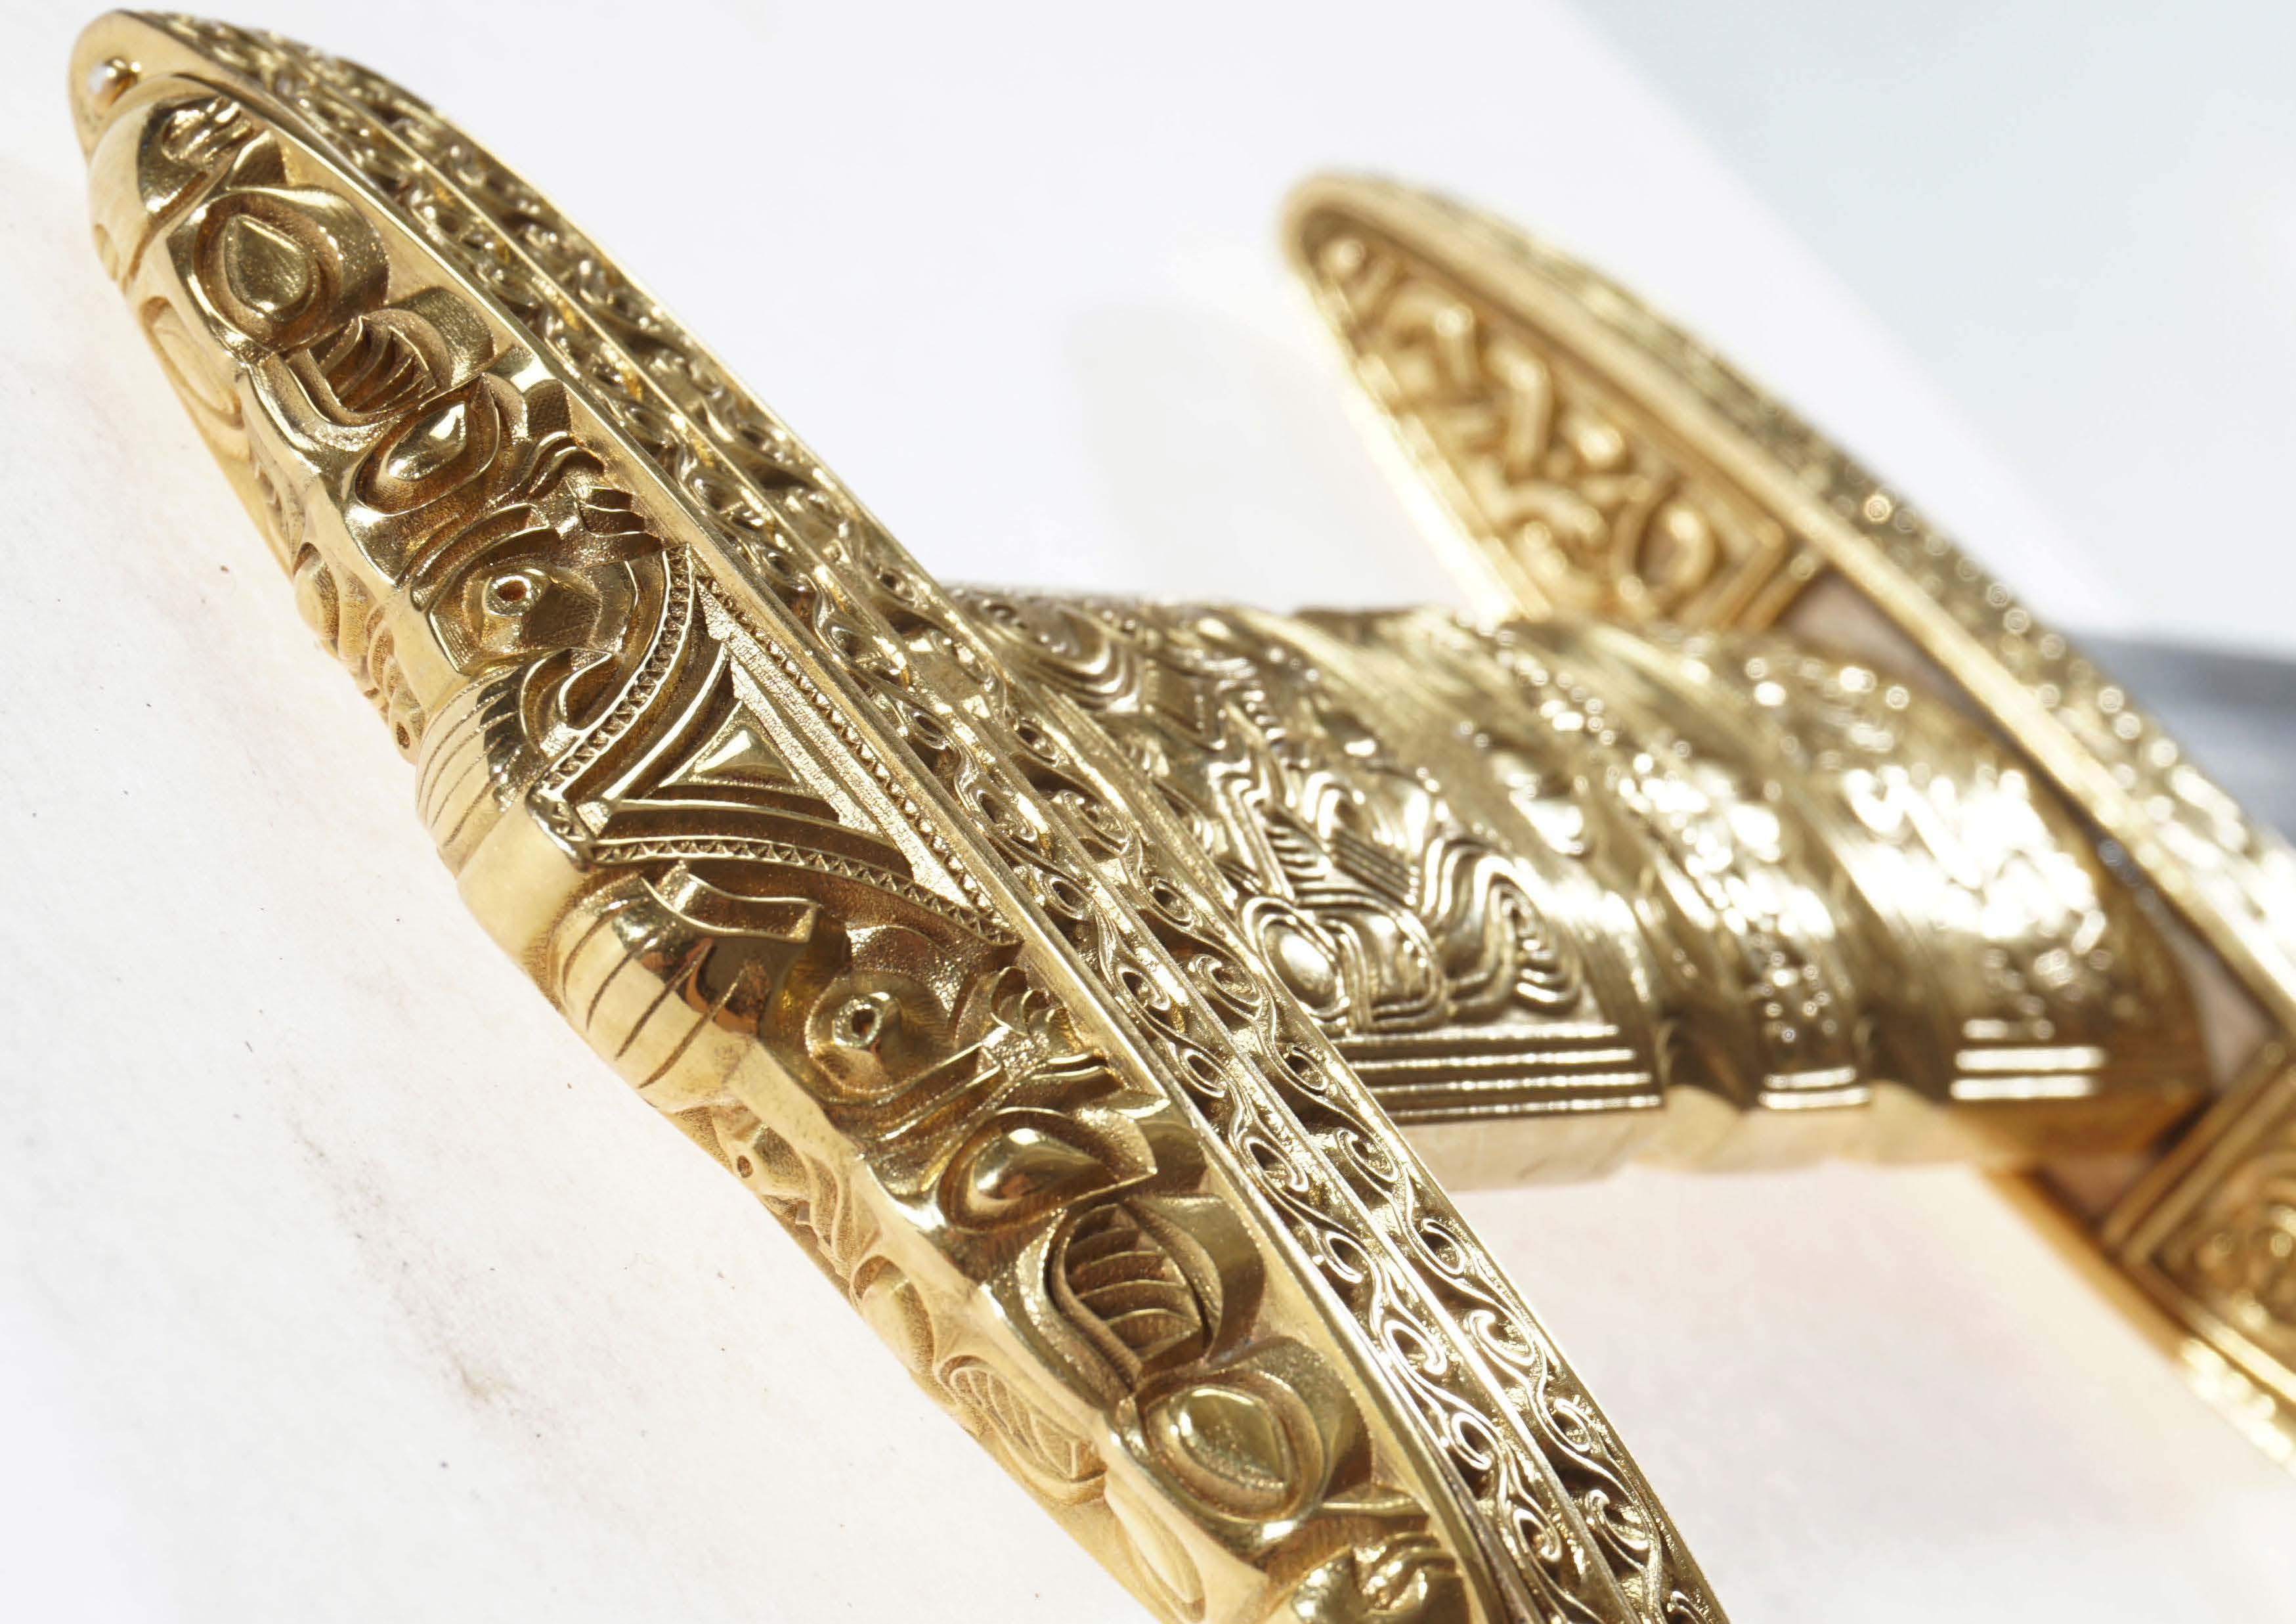
The ornate bronze handle of the Snartemo Sword, created by Nils Anderssen.
Decisions, decisions…
So, there you have it! A lot to digest and plenty of decisions to be made when the time comes to jump into your project. If you’re still on the hunt for some more advice or inspiration, make sure to check out our official i.materialise forum or design guides, or download our new Beginner’s Guide. And once you’re ready to get started? You know exactly where to find us.