5 Tips to Make Your 3D Prints Cheaper
Receiving a high-quality print for an affordable price is the number one concern for most 3D printing enthusiasts. So it’s about time to reveal some simple tricks that can reduce your 3D printing costs enormously.
Trick #1: Compare 3D Printing Materials
Each material comes with its own price. That’s why comparing prices between (similar) materials makes sense. For example, you might want to print a prototype in the cheapest plastic material, or you may want a material suited for a particular purpose such as our flexible Rubber-like material. If you are not dead-set on a certain material, then you should start by comparing the prices of similar materials and finishes.
The best way to compare material prices is a two-step approach:
- Visit our material pages and compare different materials for their characteristics, production time and design rules.
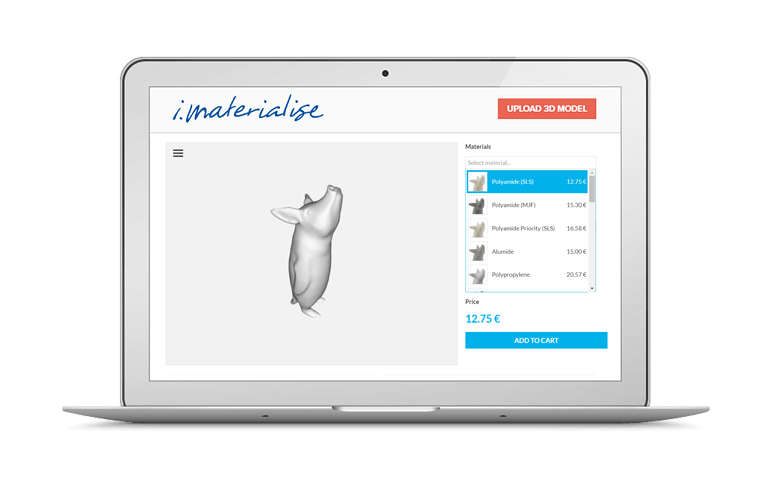
- Upload your 3D file here. You will see the price of your 3D print in 100+ materials and finishes immediately. This means that you can now compare which material is the cheapest for your item.
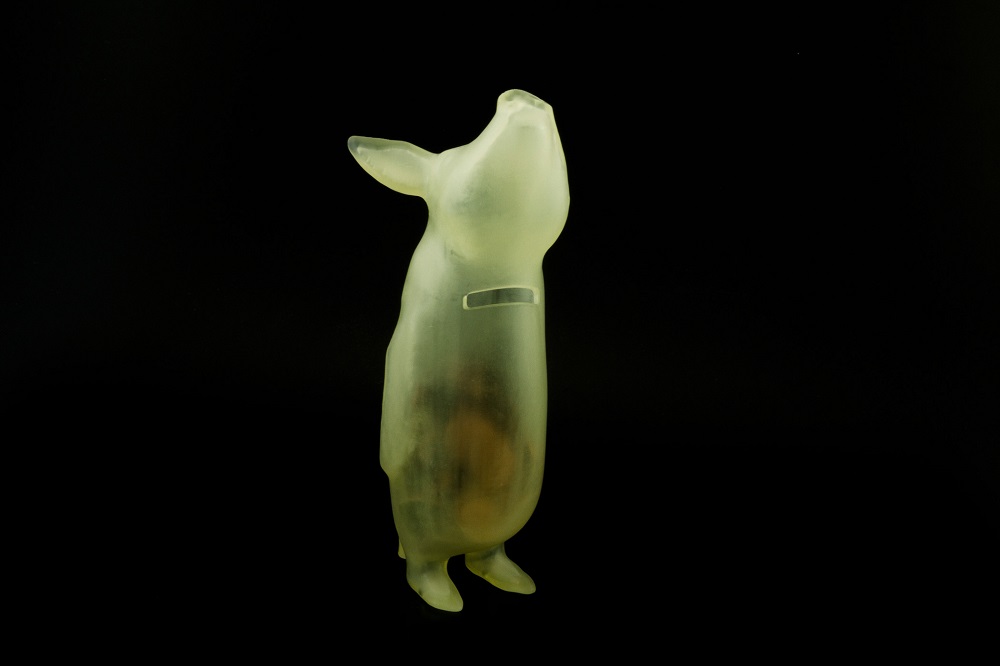
Standard Resin, for example, offers great quality at a great price. Standard Resin has a “get this part with support” option which means that the part needs less manual labor and thus will be cheaper. And what’s best: in terms of quality, resolution, smoothness, and details, Standard Resin is definitely comparable to our other resins.
Trick #2: Play with Size to Make Your 3D Print Cheaper
In the world of 3D printing, the size of your print makes a difference. Keep in mind that decreasing its size means that it will be decreased in all three dimensions. And as a result, your print will become cheaper!
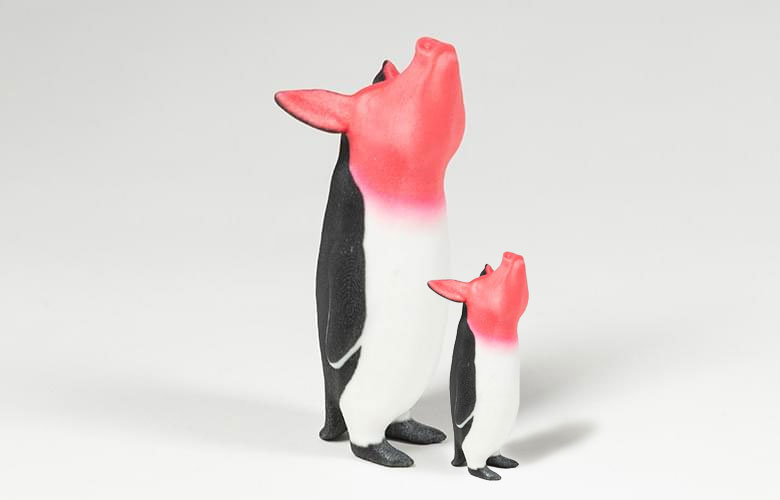
Let’s take a look at an example: our cute little piguin costs €170.60 at the height of 15 cm. Now, if we reduce the height of this piguin by 50%, the smaller 3D print will not cost half of the original price as you might think but around one-eighth of it (€23.39)! That’s because your print will be reduced in length, width, and height at the same time. The imaginary box around our original piguin could be filled not only by two but by eight smaller piguins.
Luckily, finding the best price for each size of your model is easy with our scaling tool. Once you have uploaded your model, you can simply up- or downscale your model according to your needs. The price for each material will automatically be updated.
Conclusion: Play around with the size of your 3D print, scale it down whenever possible, and save some money while you’re at it. Our scaling tool will become your best friend!
Trick #3: Attach 3D Prints to Non-Printed Parts
For someone who works for a 3D printing company, this is strange to say, but not everything needs to be 3D printed. 3D printing works its magic for sophisticated designs, customized models, or low-volume orders. This means that some parts of your objects don’t necessarily need to be printed. 3D prints can always be upgraded by attaching regular, non-3D-printed parts such as metal rods, tubes, blocks, etc.
Trick #4: Understand Price Calculations
This trick is the starting point of any advanced price-reduction strategy. In order to learn how to cut costs, you need to learn how online 3D printing services calculate them first.
At first glance, this doesn’t seem to be an easy task: online 3D printing services use complicated price algorithms to determine the costs of a 3D print. These price algorithms use various factors to calculate a price (such as the volume, the box around the model, surface area, etc.). And to top it all: these algorithms are different for each and every material. Without the 3D printing service providing this information to its users it is a quite difficult task to understand how they calculate their prices.
Now for the good news: our online 3D printing service i.materialise has publically disclosed how we calculate our prices. This information takes away the guesswork and lets you concentrate on designing a low-cost 3D print. So let’s dive right in!
The basic factors that determine the cost of a 3D print are…
- Model volume: The volume of your model is used to calculate the material cost (mm³)
- Box around your model (bounding box): An imaginary box around your model determines how much space your design will take up in the printer (X x Y x Z = mm³)
- Required machine volume: An imaginary shrink wrap around your model determines how much machine space your design will take up in the printer (the size of the shrink wrap depends on the geometry of your model).
- Density: The ratio of the box surrounding your model to the model volume can influence the price and, for example, will allow price corrections in designs with a low model volume and a large surrounding box (% mm³/mm³)
- Orientation: The way your model is positioned on the print platform can impact the support generation and therefore the price
- Model surface: The surface area of your model (mm²) can influence your price since it might affect post-production
Additionally, there might be startup costs or a minimum price for your 3D print…
- Startup cost (fixed handling fee): This is a fixed cost independent of the parameters of your model (EUR/piece or USD/piece)
- Minimum price: The minimum price you have to pay per ordered piece. Unlike the startup cost, this cost vanishes when the price is higher than the minimum price (EUR/piece or USD/piece)
Now, this might sound complicated at first, but understanding these eight factors will help you to understand the price algorithms of all 3D printing materials. In most cases, the price of your model only depends on two of these factors. You can find a material list on our website, that shows precisely what factors influence the price for each material.
Trick #5: Quantity Discount
If you want to order the same model several times, you can profit from a quantity discount. This discount is applicable as of two similar prints and increases with every further copy.
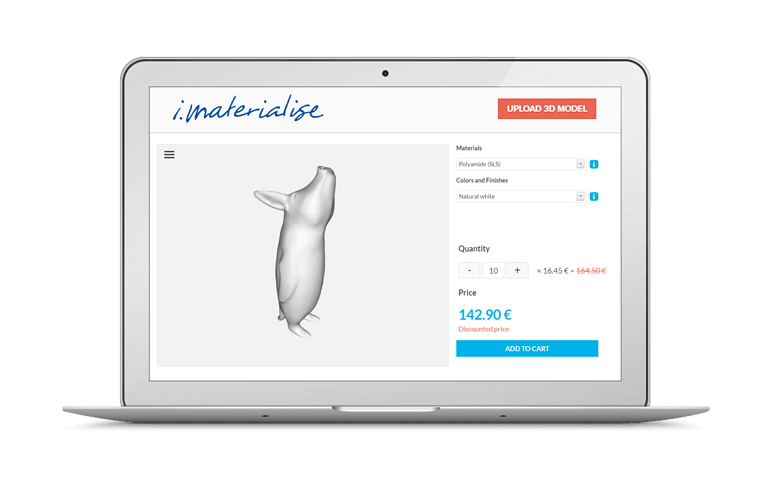
You can order several prints of your 3D file on our website by adjusting the quantity counter once you upload a 3D file. Doing this will heavily influence the price of your 3D prints – to your advantage. In order to test how big the price reduction for your 3D prints would be, we use a model of our very own mascot, the piguin, once again. This model has a height of 120 mm and requires a bounding box of 276 cm³. Polyamide, our popular nylon plastic material, offers one of the highest quantity discounts of all 3D printing materials. So let’s take a closer look at this example.
- When ordered only once, this figurine with a height of 120 mm costs €16.45 in Polyamide.
- If you order a quantity of two prints, you will reduce the cost from €16.45 to €15.34 per piece – a price reduction of 6.7%!
- If we increase the quantity further to three prints, the price per piece is now only €14.94. This value means a reduction of 9%!
- Let’s jump to a quantity of ten prints now. The price per piece is further reduced to only €14.29, resulting in a discount of 13%!
As you can see, the discounts that come with quantity printing can be substantial. Keep in mind that the exact value of your discount depends on various factors such as material, size, volume and the number of items that you want to order.
Quantity discount exists for 16 of our 20 material options (see the complete list here). The highest discounts can be achieved with our plastic options (especially Polyamide, Mammoth Resin, Transparent Resin, Alumide, and ABS). Reductions for metals are typically lower because of the higher material costs.
Note, however, that this discount is only applicable if you order the same model in the same material and finish in a single order. The discount cannot be split up over several orders in different materials or finishes.
Summary: Money Saving Tips
You’ve made it! Now all that’s left for you to do is to turn this gathered knowledge into action (and cheaper 3D prints). Start by asking yourself the following questions for your next 3D printing project:
- Can I switch to a different 3D printing material? (trick #1)
- Can I print in a smaller size? (trick #2)
- Can I add non-3D-printed parts to save money? (trick #3)
- Have I taken a good look at our pricing info page to see how i.materialise determines the price calculation for each material? (trick #4).
- And finally, can I benefit from the quantity discount? (#5).
Upload Your Design
Once your model is optimized, upload it to our website and see the price instantly after choosing from over 100 high-quality materials and finishes. Uploading your file only takes seconds, is risk-free, and doesn’t require an account or login information. If you are not satisfied with your price, keep tweaking your model and simply re-upload the updated version to see your new price.