7 Essential Tricks to Prepare Your 3D Model for 3D Printing
There are many 3D modeling programs out there for creating stunning 3D designs. But what looks great on a screen isn’t necessarily ready to be 3D printed. Typically 3D models need some preparation to be 3D printable. Luckily, fixing your own design can be surprisingly simple. In this overview we will show you the 7 most important tips and tricks to prepare your 3D design for 3D printing. This ‘Printable 3D Design Checklist’ features information about the most common 3D printed design flaws and how to fix them.
1. Is your 3D model watertight?
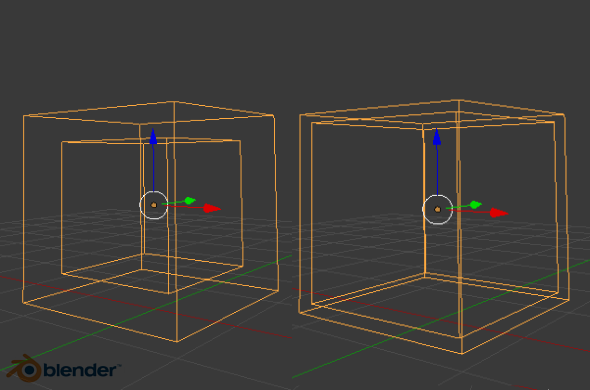
Is your design watertight? Specifically, if your design were filled with water, would it trickle into the any hidden cracks between the walls? Sometimes, you might be missing a vertex, or a vertex might not be properly connected.
Sometimes this is also referred to as ‘non-manifold’. Make sure your object has geometry which can exist in the real world (which is why it’s important to have manifold meshes for 3D printing).
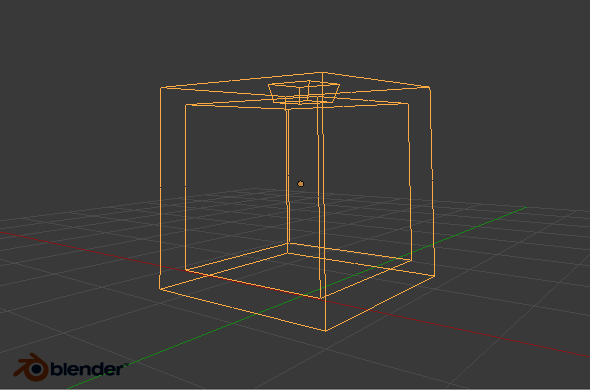
This mesh has non-manifold edges. The mesh is not watertight. The mesh will not print.
2. Is your 3D model hollow?
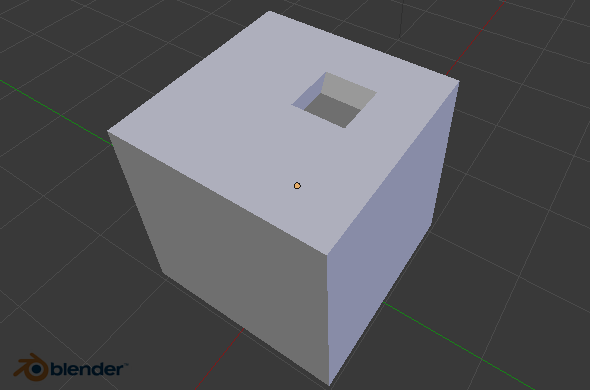
For some designs and materials it makes sense to create a hollow model. This will also make your 3D print cheaper. Solid files can be printed of course, but creating a hollow print lets you save as much as 90% on some projects (depending on the printing process used).
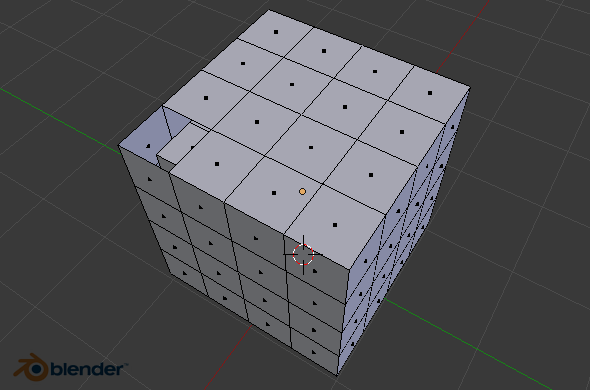
Hollow Model of a Cube Made on Blender
3. Did you set the right wall thickness?
Are the walls of your object thick enough to print? Check your material’s wall thickness specifications. Learn more about how to find and set the right wall thickness in this blog post.
Check that your walls are thick enough for the material you want to print in. Our material with the thinnest “wall thickness” requirement is polyamide: its minimum thickness is only 0.8mm! Most materials require thicker walls.
4. Did you include an escape hole?
If your model is hollow, does it include an ‘escape hole’? Almost every hollow 3D printed model needs at least one hole, so that excess material can escape during the 3D printing process. Certain printers can print models without escape holes, but most printing services use printers and printing techniques that require at least one escape hole.
Hollow designs need an “escape hole” so they can be properly printed and cleaned. 3D printed designs go through a process during which your design file is printed layer by layer in plastic, metal, or ceramic powder. Excess powder is cleaned off using air pressure.
5. Were modifiers applied correctly?
If you applied a modifier, check to see if it applied correctly. What filters are to Photoshop and Instagram, modifiers are to 3D design. Modifiers are an essential part of 3D design, and save time on repetitive tasks. They are commonly used to add wall thickness, smooth hard edges, create symmetry, deform models, combine parts, and make holes (i.e. “Boolean”). But incorrectly applying a modifier can wreck your model, and make it unprintable.
Solution: Save a separate version of your design before applying any modifiers. That way, an incorrectly applied modifier won’t destroy your work. Pay attention to the order in which you apply modifiers, and try changing the order if your file didn’t print. Check your design immediately after every modifier you apply. Check thin walls, holes, and other delicate areas. Your eyes can spot flaws the computer can’t.
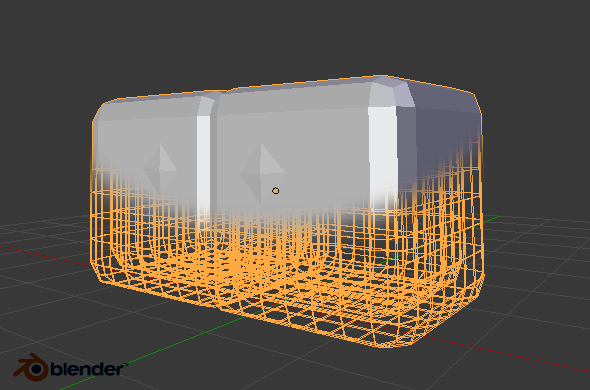
Attack of the Modifiers! Modifiers are to 3D what “filters” are to 2D graphics. The order in which you apply modifiers can determine whether your file prints. Save a copy of your file before you apply modifiers, and check your project after each modifier you apply.
6. Does your 3D model have flipped normals?
Is your model inside-out? Computers see one side of your model as the “outside” and the other as the “inside.” This is not always obvious to people, but is as obvious to computers as differences between the “outside” and “inside” of clothing are to humans.
Unlike clothing, computer models let you turn part of an object inside-out without turning the entire object inside-out. Sometimes users do this on purpose, other times it’s by accident. But if part of the outside is inside, and part of the inside is outside, computers cannot print the object. They get confused! Not all services have the built-in feature to automatically detect and fix this problem.
This problem is commonly referred to as “flipped normals” and is one of the easiest to fix: look for your design software’s “Recalculate” or “Flip Normals” button. It automatically identifies the flipped vertices, and flips all the outsides outward, and the insides inward. Perfect!

i.materialise’s 3D Print Lab automatically flips some types of vertices pointing the wrong way around. Not all 3D printing services have that feature built-in.
7. Did you checked for flaws with a software?
Have you finished post-processing? There are several post-processing “mesh repair” software packages to choose from. Our free “Minimagics” software can identify common flaws for you. Get your free download here.
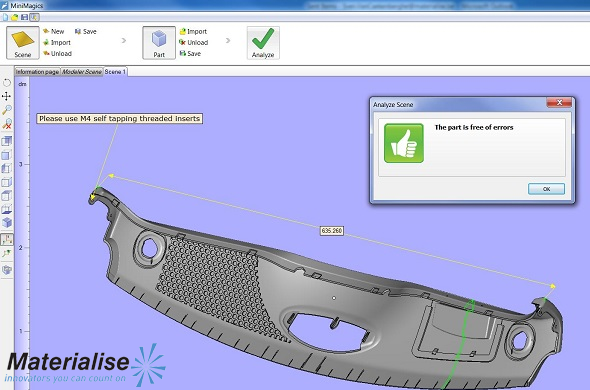
A screenshot of our MiniMagics software.
Sticking to this list of 7 tips and tricks should help turning your 3D model into a 3D print. But never fear: if you upload a 3D model to our 3D printing service, we will always double-check if your design is printable. We’ll fix mistakes on the spot or send you detailed instructions of what you need to do to enhance your design. Also make sure to take a look at our material pages before you place an order. You can find valuable information – such as minimum wall thickness – for each 3D printing material there.